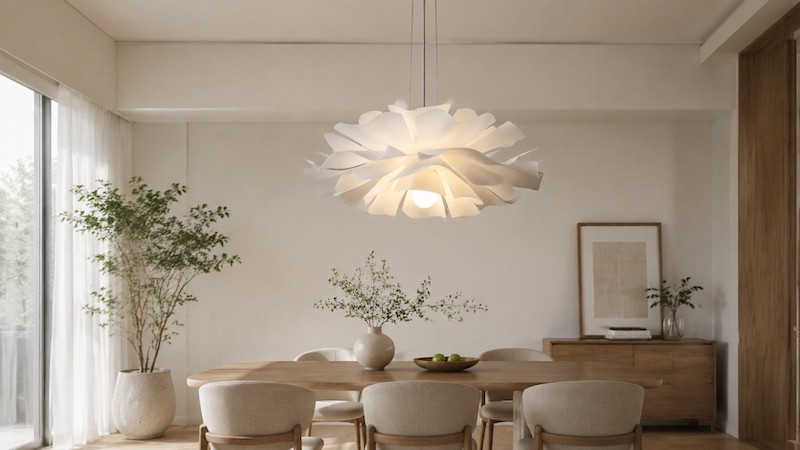
How to Clean an Acrylic Pendant Light Safely Without Disassembly
The secret to cleaning an acrylic pendant light without taking it apart is remarkably simple: rely on a clean, dry microfiber cloth for everyday loose dust, and use a heavily wrung-out cloth dampened with distilled water and a single drop of mild dish soap for stubborn smudges. The most crucial factor is keeping the fixture physically stabilized with your free hand while applying zero pressure during the wipe.
If you are staring up at a dusty, fingerprint-smudged chandelier and dreading the idea of un-wiring it or dealing with tiny canopy screws, you are in the right place. Taking down a ceiling fixture is not only intimidating but often entirely unnecessary. This guide will help you quickly determine whether your fixture needs a five-second dry dusting or a targeted damp wipe. More importantly, it will help you avoid the common, irreversible mistake of using the wrong chemical cleaners that can permanently ruin your fixture's transparent finish.
Before You Start: Preparation & Warnings

Before you climb a ladder, you must accurately assess the material of your light shade. While acrylic (often known by brand names like Plexiglass or Lucite) mimics the stunning clarity of glass, it possesses entirely different chemical and physical properties. If you are unsure which material you are dealing with, you can read our detailed breakdown in this guide: Glass vs. Acrylic Lighting: Which is Better for Your Home?.
Acrylic is exceptionally lightweight and shatter-resistant, making it perfect for intricate, suspended designs. However, it is fundamentally a thermoplastic. This means it is highly susceptible to micro-scratches from rough textures and chemical degradation from harsh solvents.
To prevent irreversible damage—specifically a phenomenon called "crazing," where thousands of tiny, cloudy micro-cracks appear deep within the plastic—you must strictly adhere to the following product guidelines.
The Cleaning Solutions Judgment Table
| Cleaning Agent | Verdict | Why? / The Result |
|---|---|---|
| Microfiber Cloth | Essential | The synthetic fibers trap dust without dragging it across the surface. Prevents micro-scratches. |
| Mild Dish Soap | Safe | Cuts through household cooking oils and fingerprint grease without attacking the plastic's chemical structure. |
| Paper Towels | Never Use | Made of wood pulp. Even soft paper towels act like ultra-fine sandpaper and will dull the acrylic over time. |
| Windex / Glass Cleaners | Never Use | Contain ammonia. Ammonia attacks the polymer bonds in acrylic, causing immediate or delayed "crazing" (cloudy cracks). |
| Rubbing Alcohol | Never Use | Solvents will quickly dissolve the surface finish, leaving a milky, frosted appearance that cannot be washed off. |
Your Pre-Cleaning Checklist:
- A sturdy step ladder tall enough to let you reach the fixture without stretching (aim to keep your chest roughly 30 cm to 50 cm away from the center of the light for optimal leverage).
- Two brand-new or perfectly clean microfiber cloths.
- A small bowl of warm distilled water (tap water contains minerals that leave white spots).
- Mild, neutral dish soap (like original Dawn).
- A soft-bristled clean makeup brush or cotton swabs (for tight crevices).
Step 1: Ensure Safety and Stabilize the Fixture
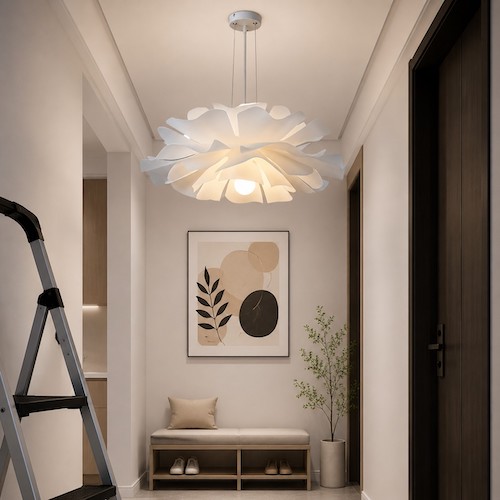
Safety goes beyond just turning off the wall switch. Always turn off the power at the main breaker if you plan to use any moisture around an electrical fixture, and allow the lightbulbs to cool completely for at least thirty minutes. Hot bulbs can shatter if they come into contact with a damp cloth, and hot acrylic is slightly more pliable and prone to warping or scratching.
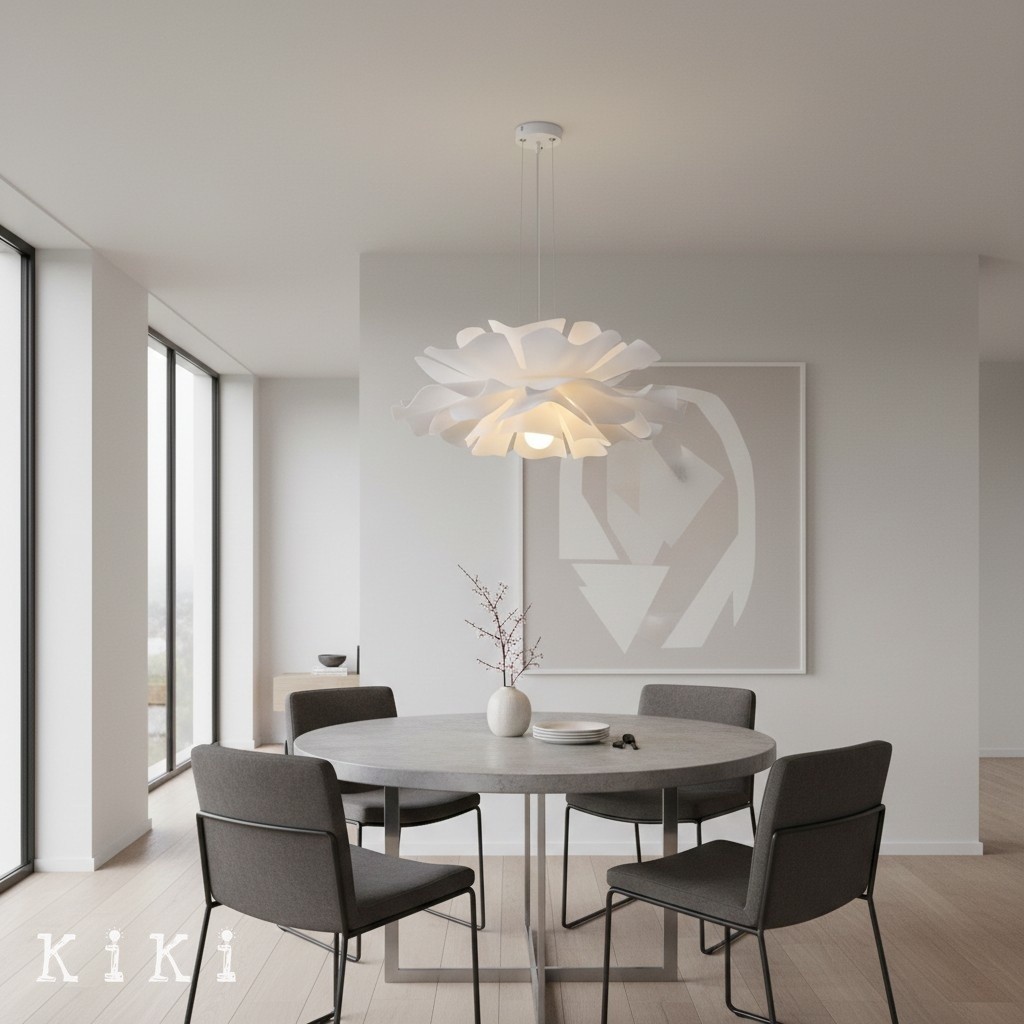
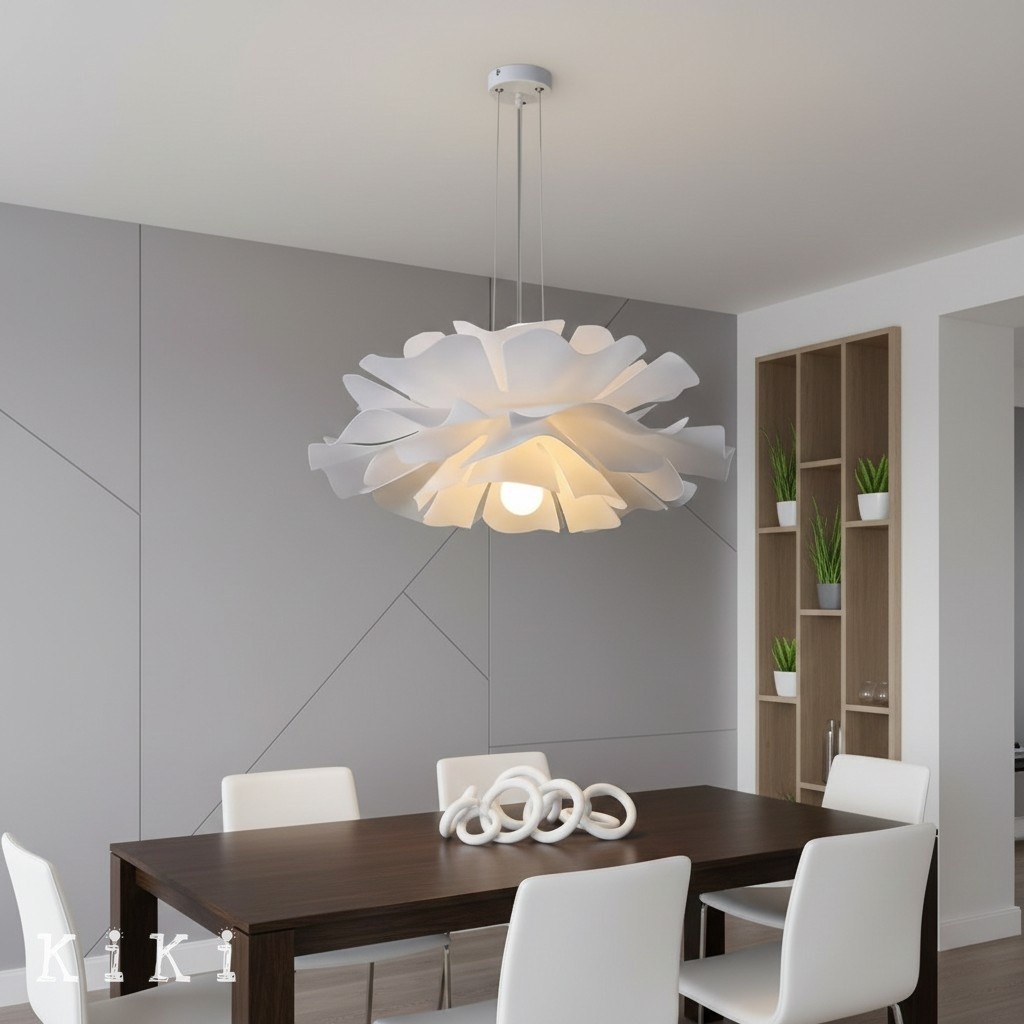
When cleaning a fixture while it remains suspended, mechanical stress is your biggest enemy. If you have followed proper spatial planning—such as the advice detailed in our guide on How High to Hang a Dining Room Pendant Light? Avoiding Visual Clutter with a Flower pendant light—your fixture should already be positioned at a safe, accessible height for your ladder. You must never pull the fixture toward you or allow it to swing freely while wiping.
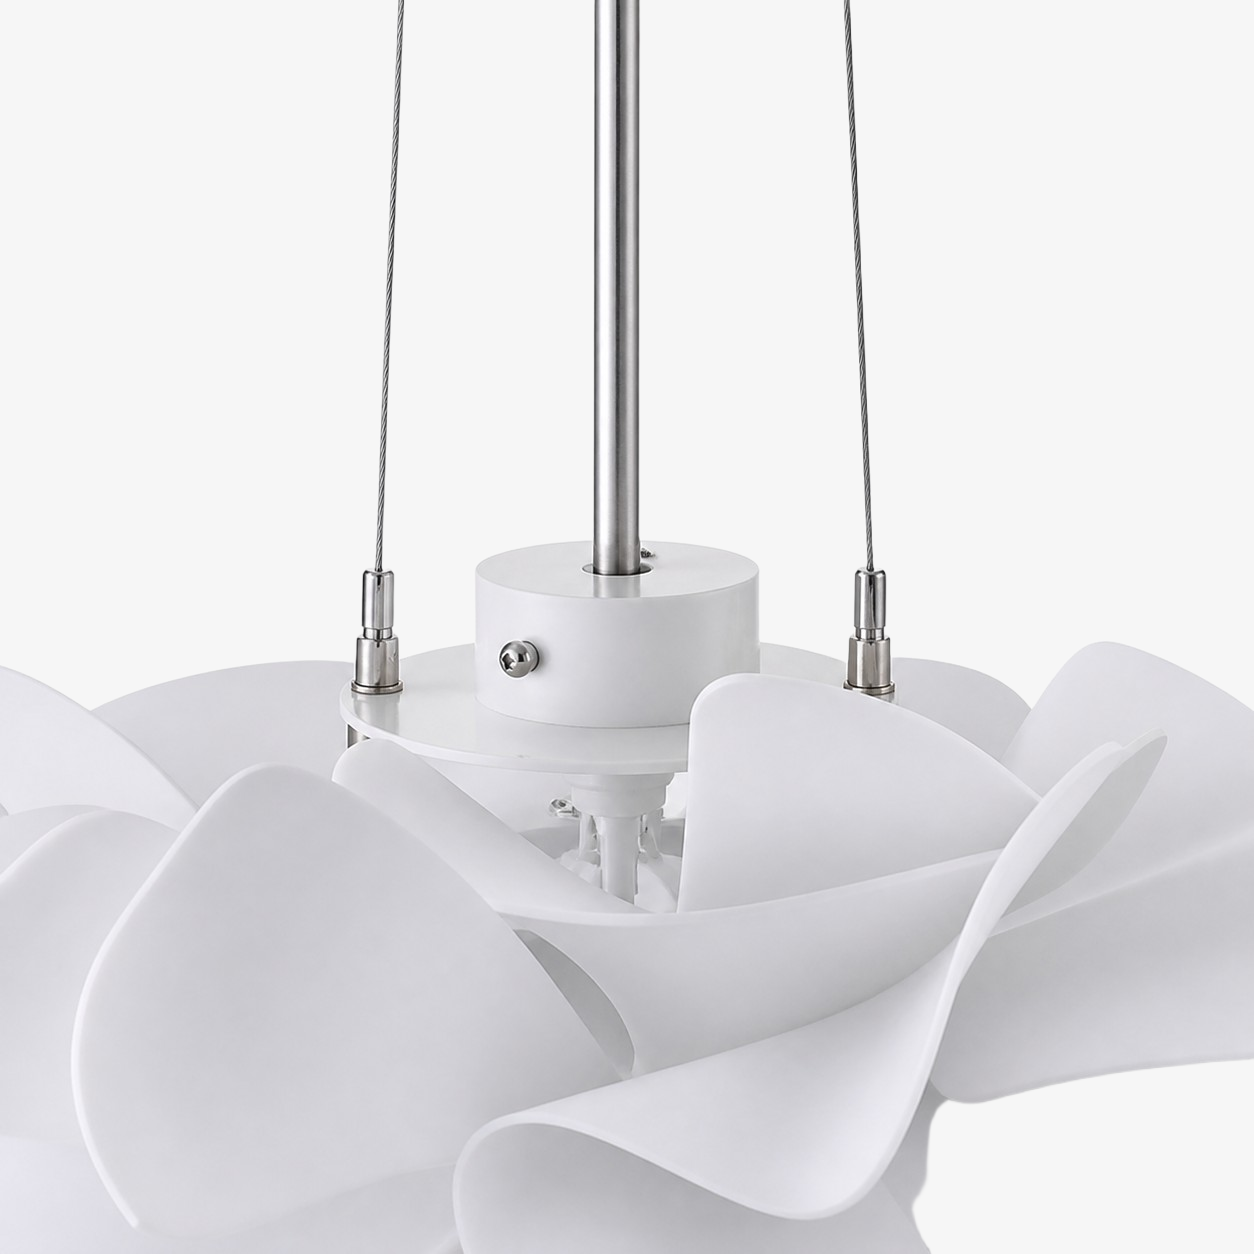
The Stabilization Technique: Position your ladder so your chest is roughly level with the center of the fixture. Use your non-dominant hand to firmly but gently grasp the central stem, the metal housing, or the thickest structural part of the shade. This hand acts as an anchor. Do not hold onto the electrical cord itself. Your working hand will do the cleaning, moving around the fixture while your anchor hand keeps it perfectly still. This prevents strain on the ceiling canopy and keeps the internal wiring intact.
Step 2: Gentle Dry Dusting for Daily Maintenance
If your pendant light is located in a living room, bedroom, or hallway, 90% of your maintenance will only require dry dusting. Acrylic is naturally prone to building up a static electrical charge, which essentially turns your beautiful light fixture into a magnet for airborne dust, pet dander, and lint.
Take your completely dry microfiber cloth or a static duster. Instead of pressing down and scrubbing the dust away, hold the cloth lightly and use a flicking or sweeping motion. Imagine you are trying to lift the dust off the surface rather than grinding it in.
Because of the static charge, rubbing the acrylic too vigorously with a dry cloth will actually generate more static, causing dust from the air to immediately rush back onto the shade the moment you step off the ladder. Keep your strokes light, slow, and sweeping. If you notice dust clinging stubbornly, it is time to move to the next step.
Step 3: Prepare Your DIY Safe Cleaning Solution
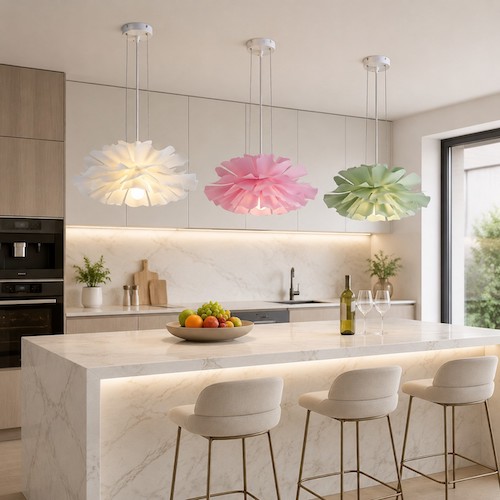
When your light is installed in a dining area or over a kitchen island, airborne cooking oils and cooking smoke will inevitably mix with dust, creating a sticky residue that a dry cloth cannot remove.
To cut through this sticky grime safely, you need to prepare a specific, highly diluted cleaning solution.
- Fill a small bowl with warm (not hot) distilled water.
- Add exactly one or two drops of a mild liquid dish soap.
- Gently swirl the water with your fingers to mix it. Do not agitate it until it forms thick suds; you want soapy water, not a foam bath.
Why distilled water? Tap water is full of calcium and magnesium. When tap water evaporates off an acrylic surface, it leaves behind microscopic mineral deposits (hard water spots) that ruin the transparency of the light shade and require aggressive scrubbing to remove. Distilled water evaporates completely clean.
Step 4: The Damp Wipe Technique for Smudges
This step requires precision. The goal is to introduce just enough moisture to break down the oily residue without allowing any water to drip down into the electrical socket or pool at the bottom of the shade.
Dip one corner of your microfiber cloth into your soapy water solution. Wring it out aggressively until the cloth feels barely damp to the touch.
Wiping Strategy for Flat or Spherical Shades: Using your anchor hand to stabilize the fixture, apply the damp cloth to the acrylic. Wipe in broad, gentle, overlapping circles. Avoid scrubbing back and forth in a linear motion, as this can create visible streak lines when the light is turned on.
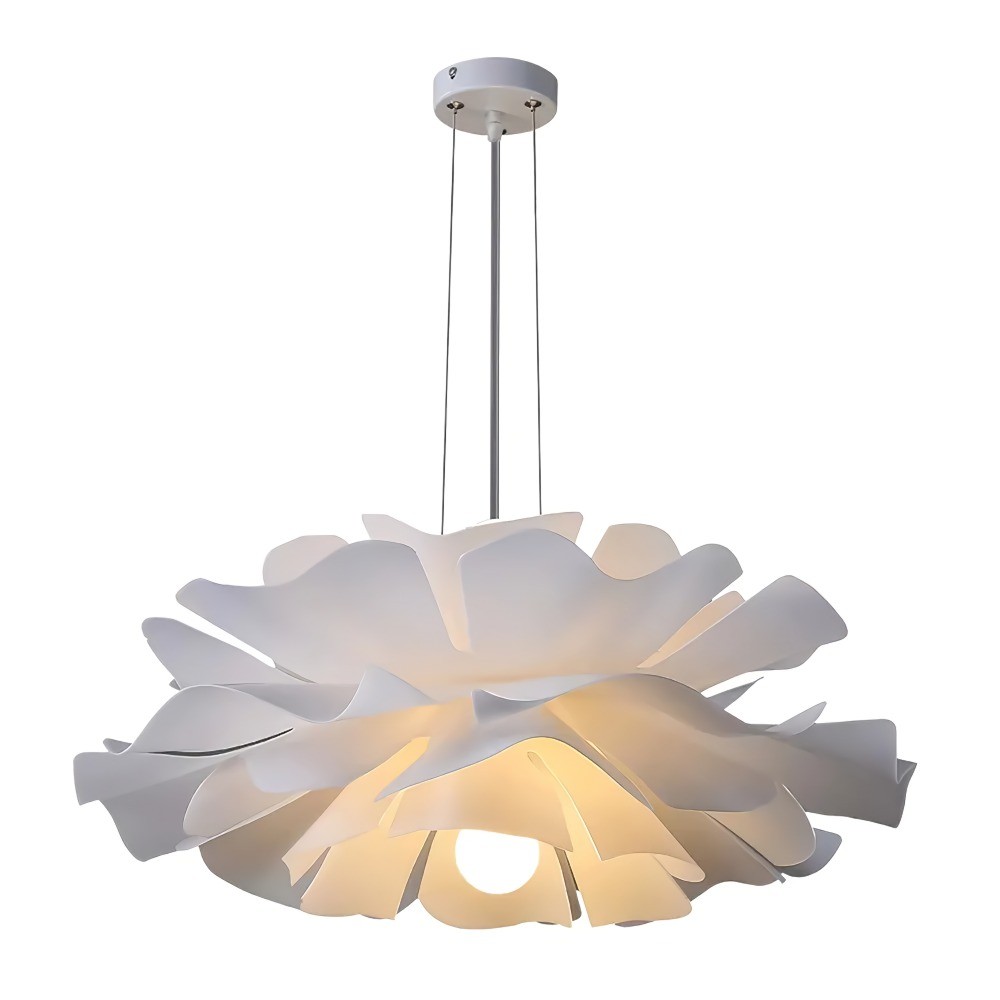
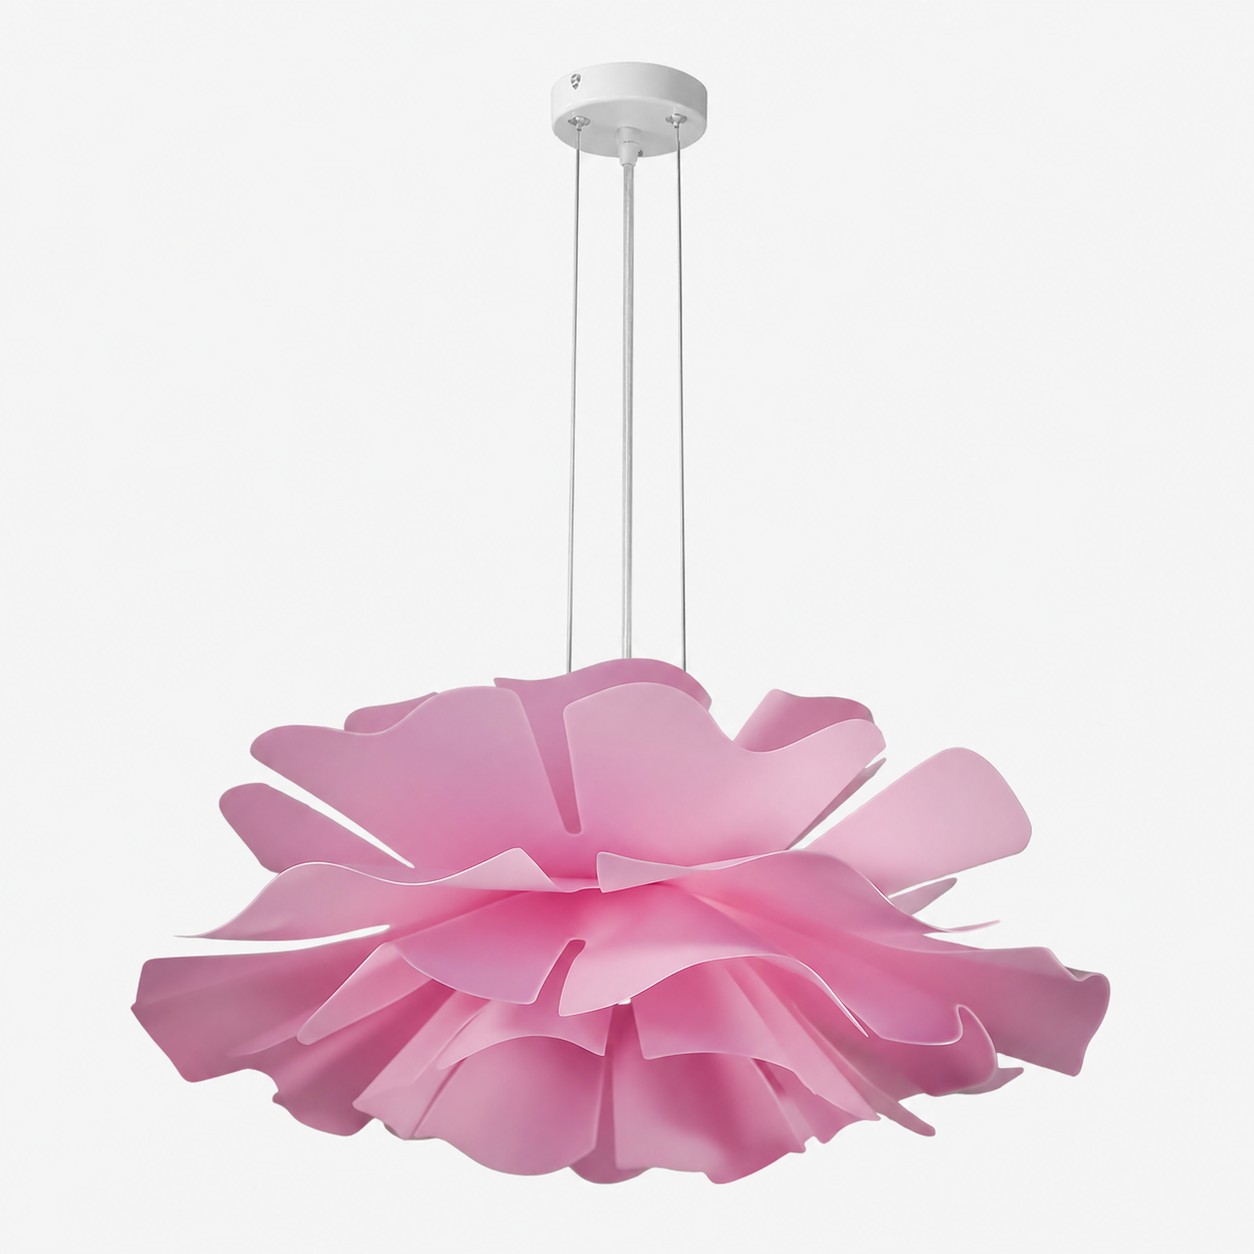
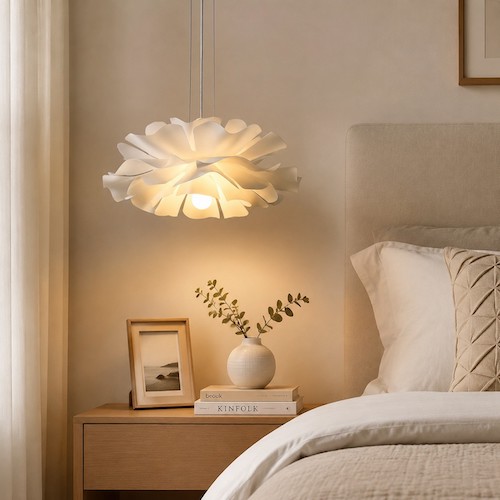
Wiping Strategy for Complex and Sculptural Shapes: Many modern acrylic lights feature overlapping tiers, sharp angles, or organic curves. When cleaning these intricate designs, you must follow the natural geometry of the fixture. For example, if you are cleaning a fixture shaped like a flower, do not attempt to wipe across multiple petals at once.
Cup a single acrylic petal with your anchor hand to support its weight. With your damp cloth, start at the base of the petal (near the bulb) and swipe outward toward the tip in one smooth motion. For deep crevices where dust and grease accumulate—such as the joints where the petals meet the central frame—do not force a thick cloth into the gap. Instead, lightly dip a cotton swab in your soapy water, squeeze out the excess, and gently trace the seam.
Step 5: Quick Drying and Polishing
You must never allow an acrylic fixture to air dry. Allowing water to sit on the surface not only risks electrical safety if a drop rolls into the socket, but it also invites watermarks and dust settling into the damp patches.
Immediately after completing the damp wipe on a section of the fixture, switch to your second, completely dry microfiber cloth. Gently buff the surface in circular motions until all moisture is gone.
This quick buffing step serves a dual purpose: it polishes the acrylic, restoring its high-gloss, crystal-clear refractive qualities—maximizing the beautiful illumination discussed in our guide, How to Prevent Glare from Multi-Petal Pendant LIght: Anti-Glare Bulb Guide for Floral Pendant Lights—and it helps to safely dissipate any static charge built up during the cleaning process, keeping the fixture cleaner for a longer period.
Recommended Products: Low-Maintenance Elegance
Intricate, highly structural lighting designs often intimidate buyers who worry about the upkeep. However, armed with the correct tools and the stabilization techniques outlined above, maintaining even the most complex fixtures becomes a simple, stress-free routine.
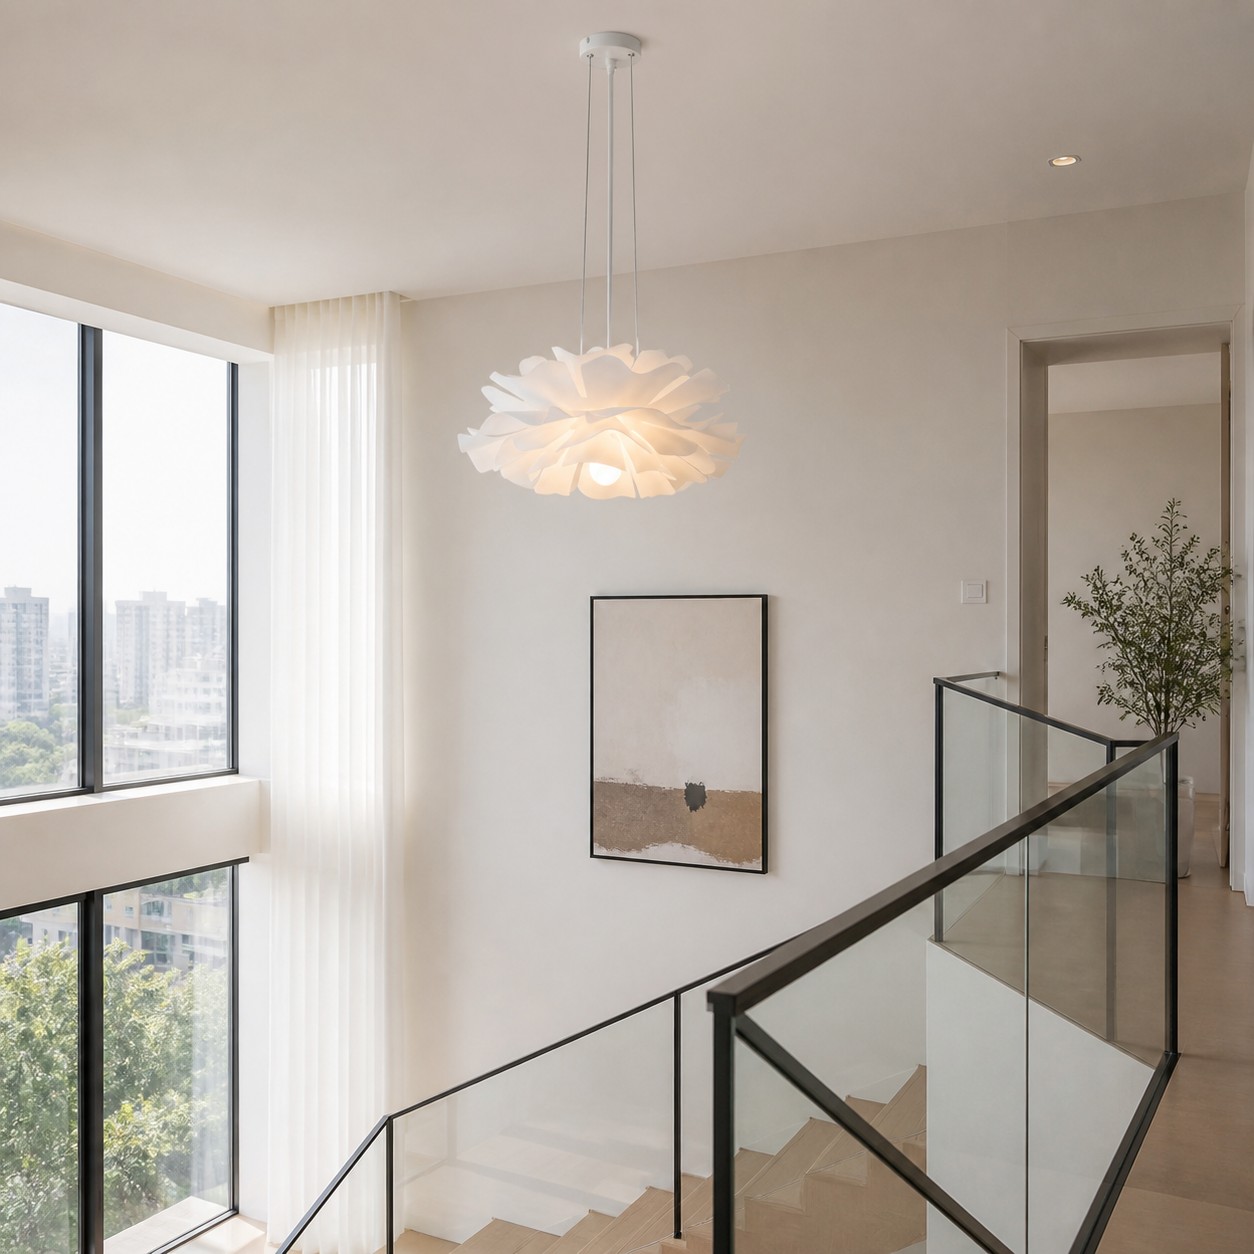
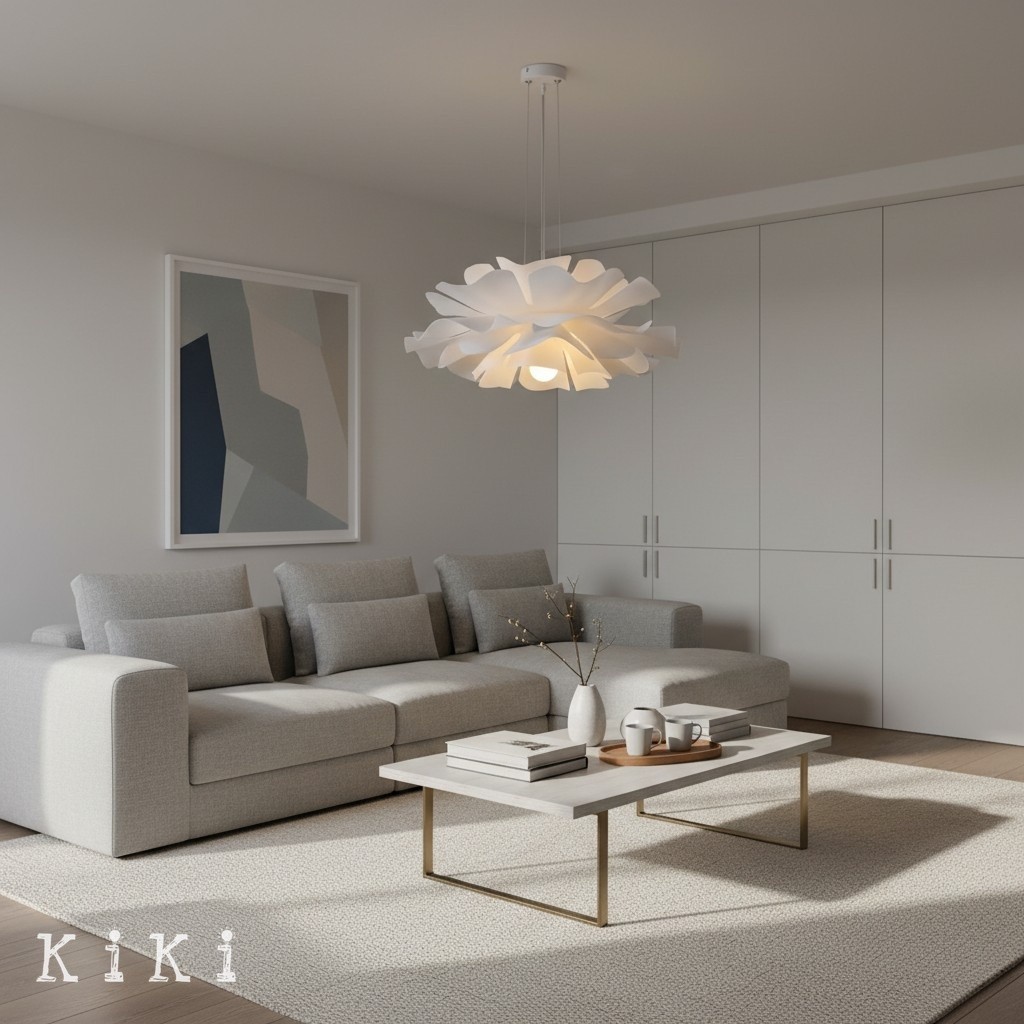
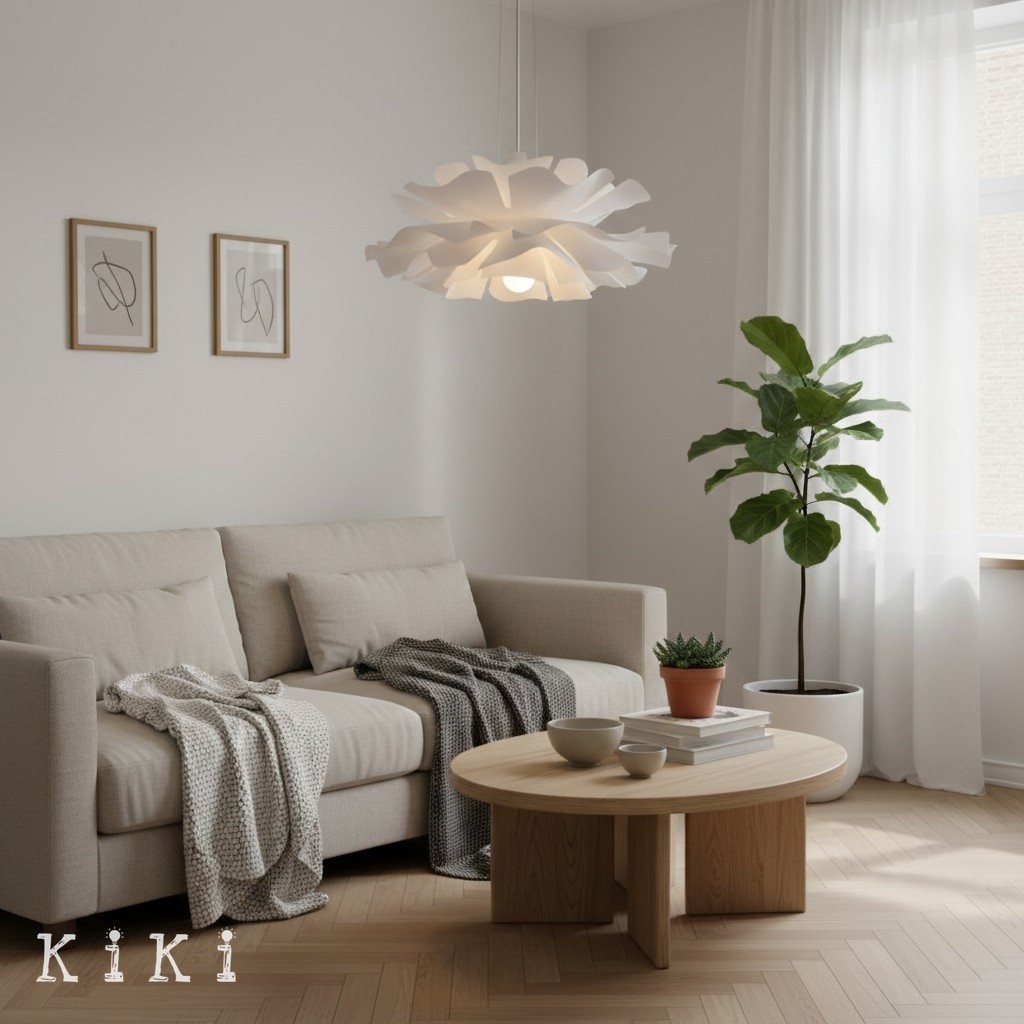
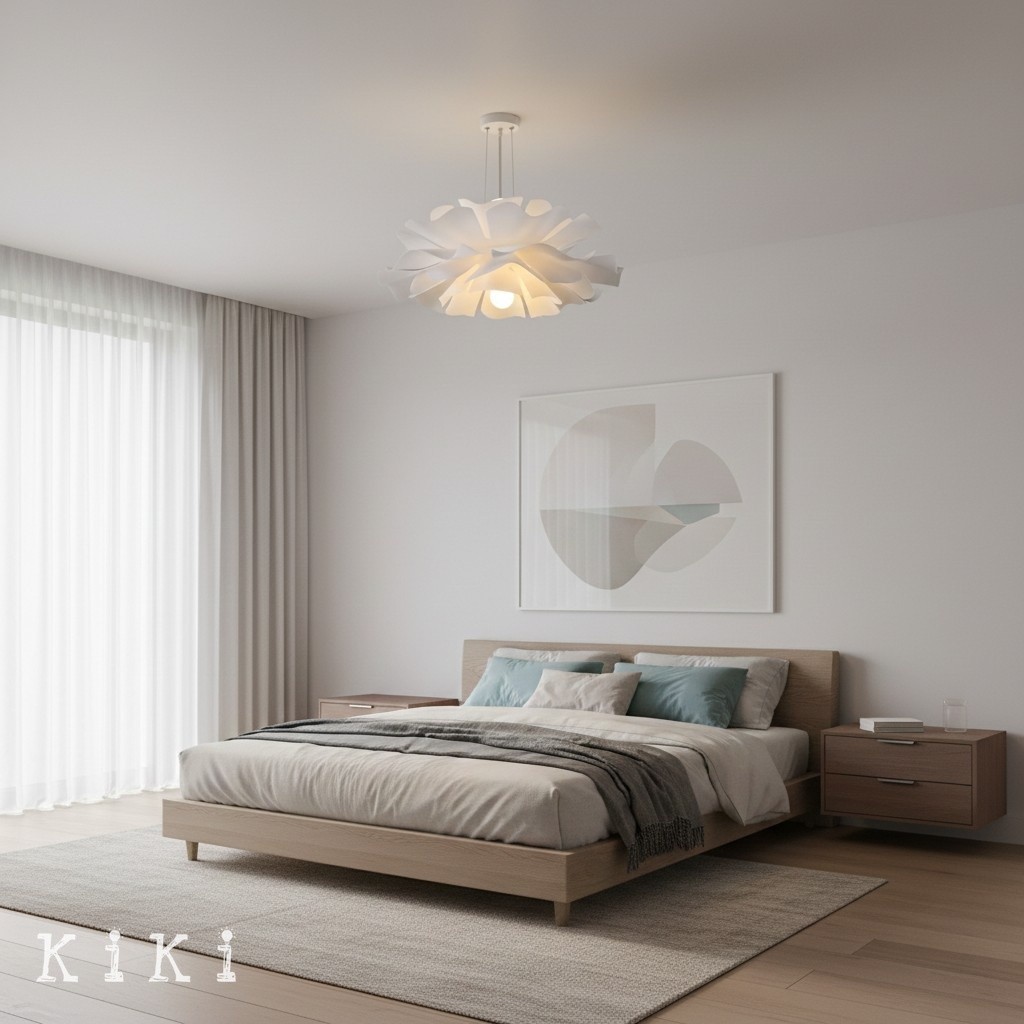
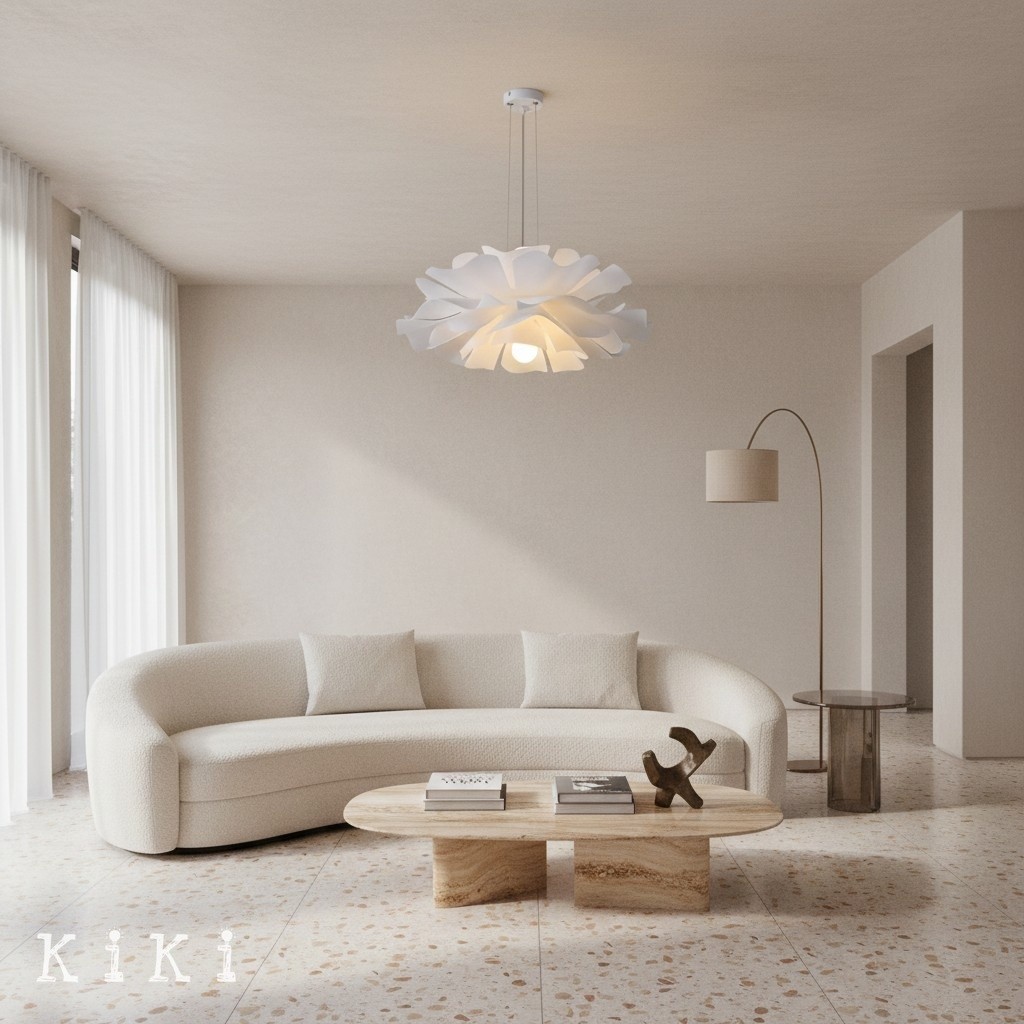
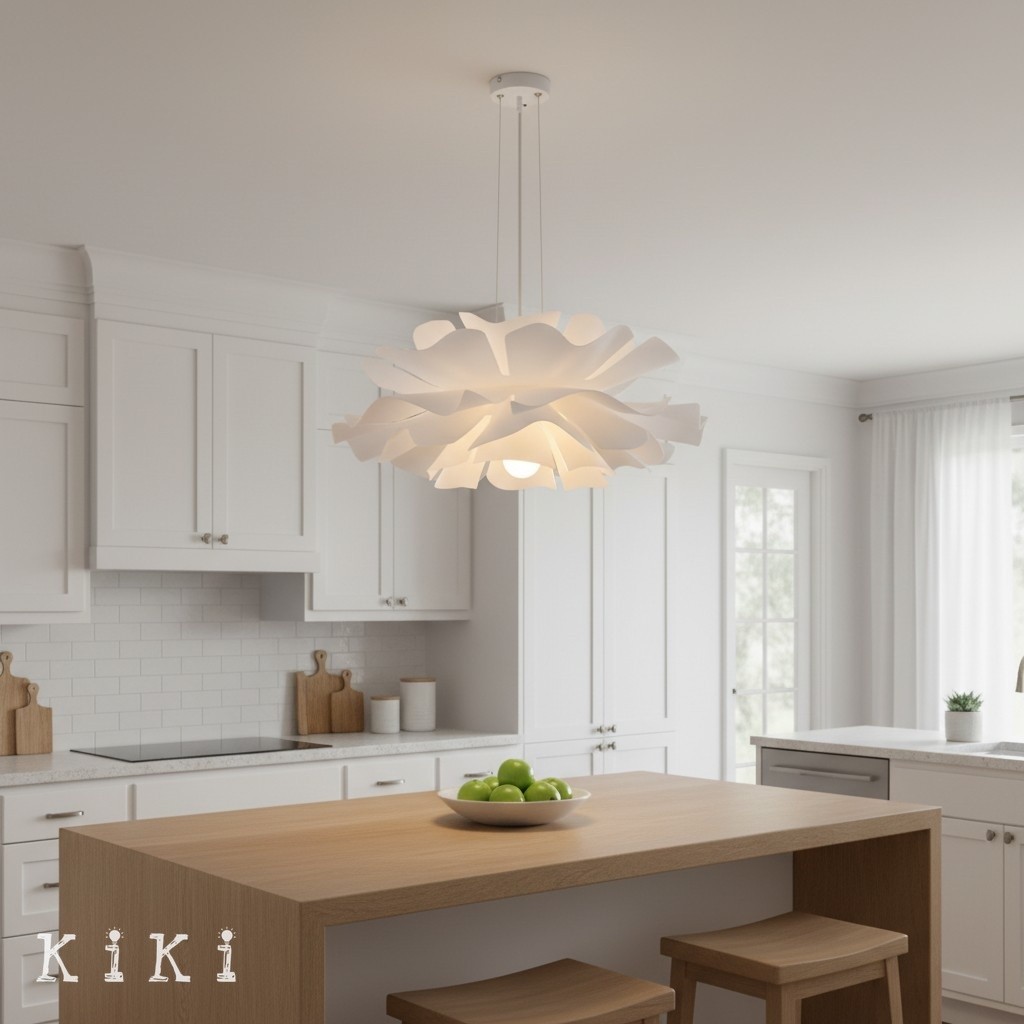
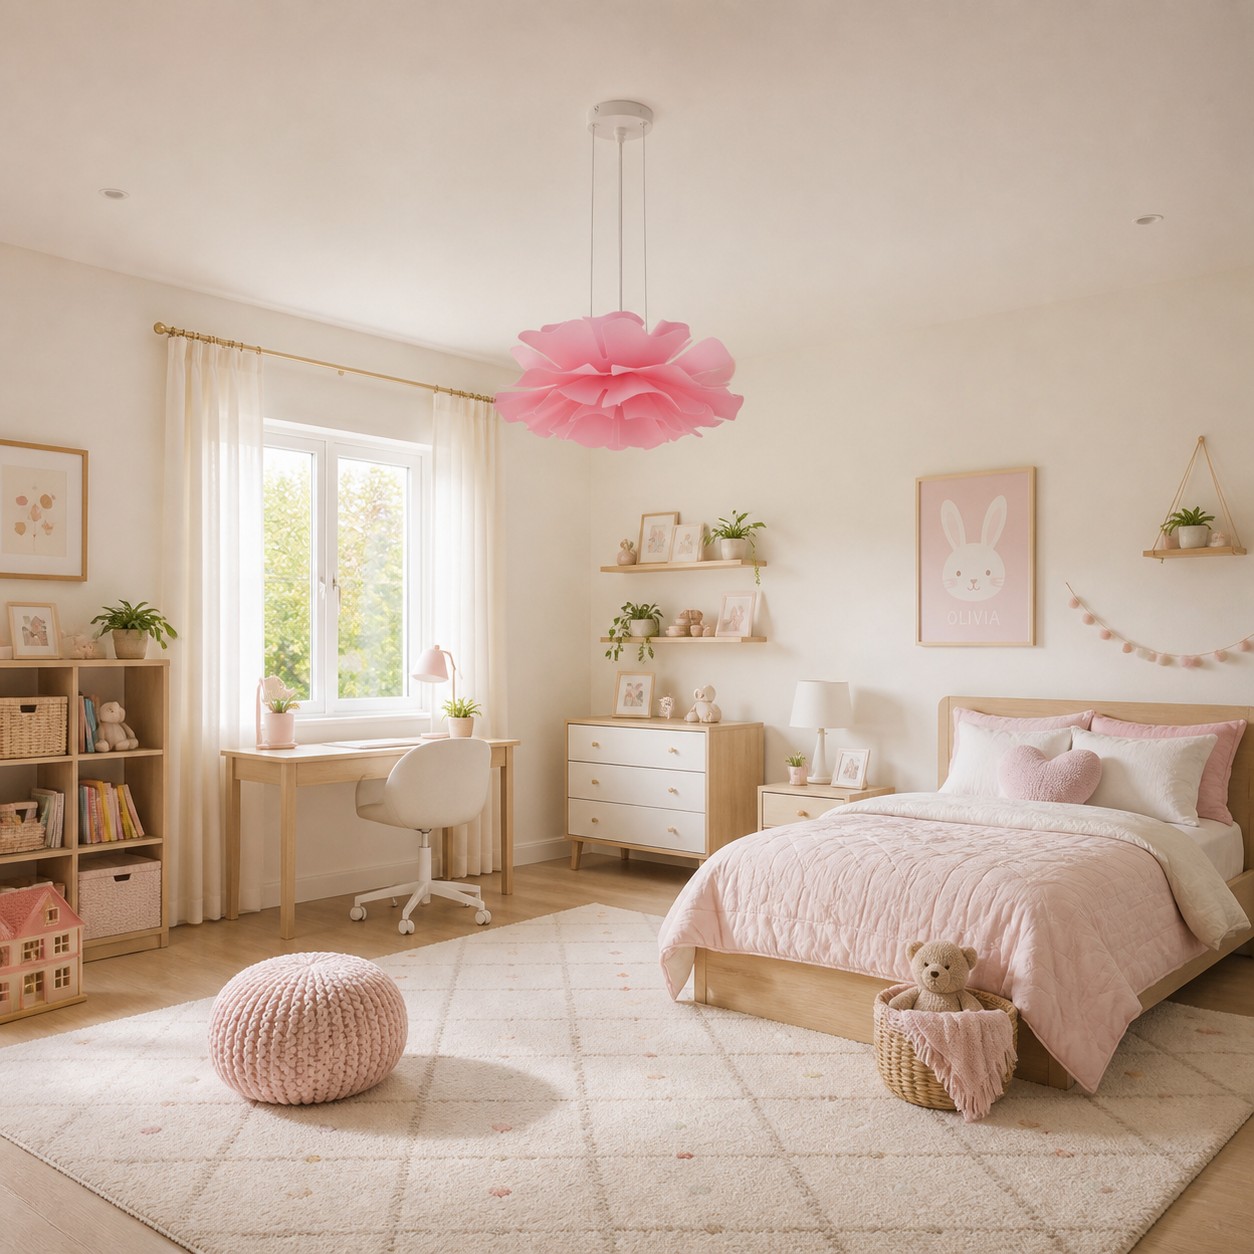
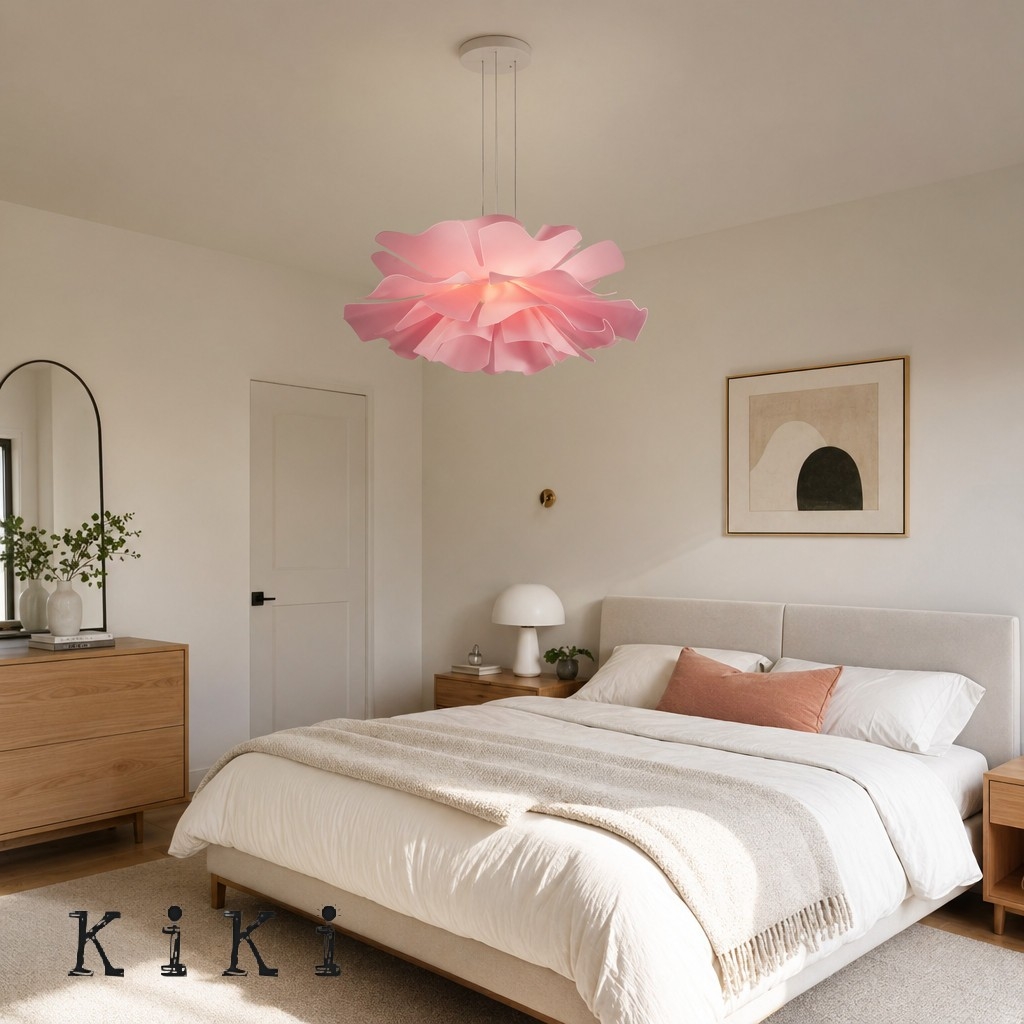
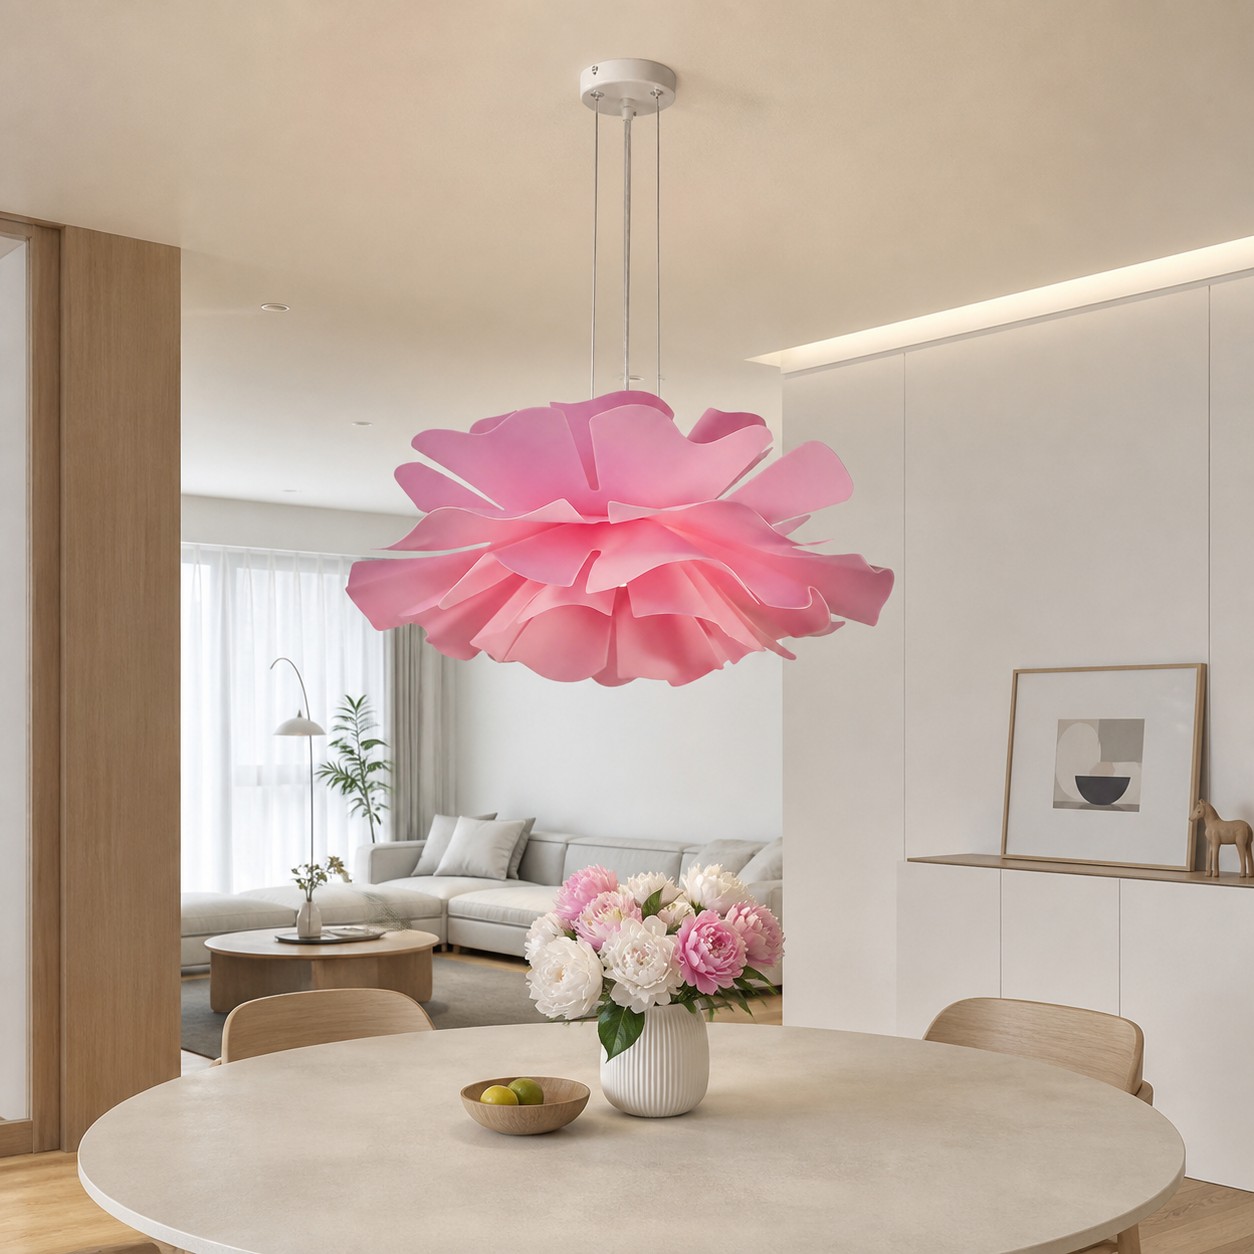
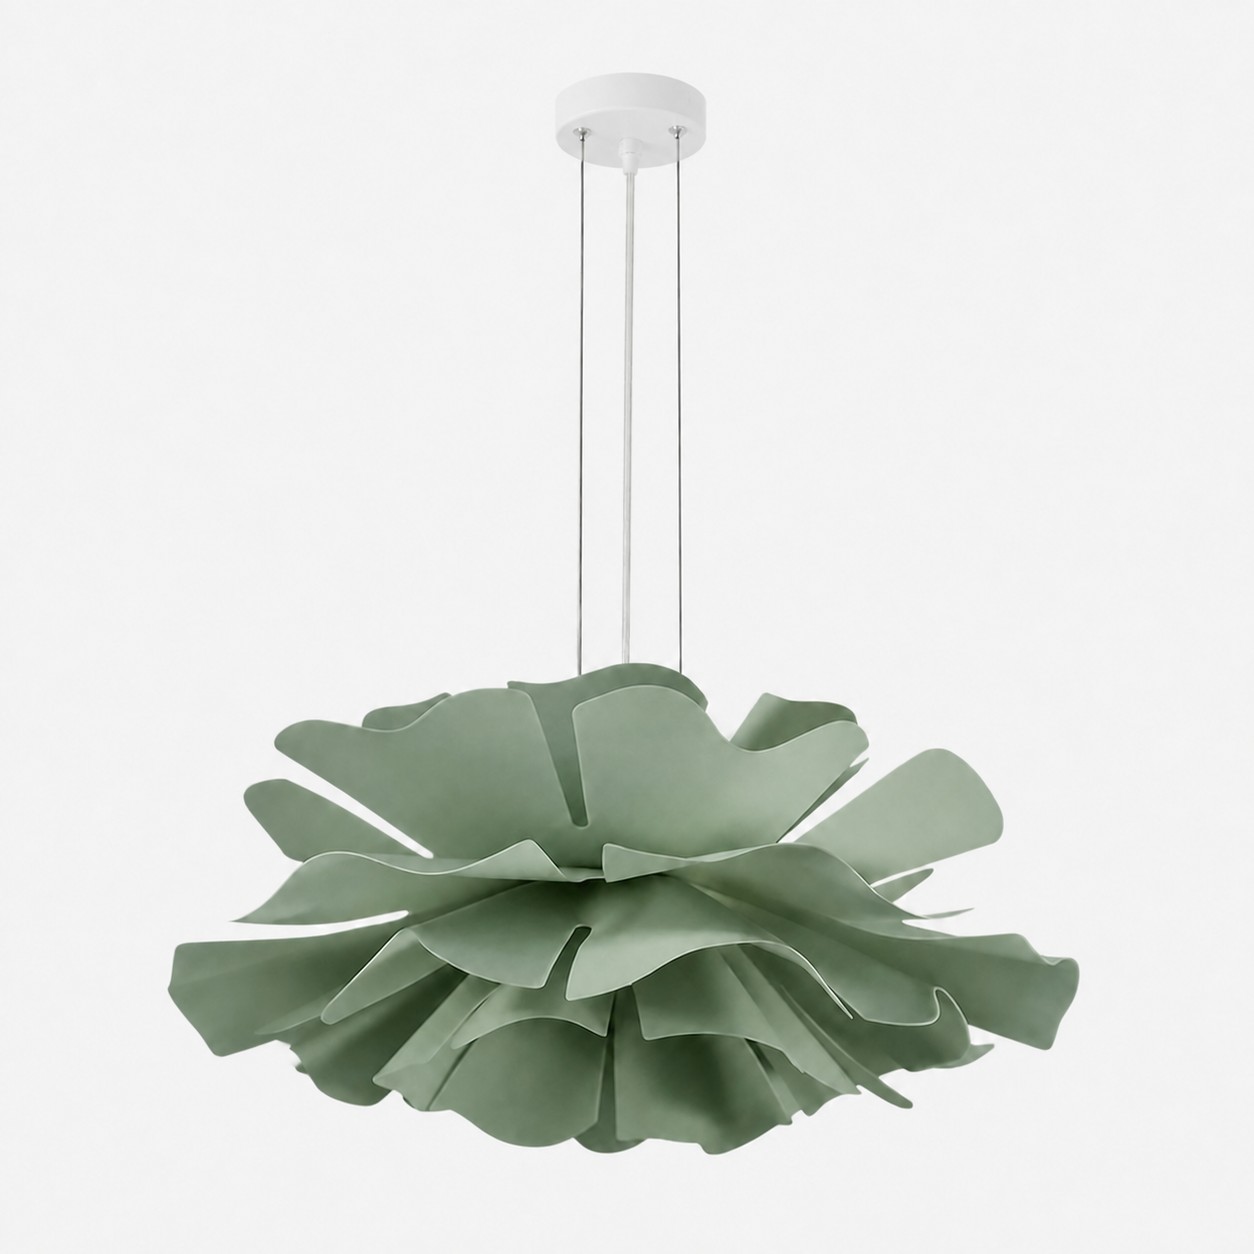
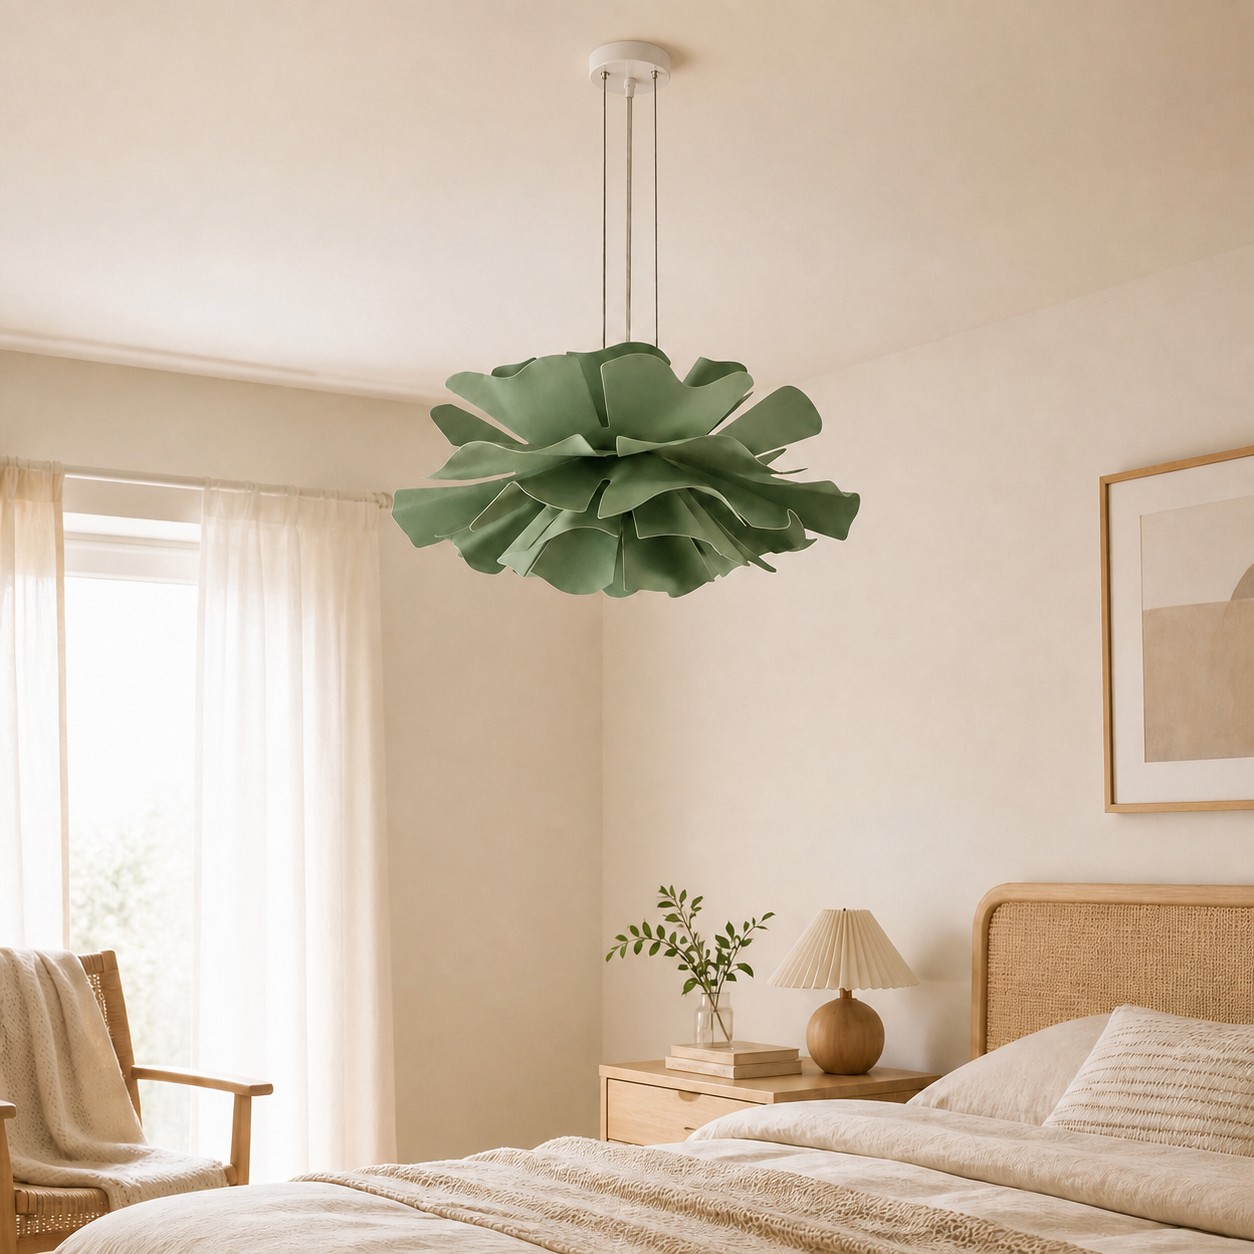
A perfect example of complex beauty that is surprisingly easy to care for is the Elegant Flower pendant light - Modern Lighting for Dining Room and Living Area.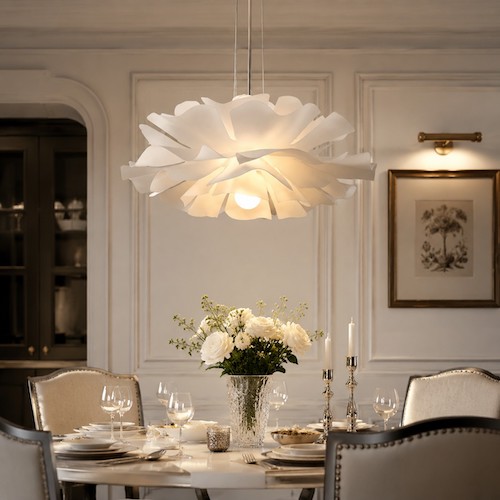
Designed to mimic the delicate, overlapping petals of a blooming flower, this fixture creates breathtaking light and shadow play across your ceiling and walls. Because the petals are crafted from premium, lightweight acrylic rather than fragile glass, you can safely employ the "cupping and wiping" technique detailed in Step 4 without fear of shattering an expensive component. By incorporating a quick microfiber dusting into your weekly routine, this stunning centerpiece will retain its luminous elegance for years to come without ever needing to be disassembled.
Frequently Asked Questions (FAQ)
Can I use glass cleaner or Windex on my acrylic pendant light?
Absolutely not. Traditional glass cleaners contain ammonia and harsh chemical solvents. While they make glass sparkle, they cause a chemical reaction in acrylic called "crazing." This results in a web of tiny, cloudy cracks appearing throughout the material, permanently ruining its transparency. Always stick to mild dish soap and water.
How often should I clean my acrylic light fixture?
For maintenance, you should lightly dry-dust your fixture once a week using a dry microfiber cloth or a static duster. This prevents airborne particles from settling and bonding to the surface. A more thorough damp wipe (using the mild soap solution) is usually only necessary every two to three months, or slightly more frequently if the light is located directly in a kitchen where cooking oils become airborne.
What should I do if my acrylic light is already scratched?
If you accidentally used a paper towel or a rough sponge and notice fine hairline scratches on your pendant, do not attempt to wash them away with water. You will need to use a specialized commercial acrylic polish (such as Novus Plastic Polish Step 2). Apply a small amount to a clean microfiber cloth and gently buff the scratched area in a circular motion until the micro-abrasions smooth out, then wipe clean.