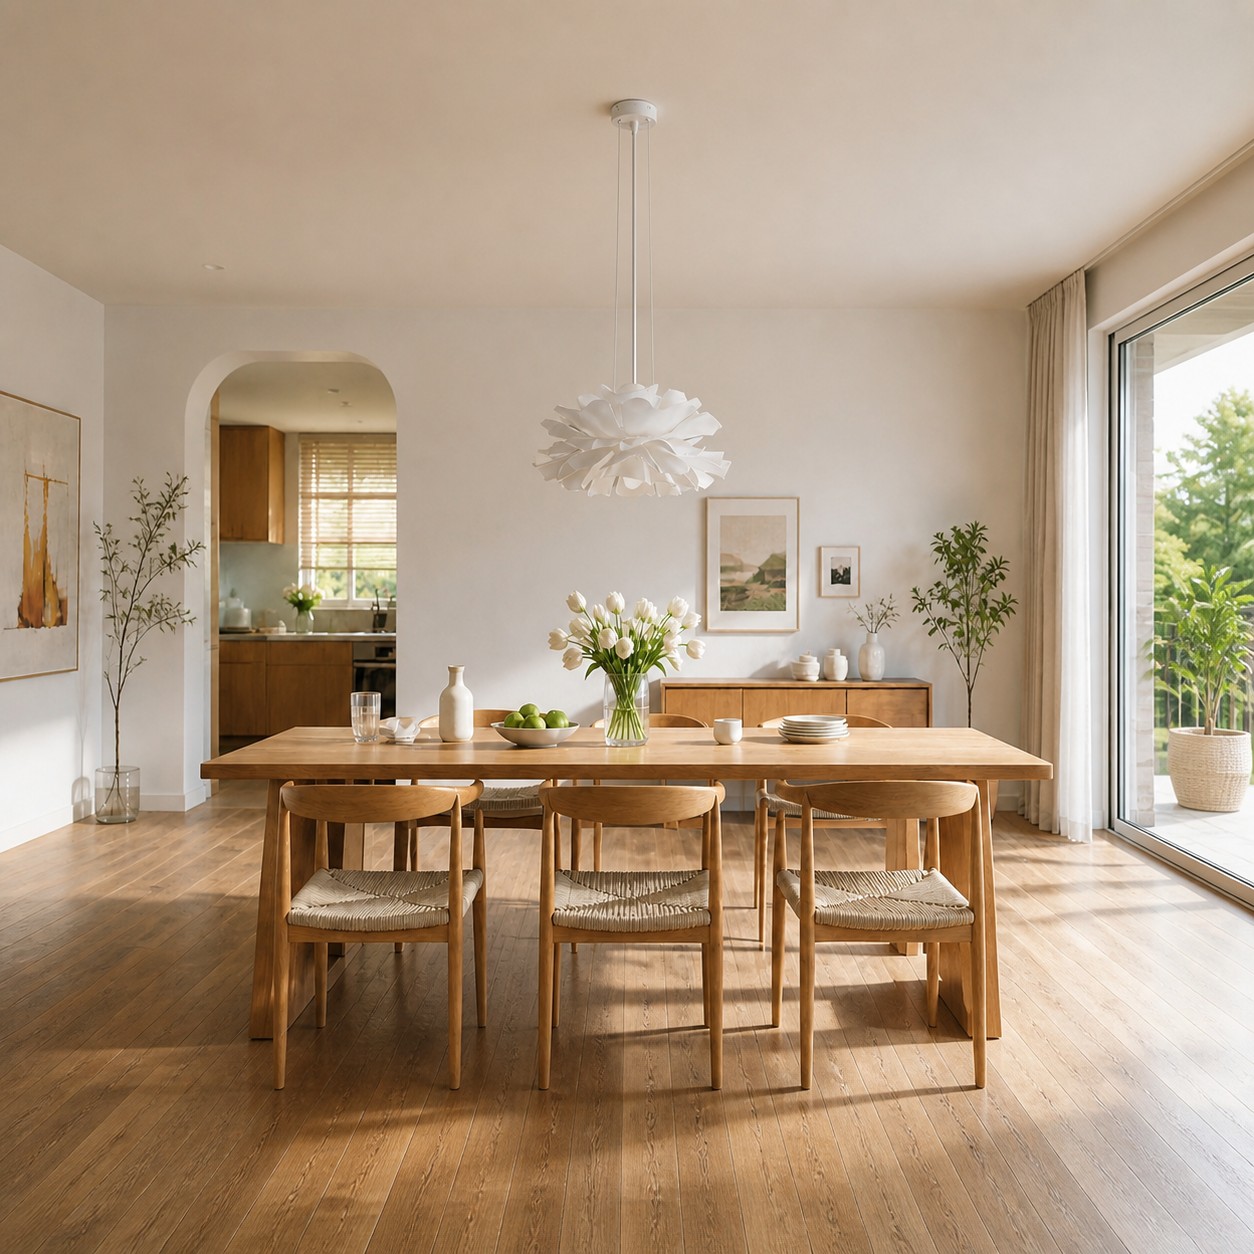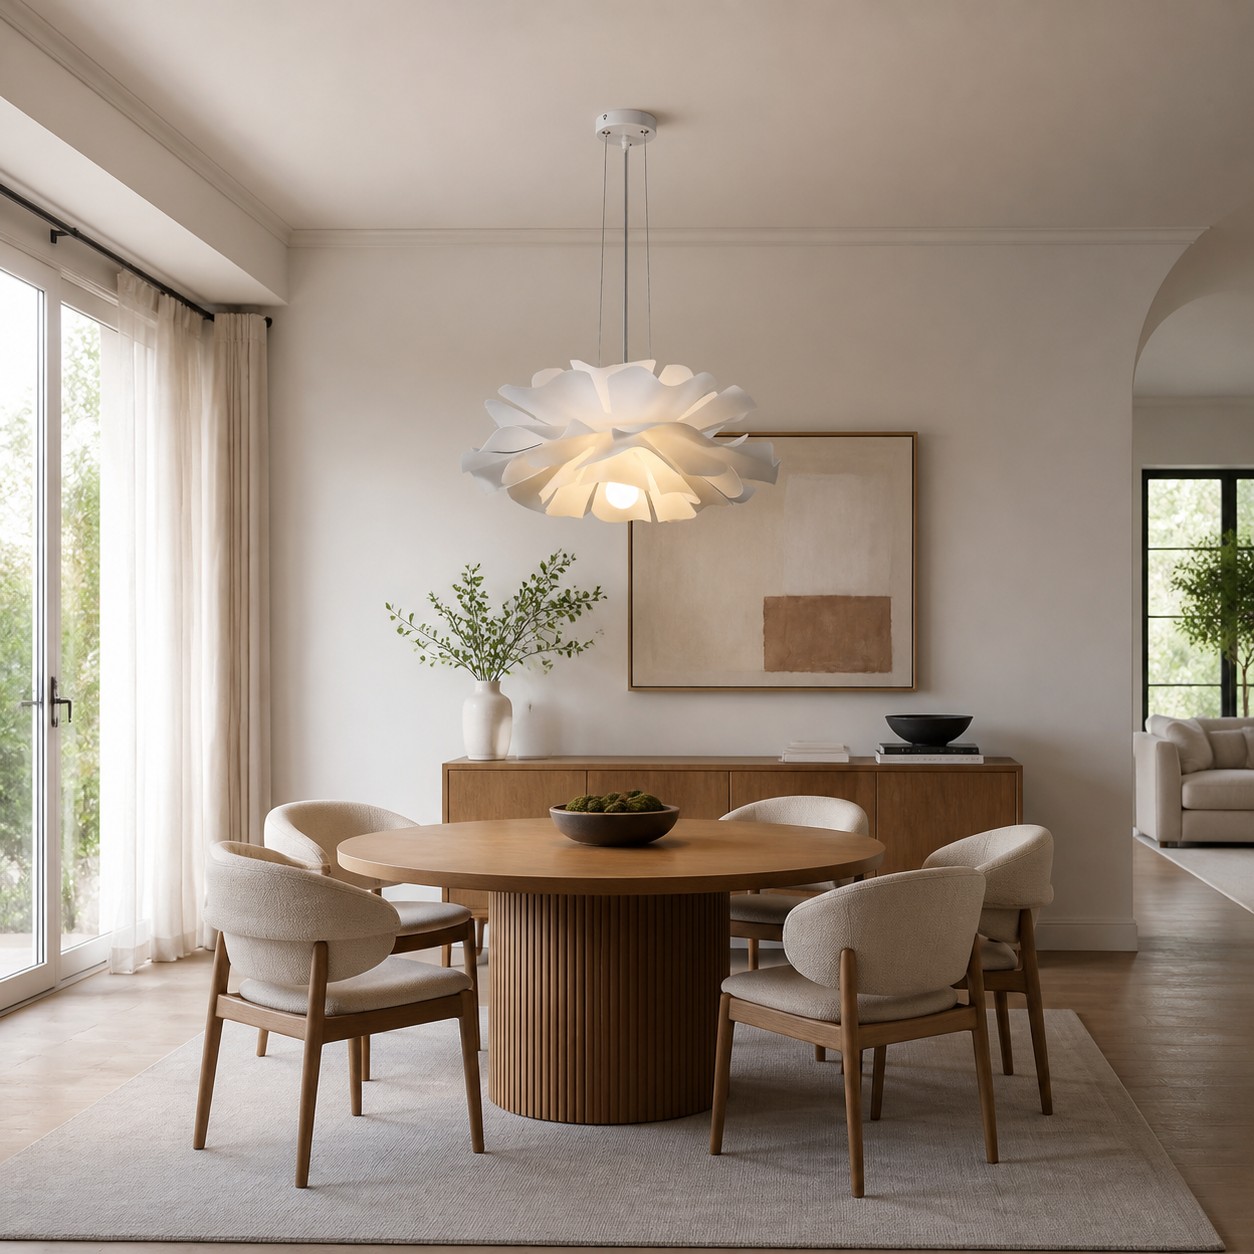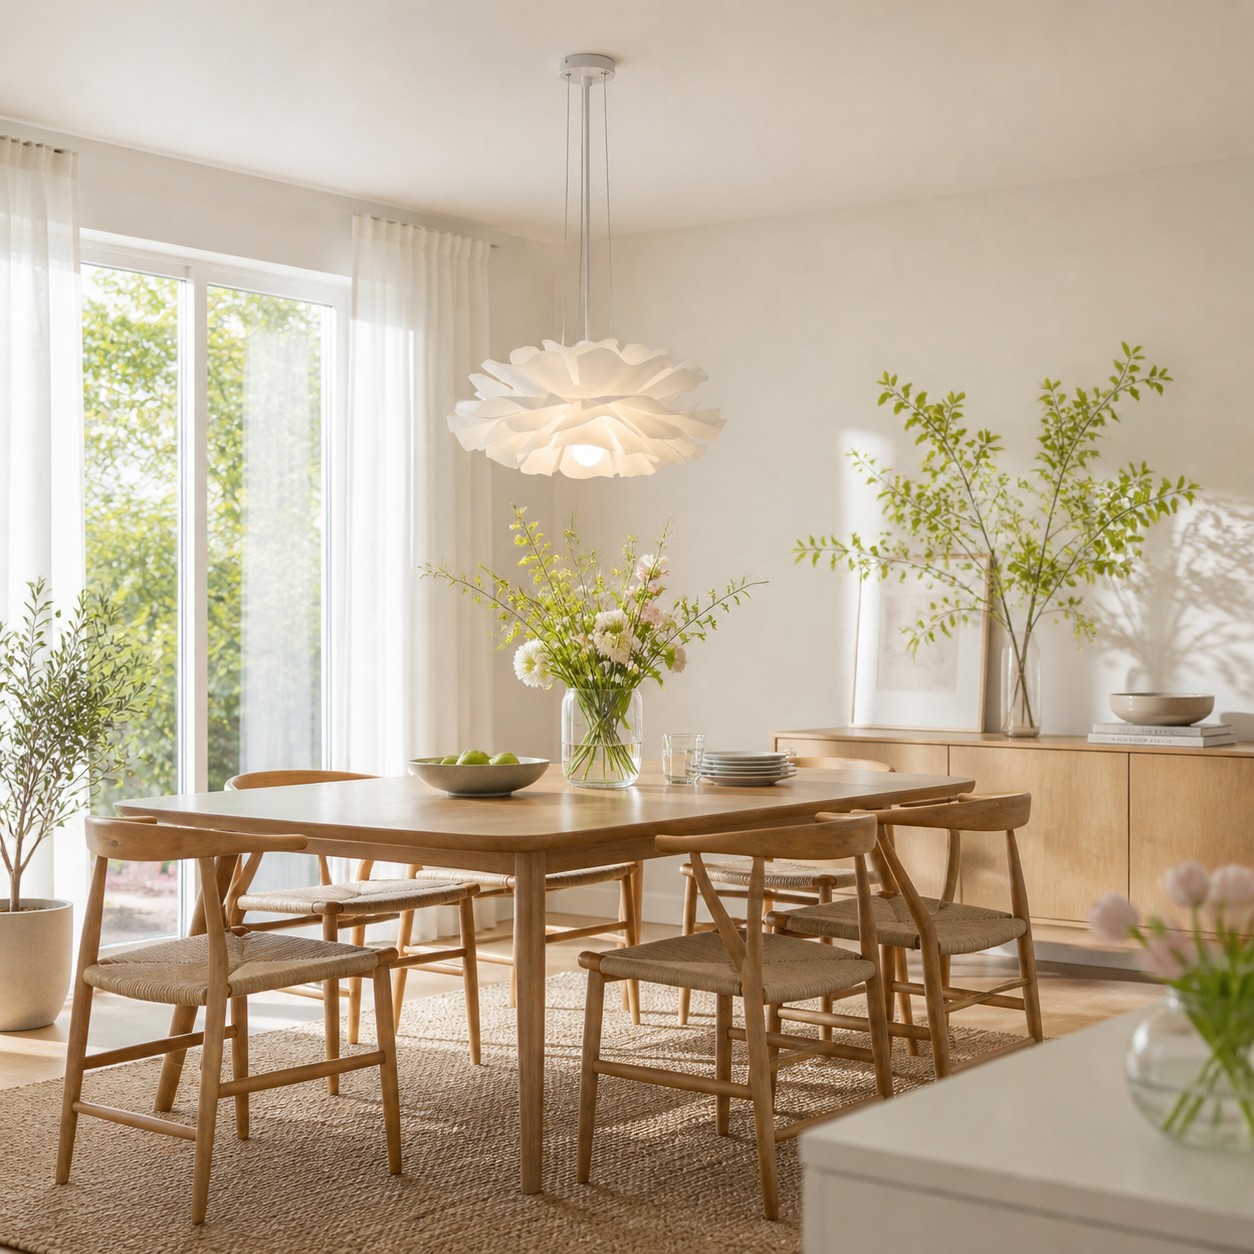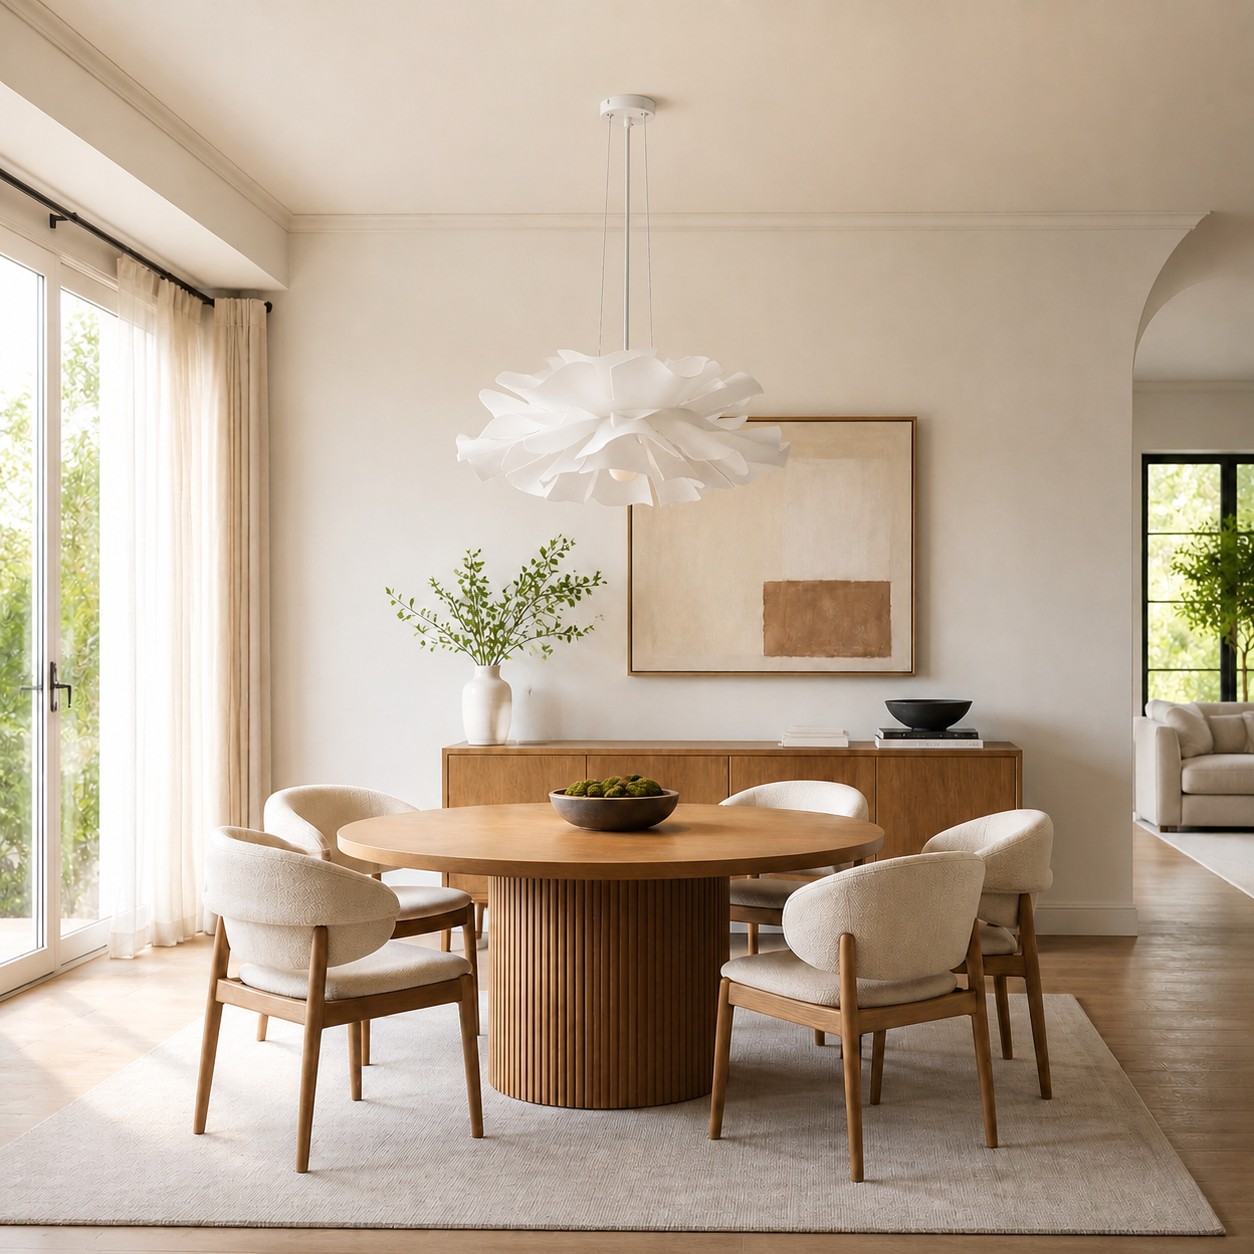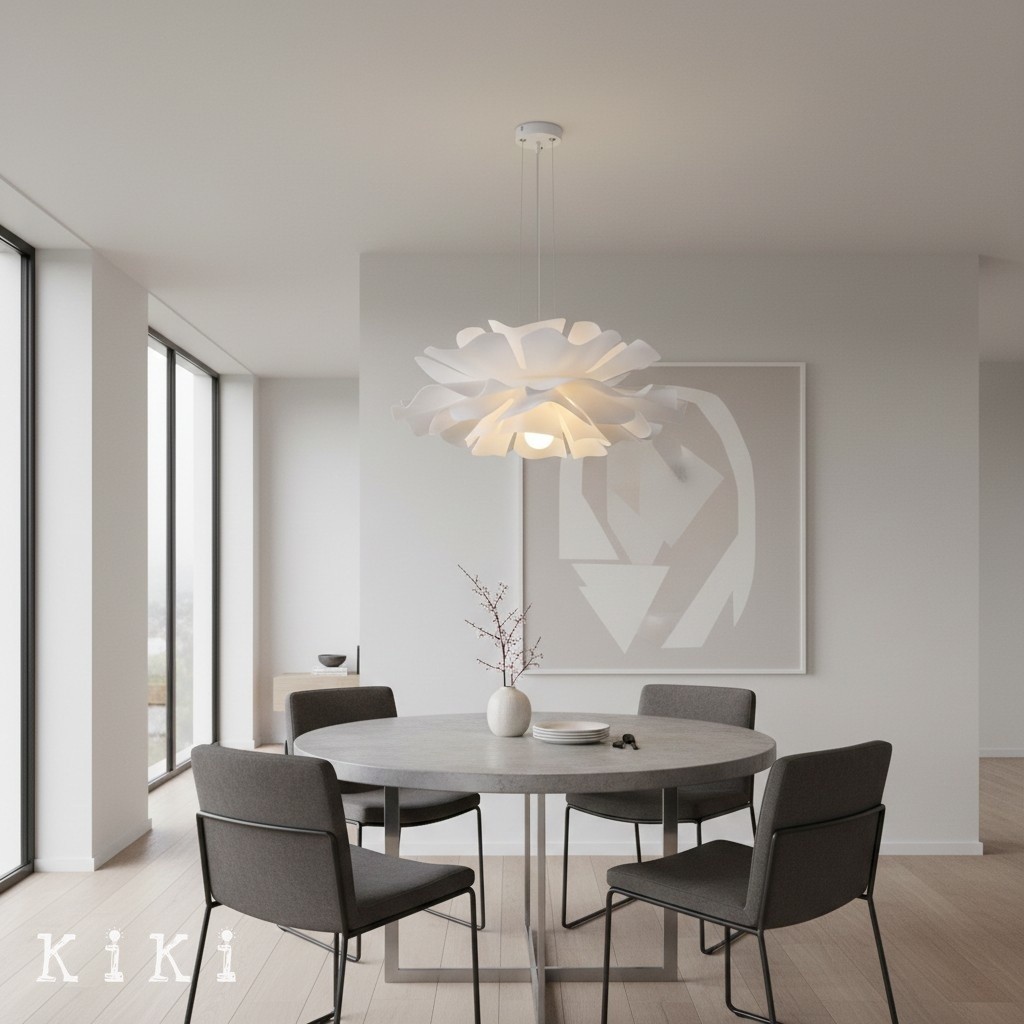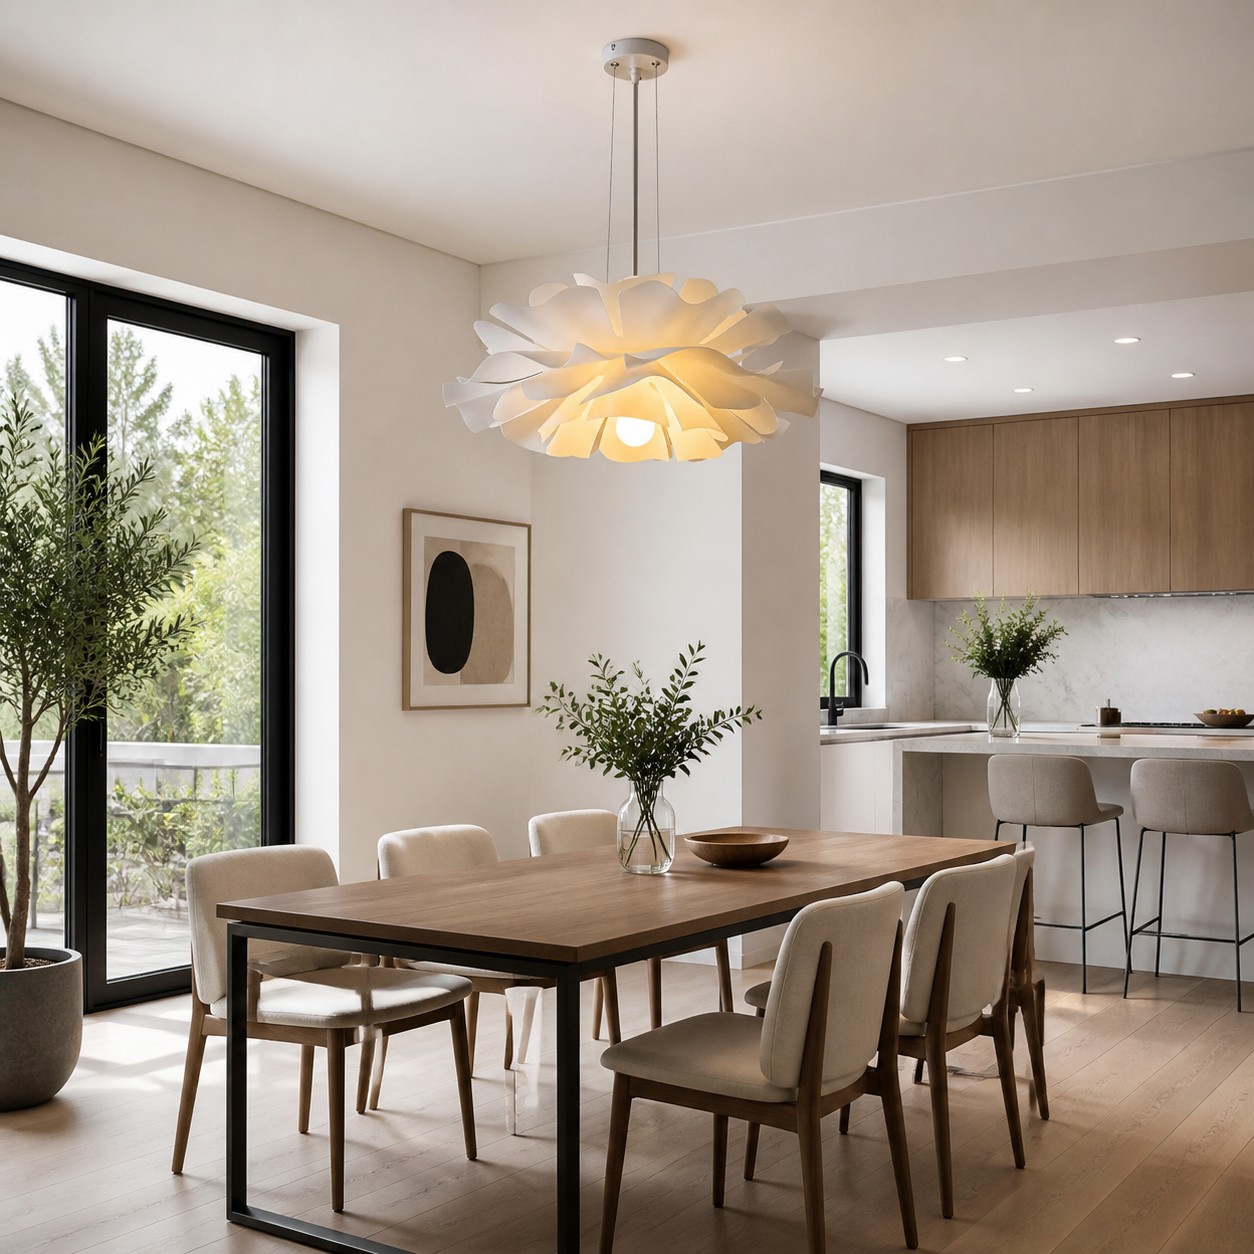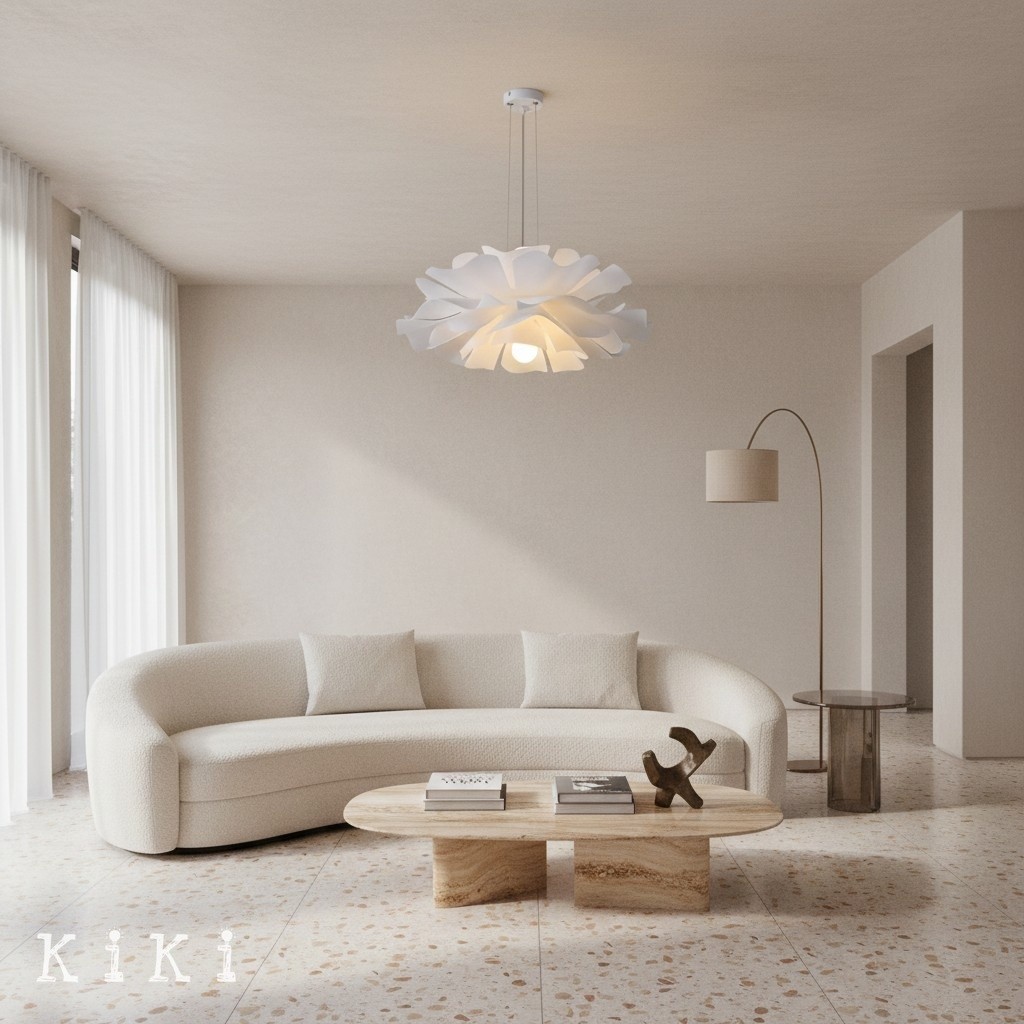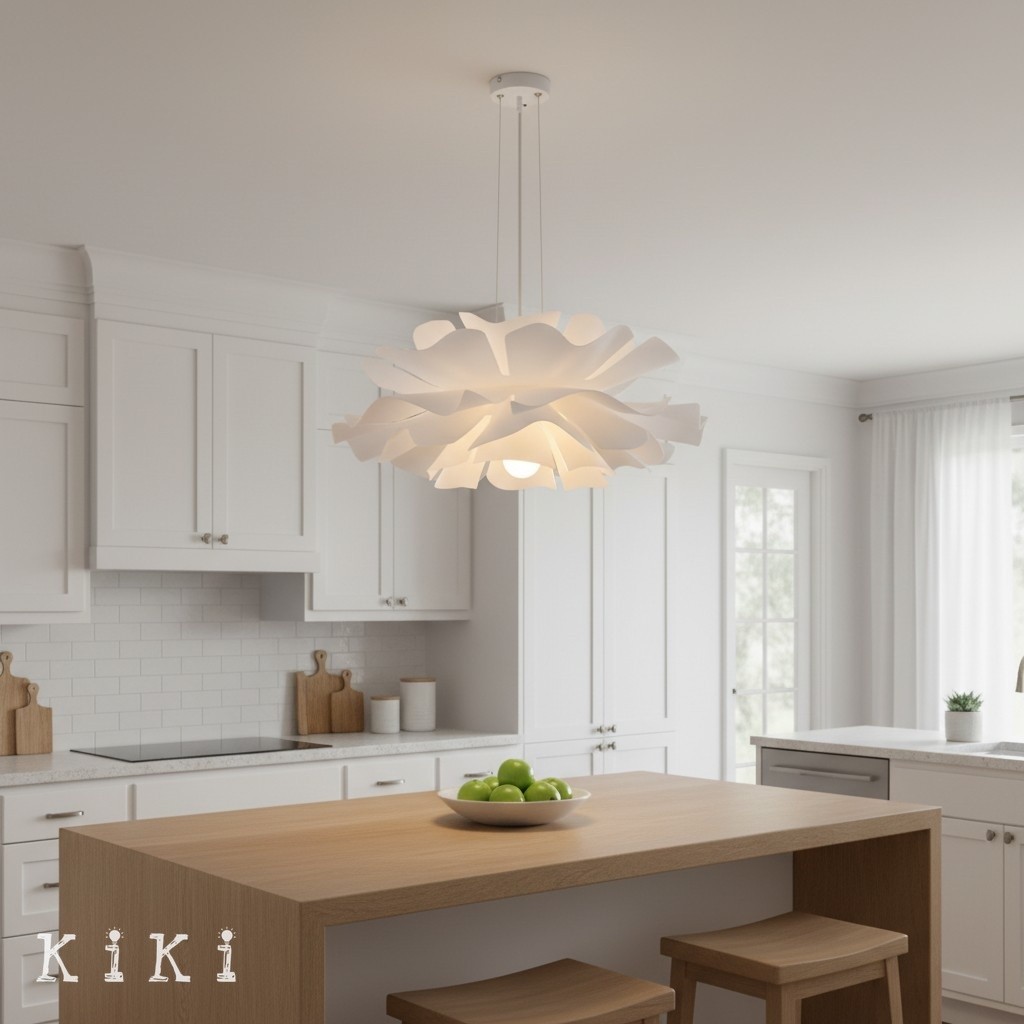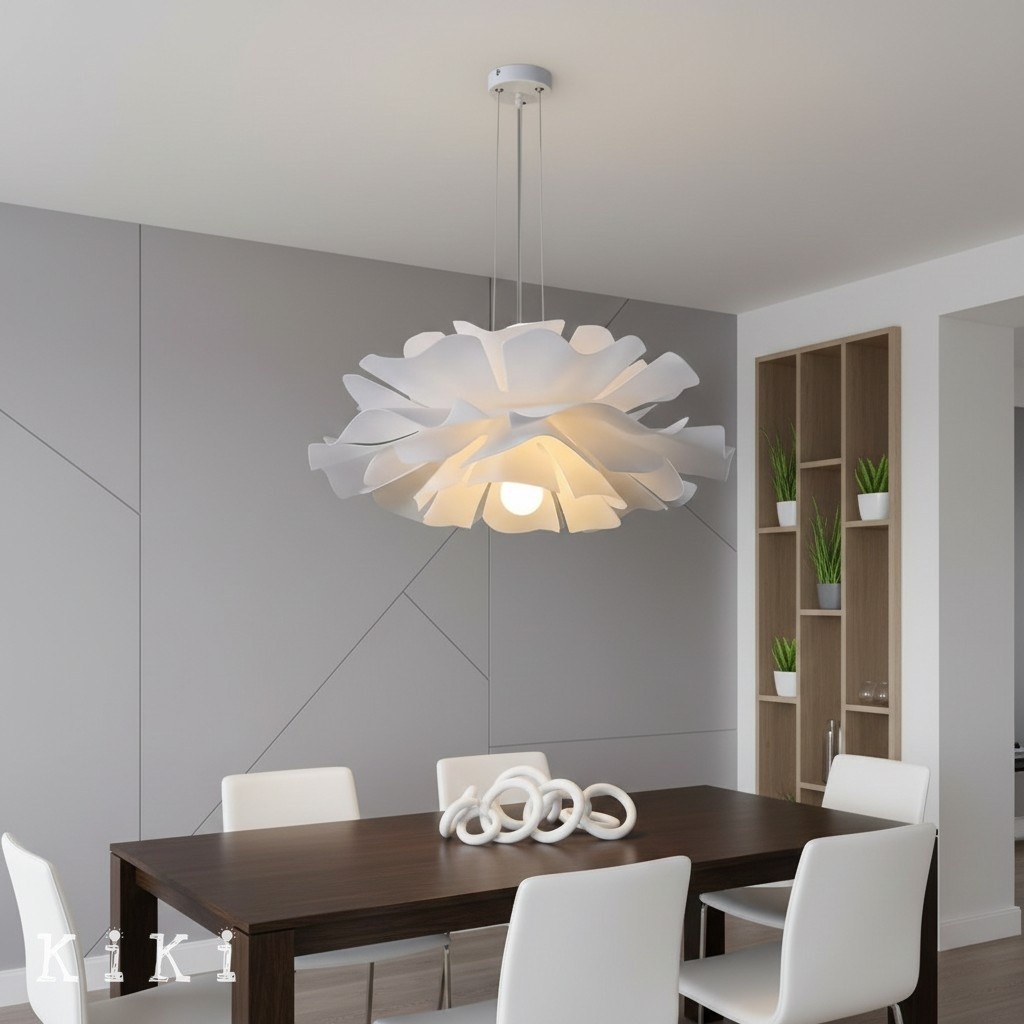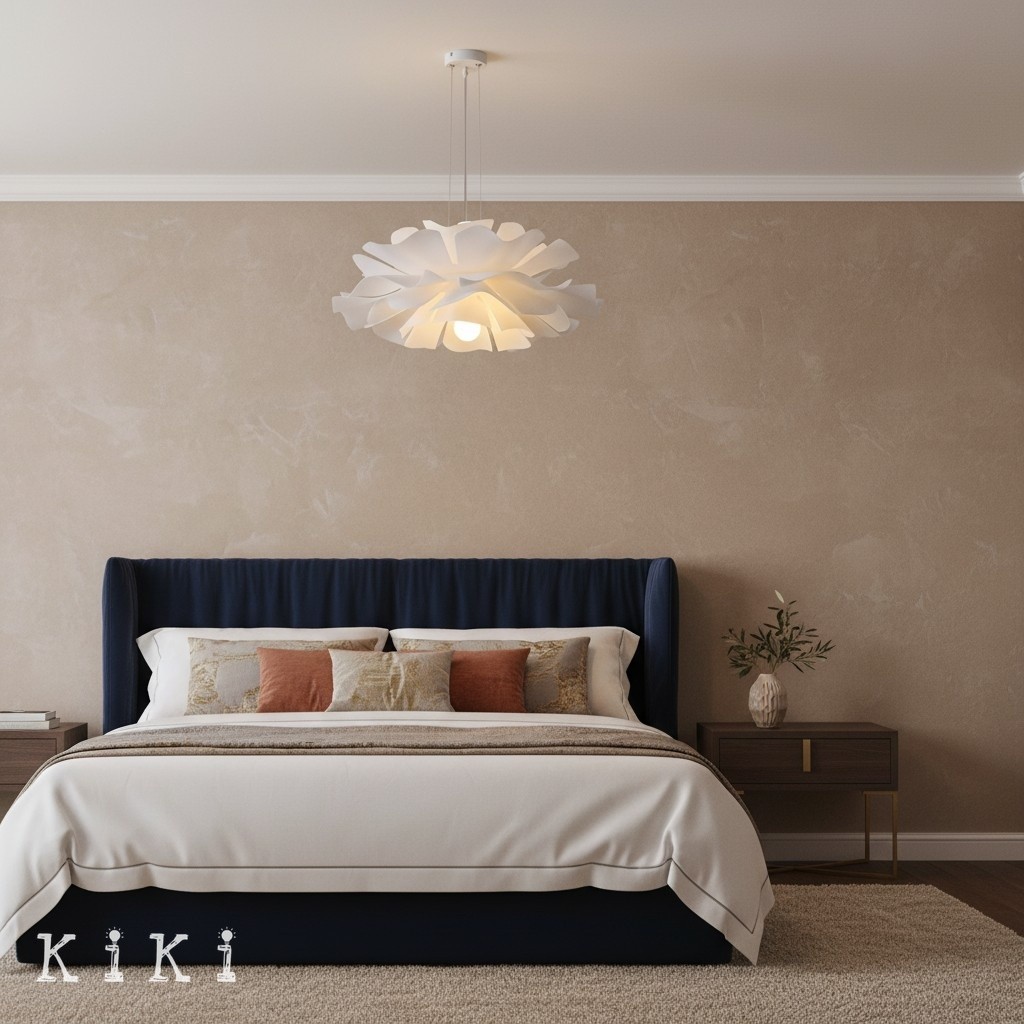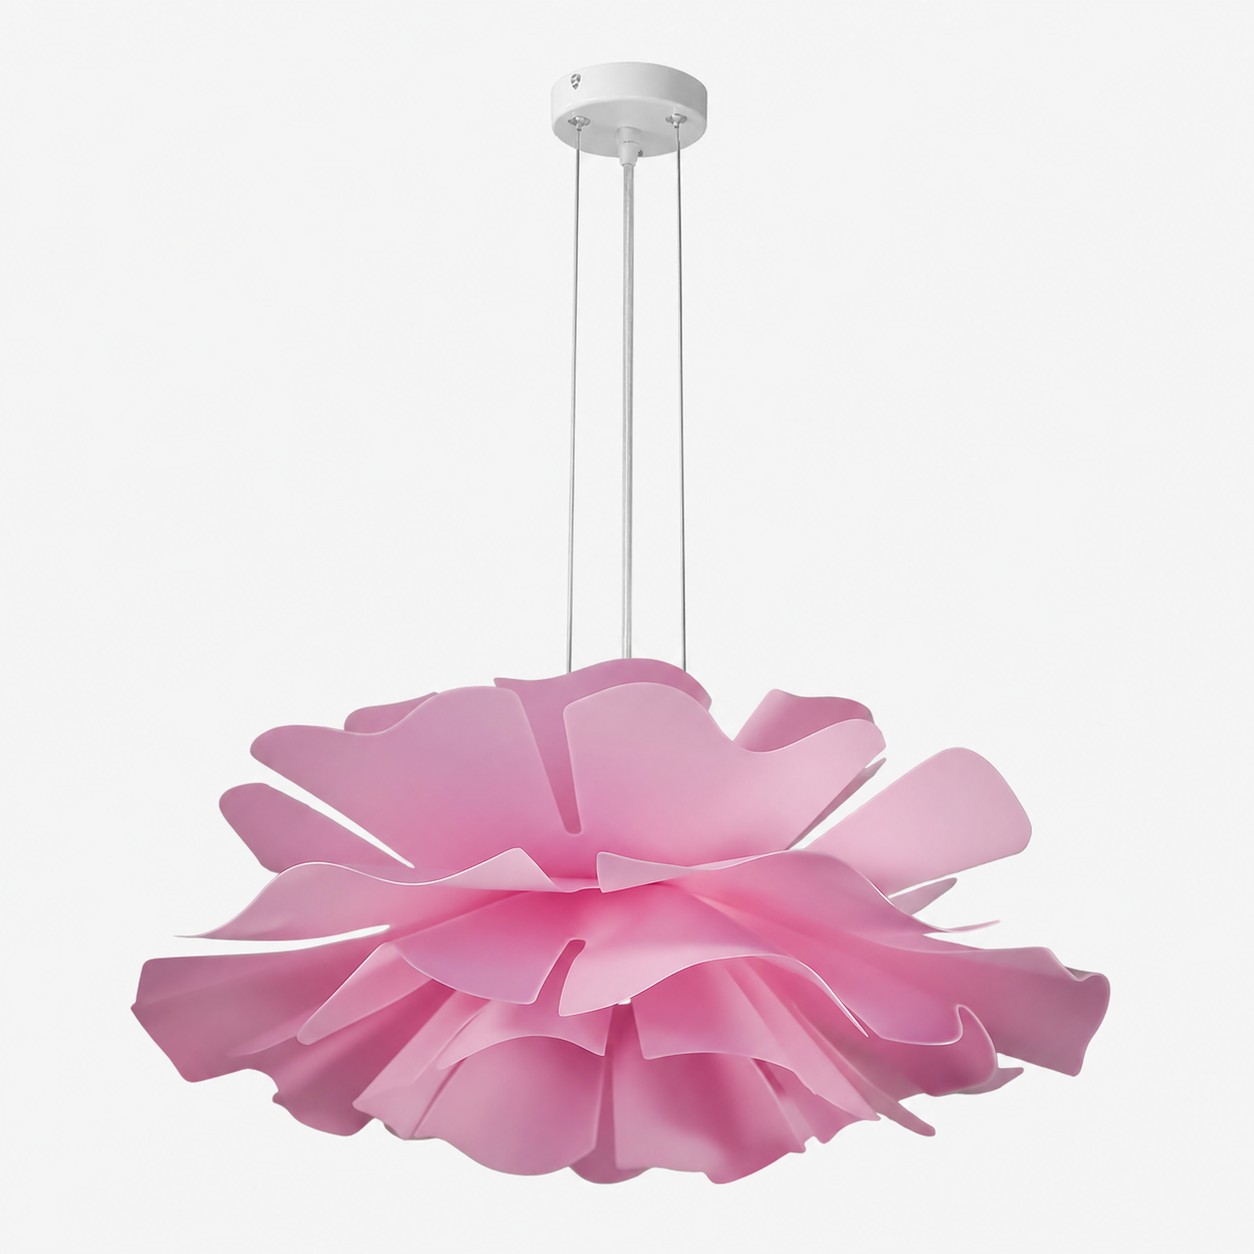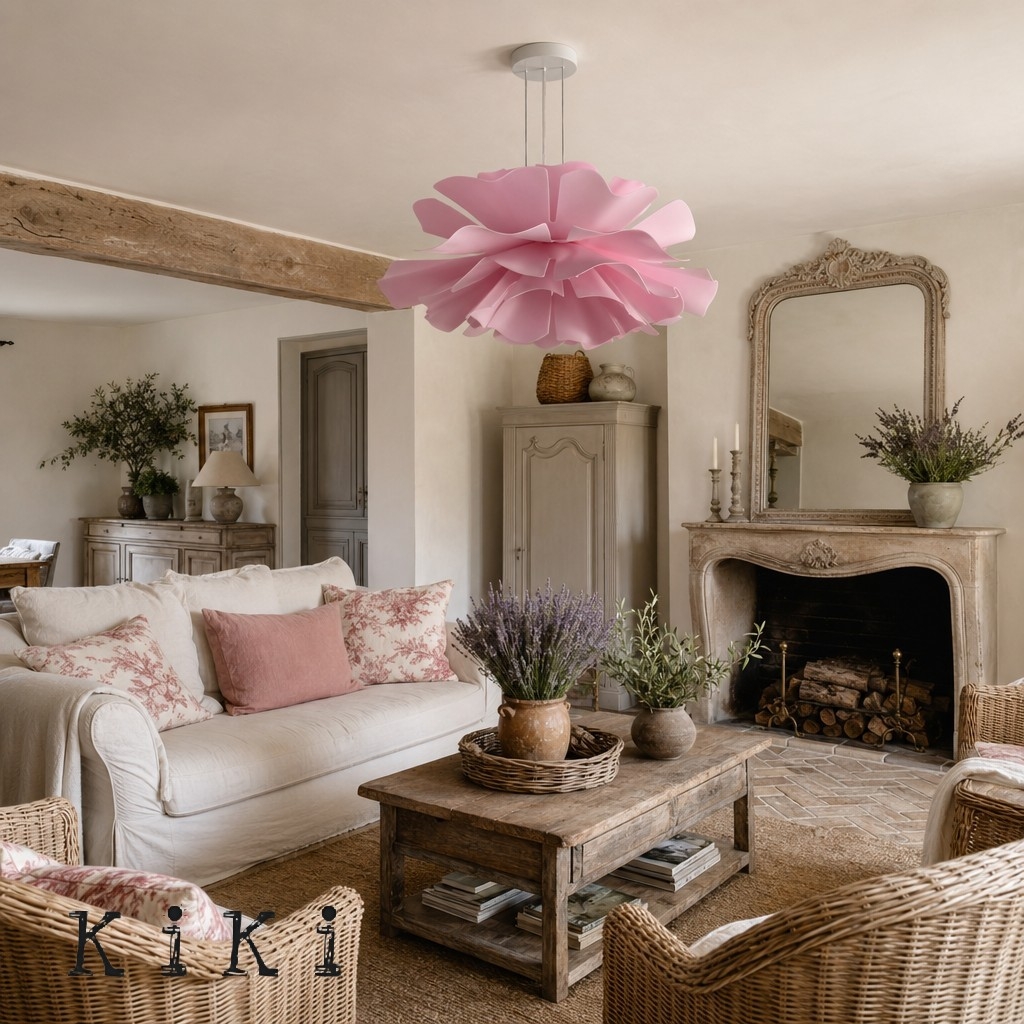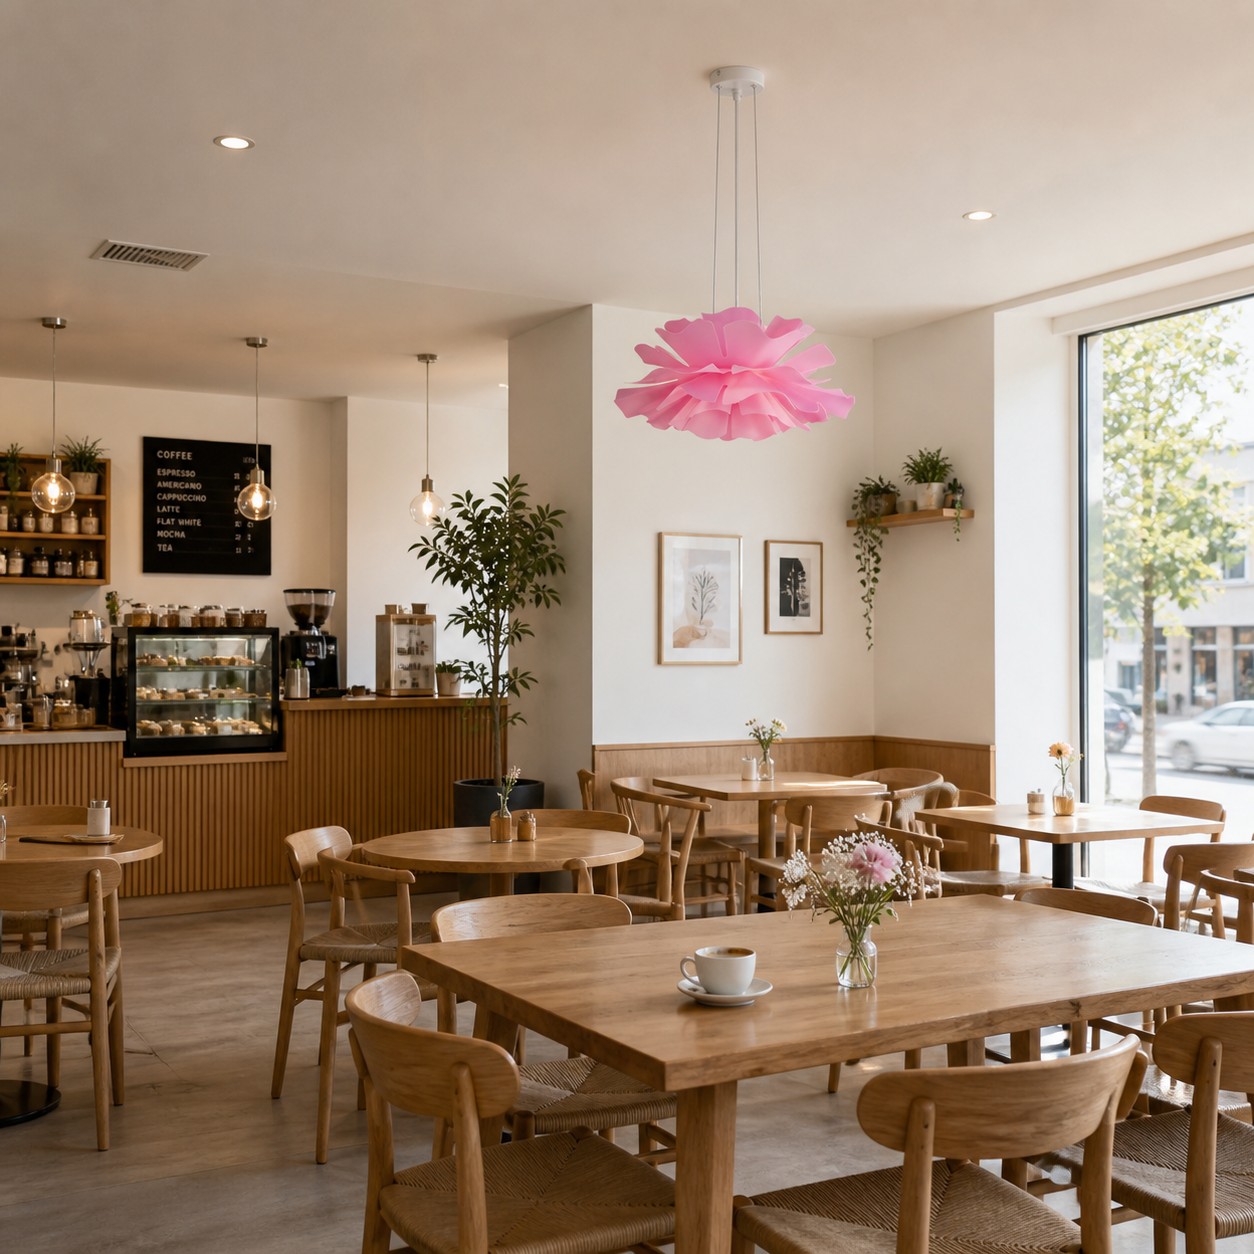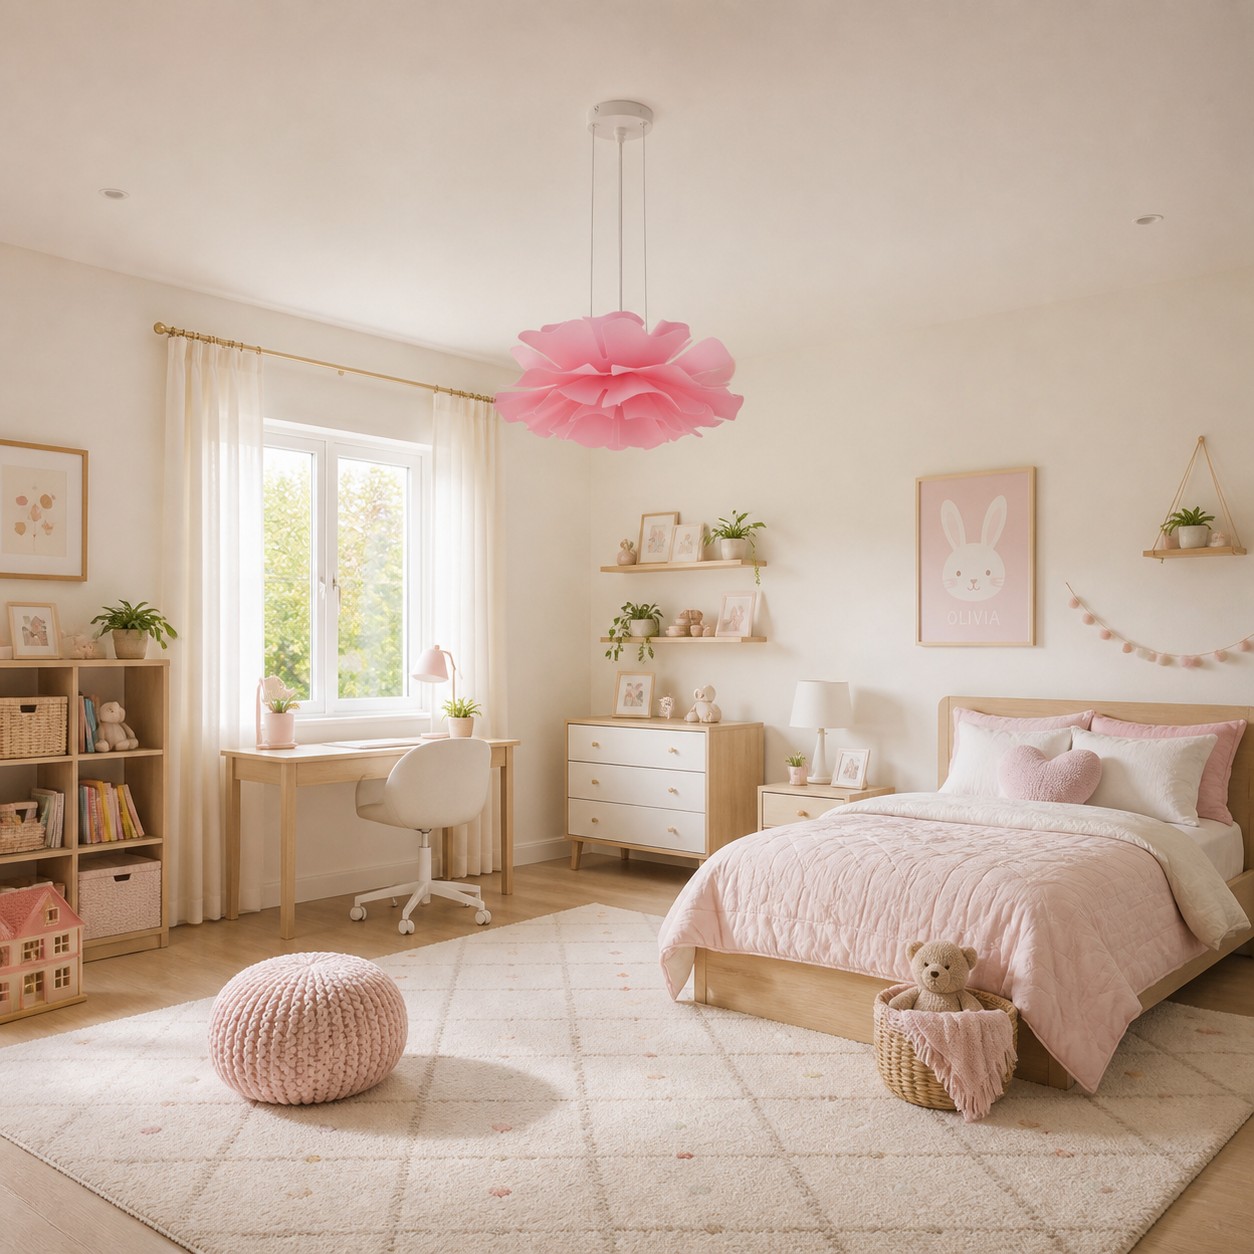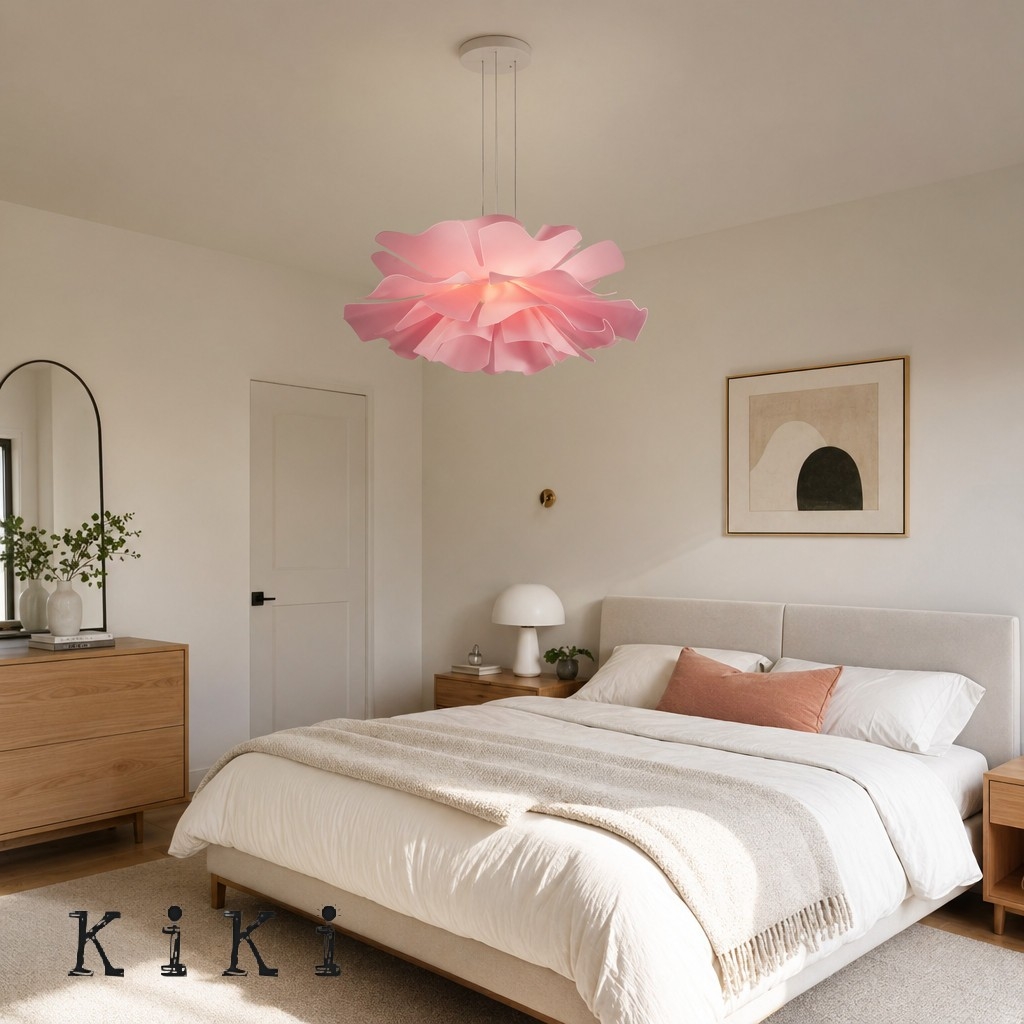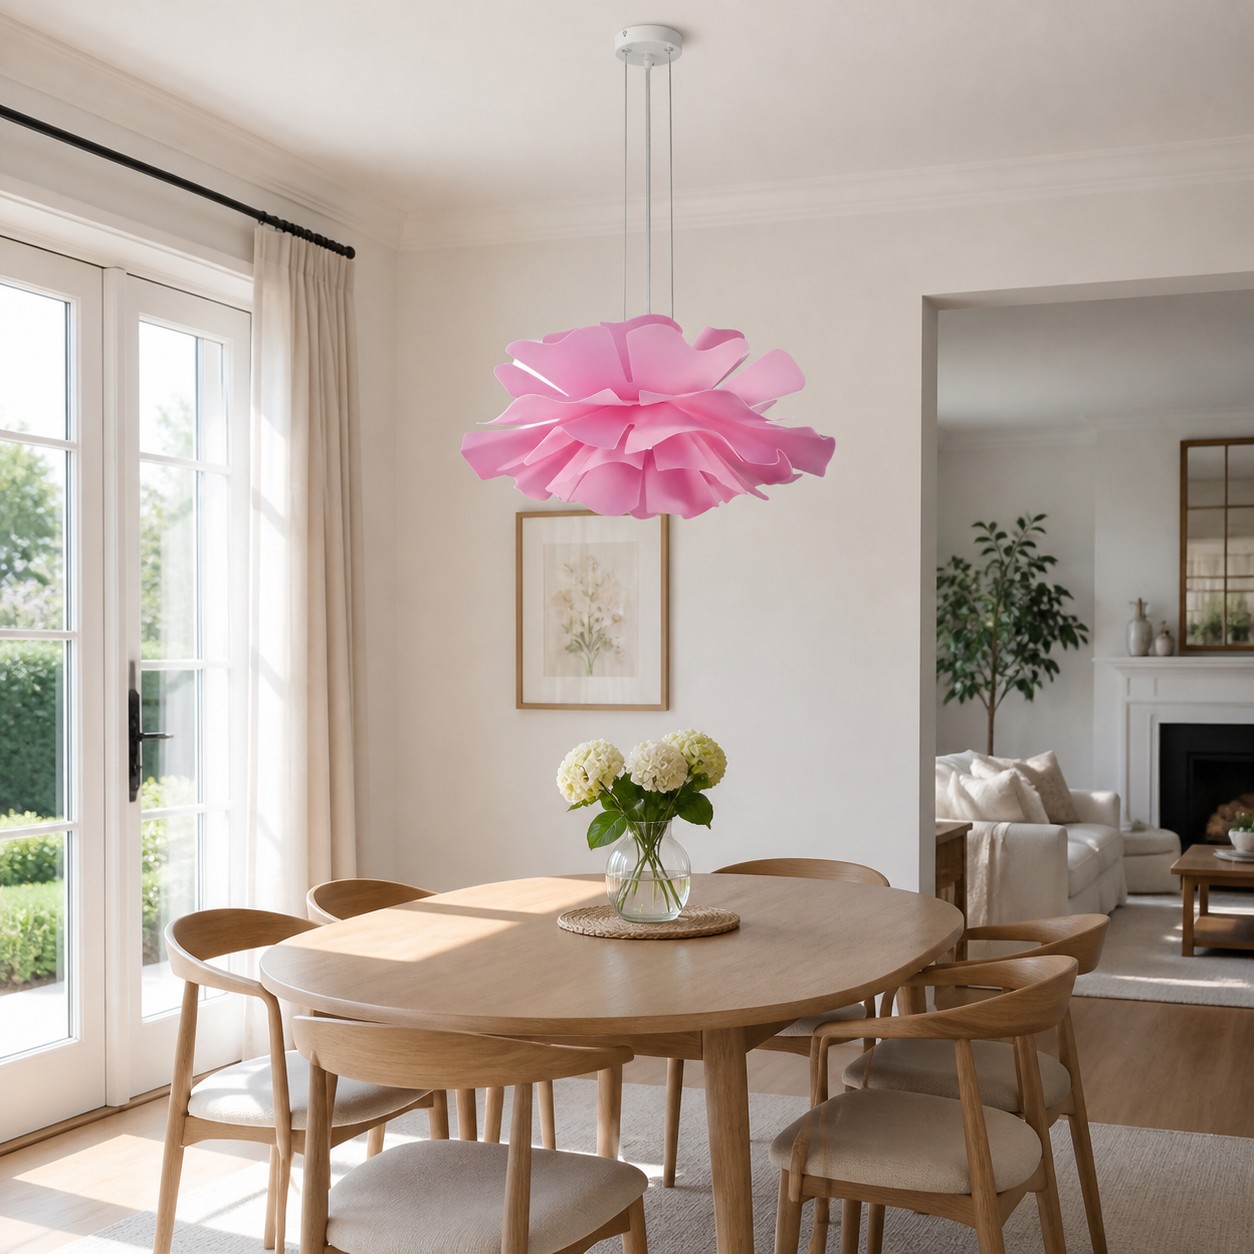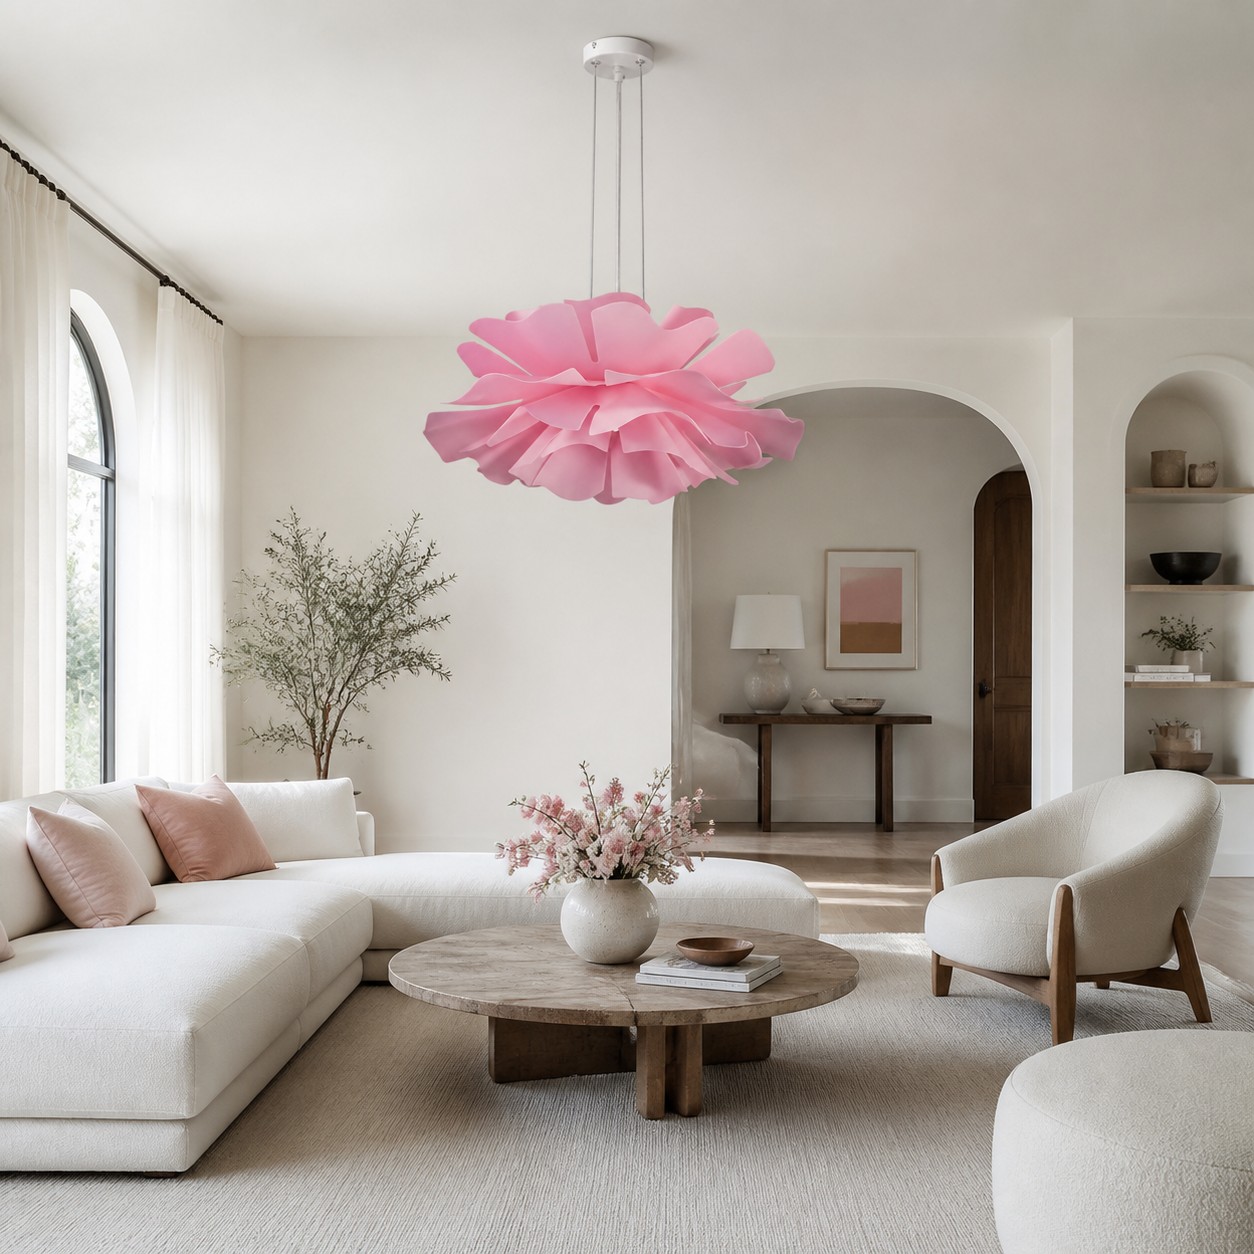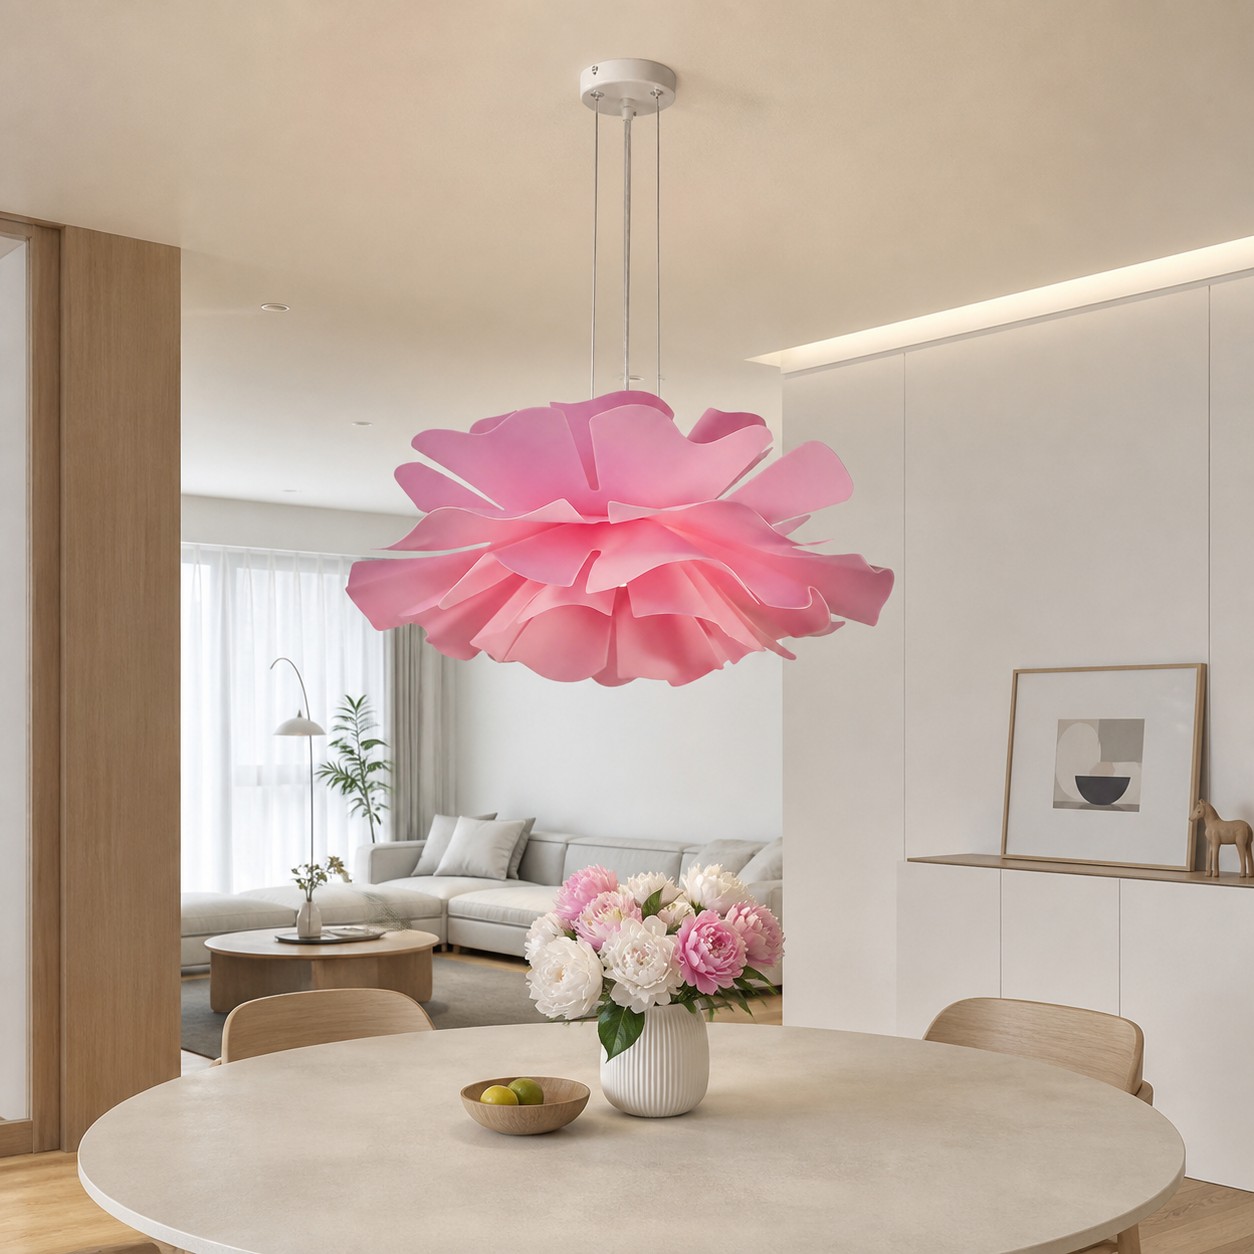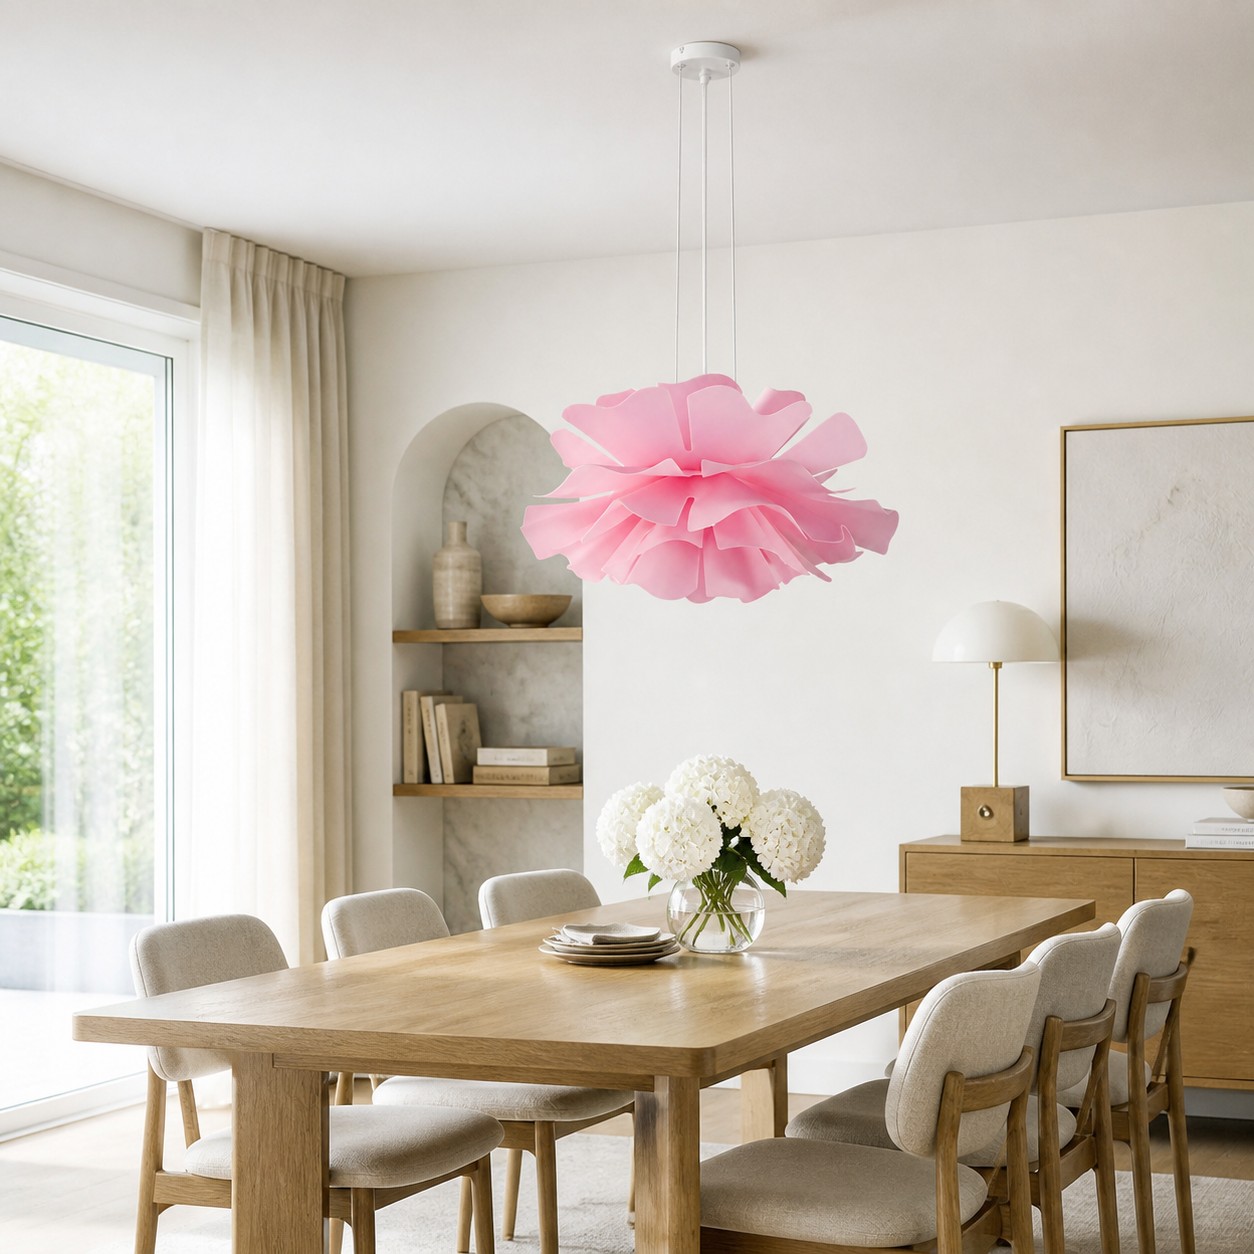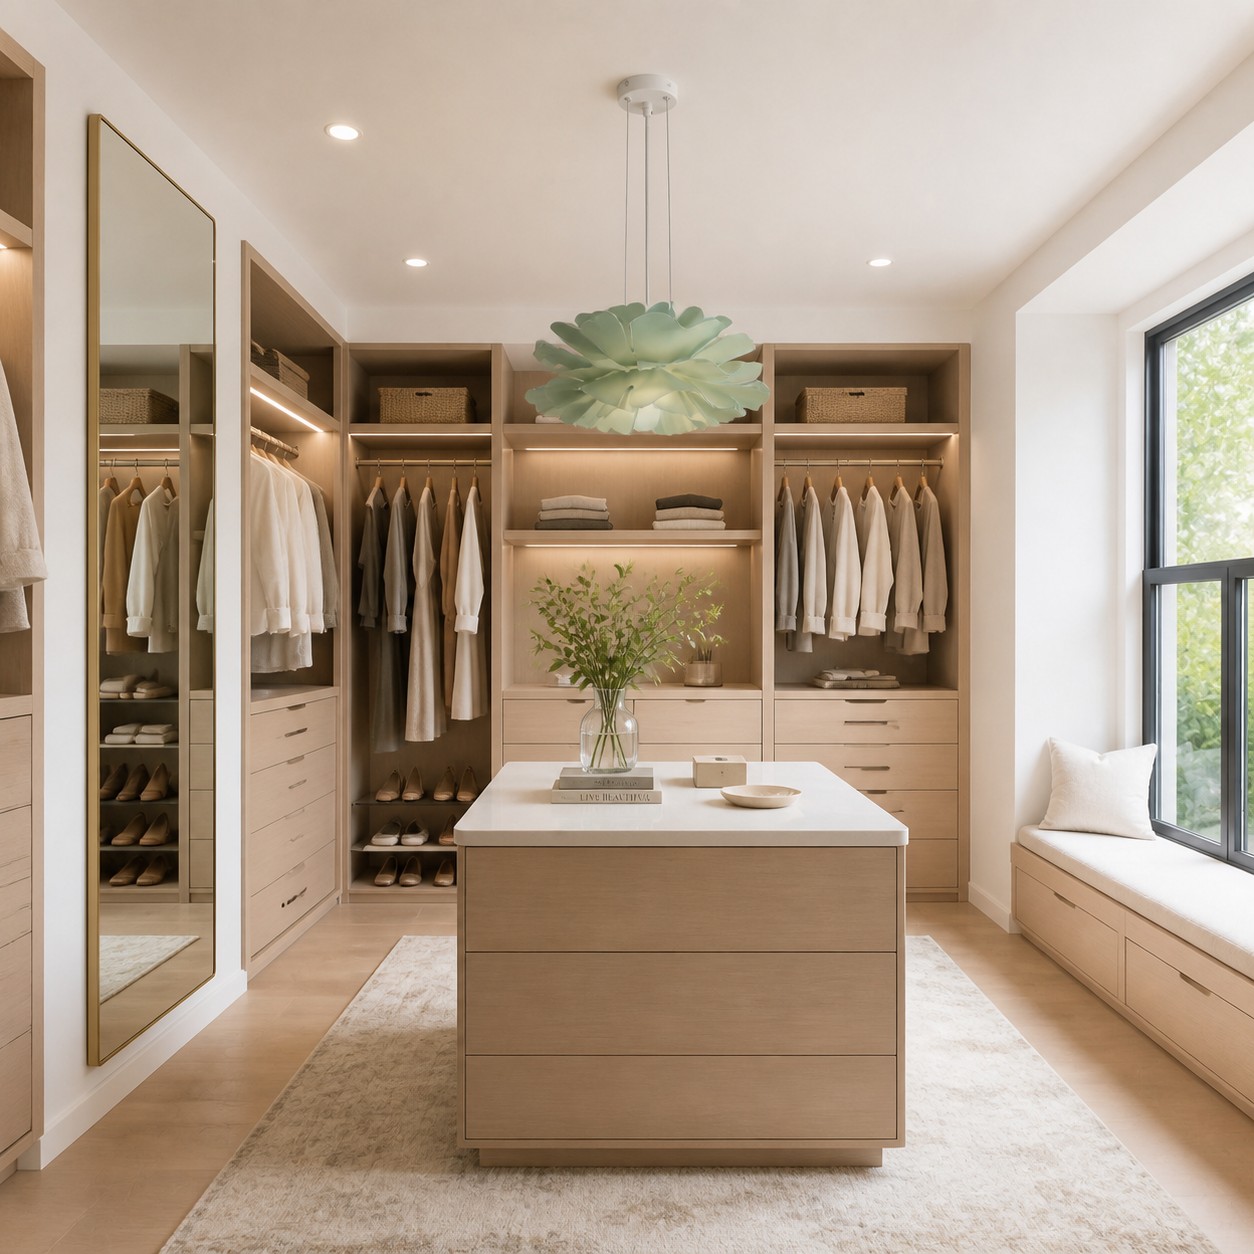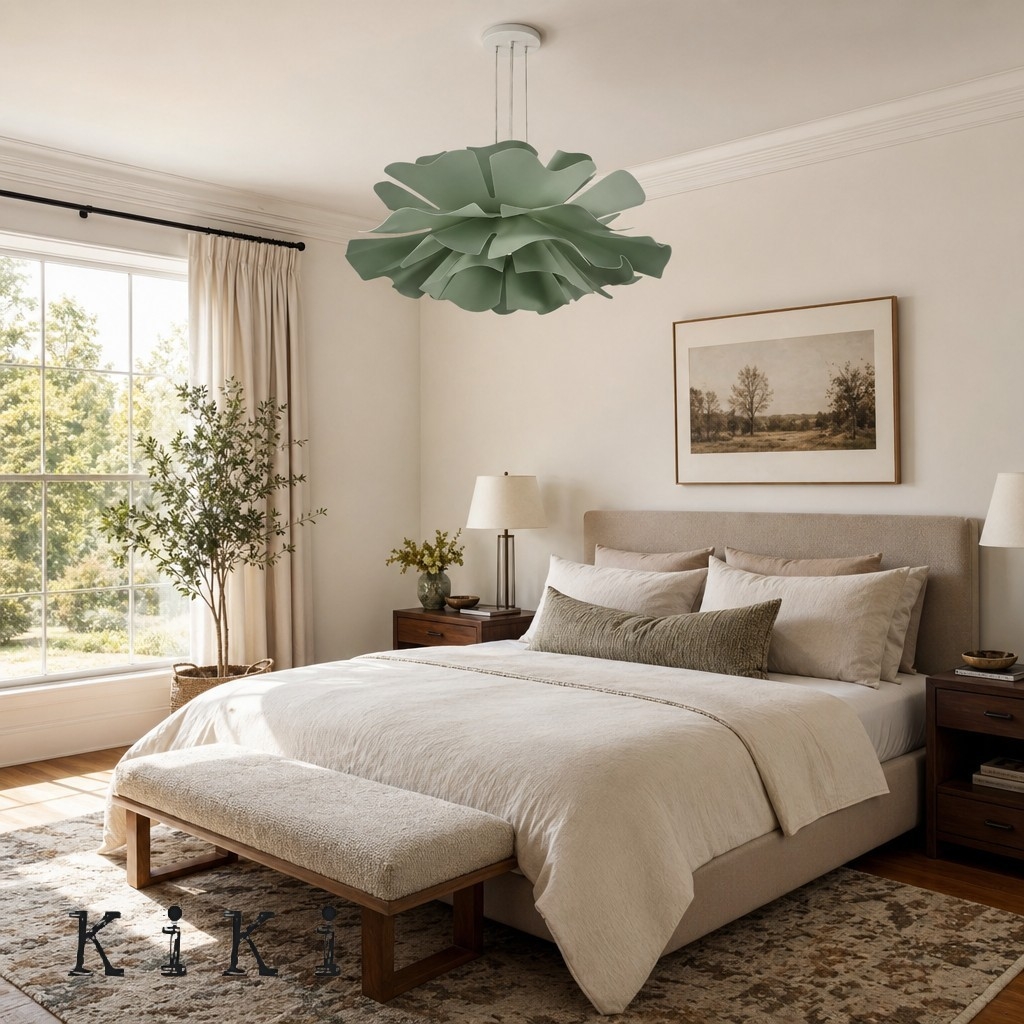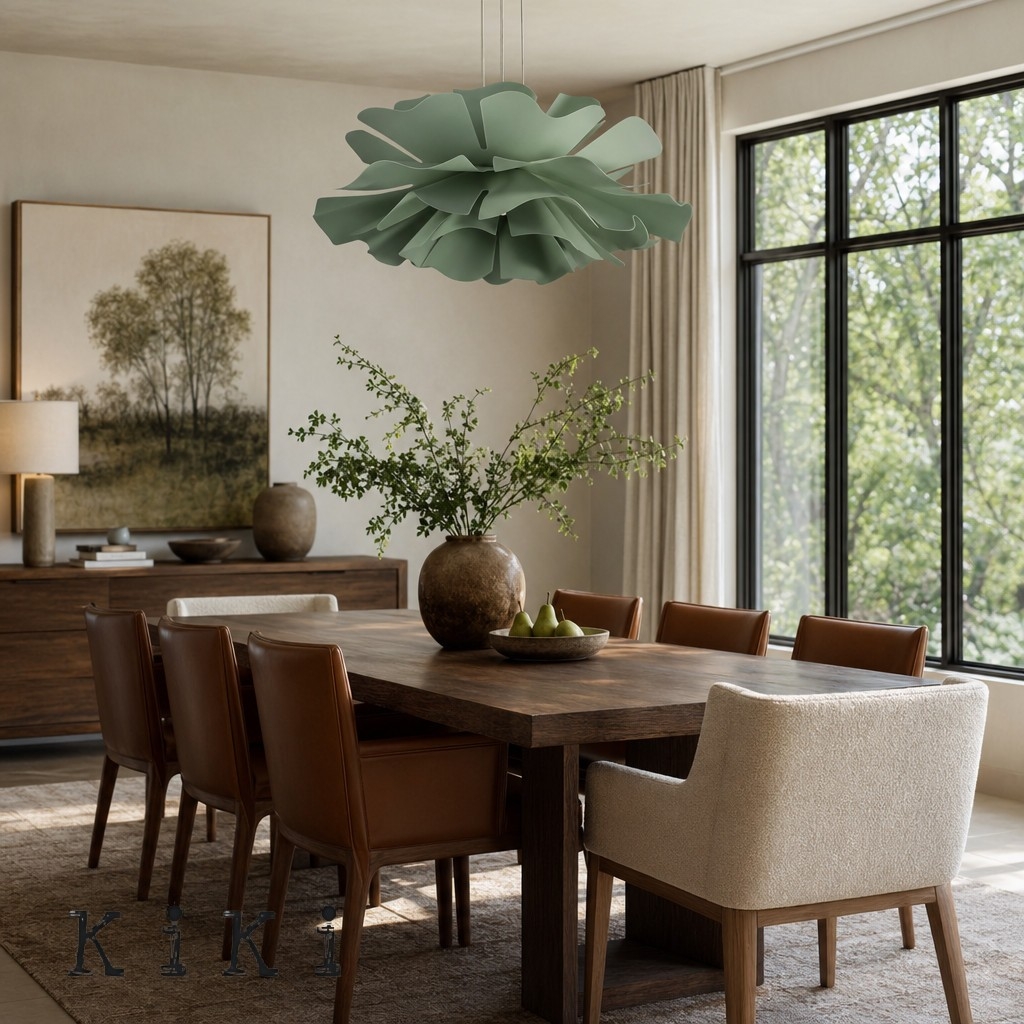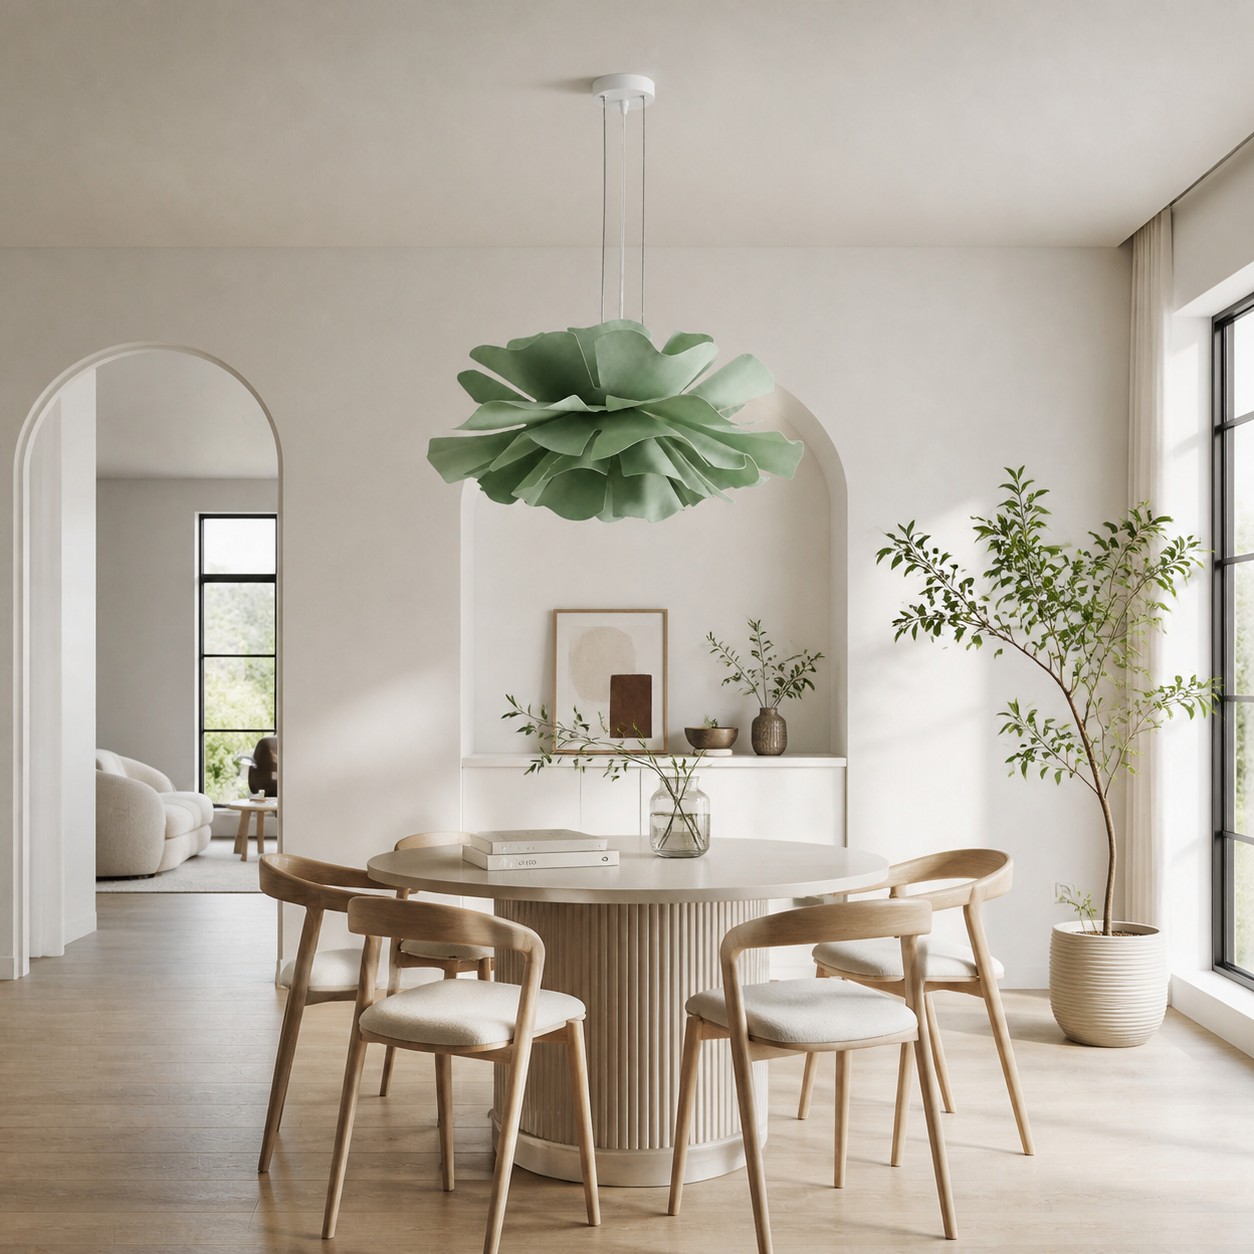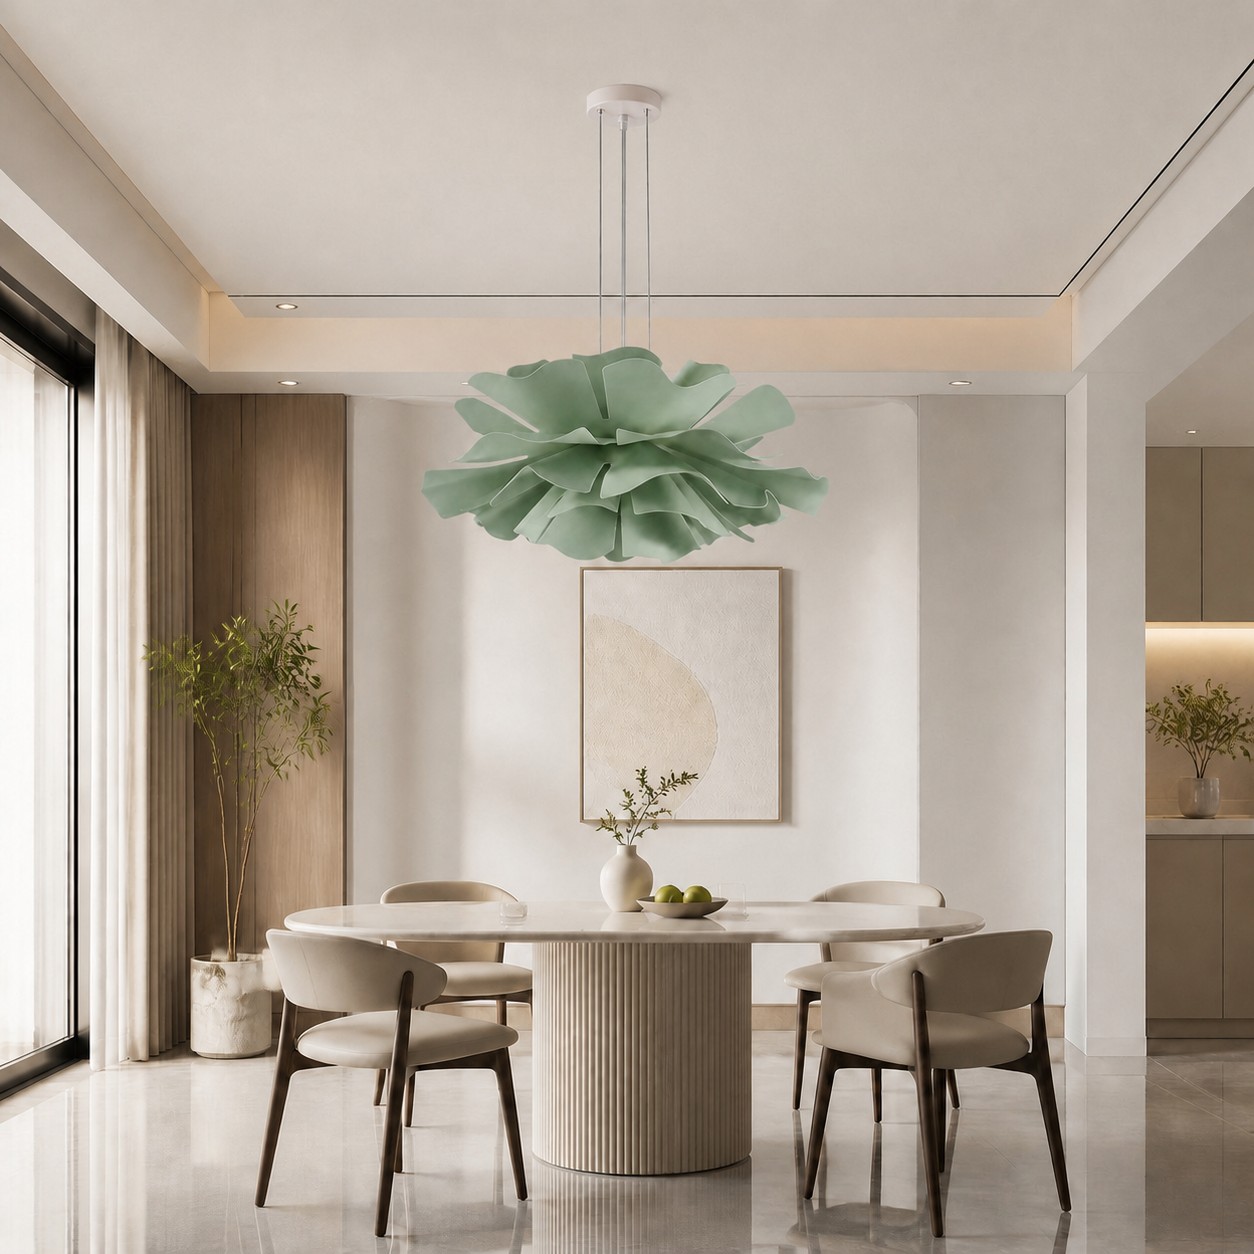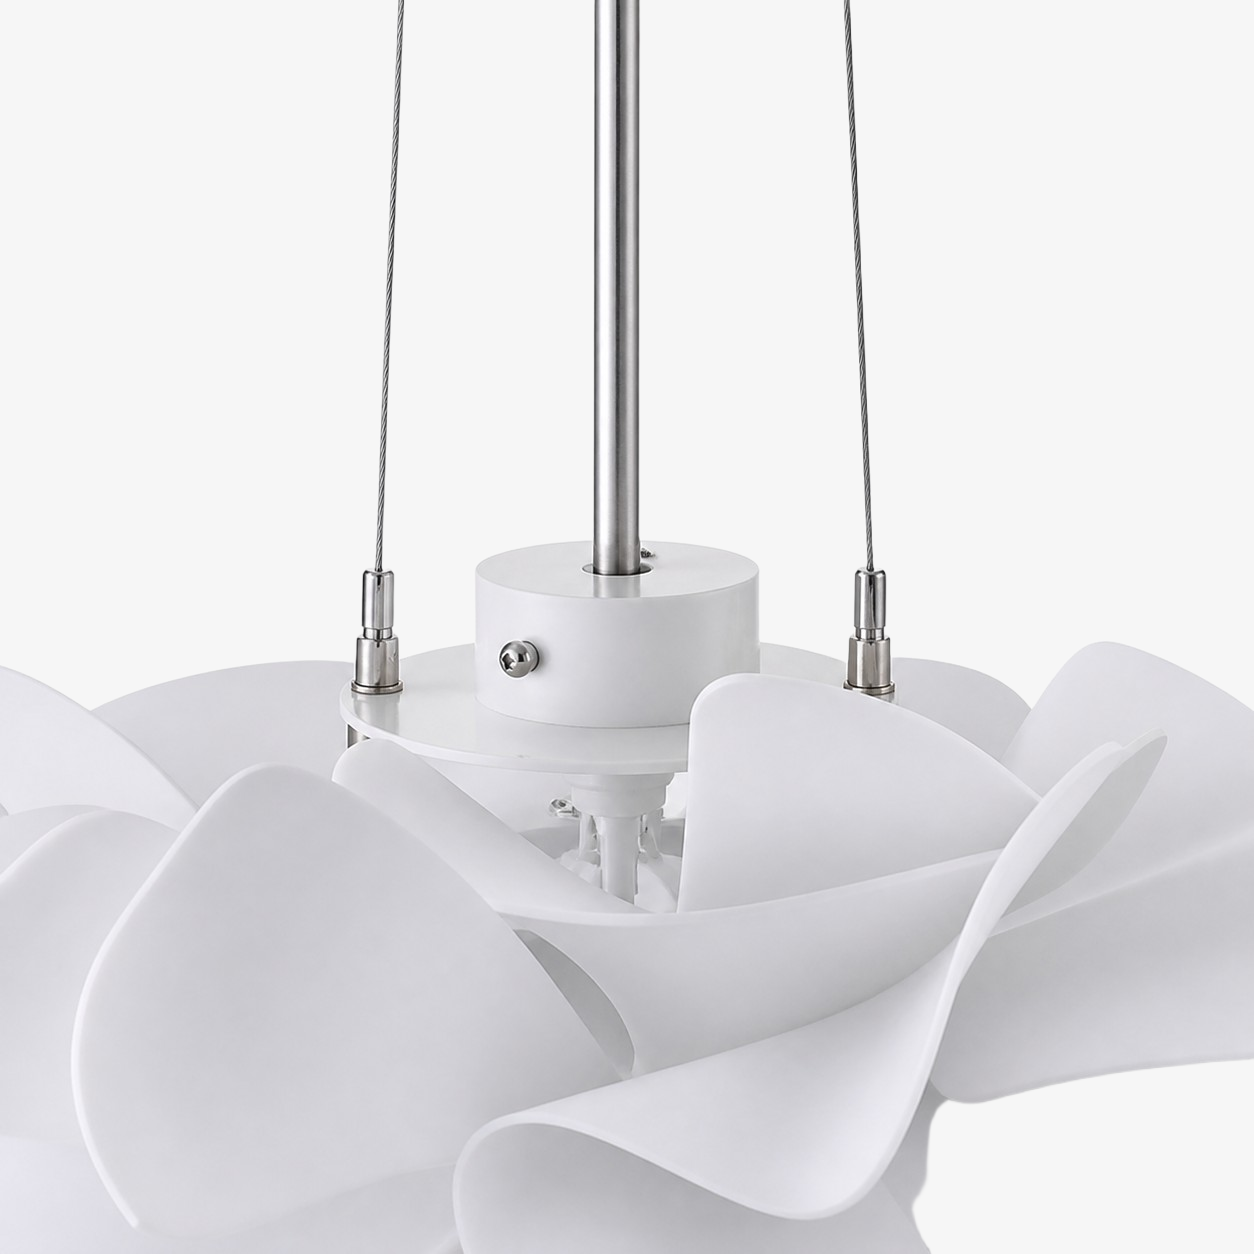
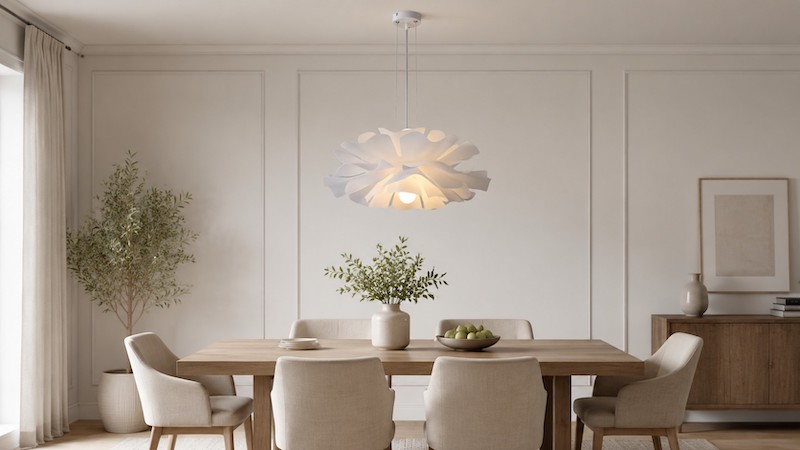
To achieve the perfect balance between functional illumination and an open, airy dining environment, the bottom of your pendant light should hang exactly 75 to 90 cm above the surface of your dining table. This specific height range ensures that the light source adequately illuminates your meals without blocking cross-table conversation or creating an intrusive physical barrier in the middle of your room.
However, hanging a light fixture involves more than just a single vertical measurement. Achieving a cohesive look requires balancing the physical scale of your table with the "visual weight" of the fixture itself. A bulky, solid metal dome hung at 75 cm can feel suffocating, whereas an organic, sculptural piece made of light-transmitting materials maintains structural breathability. By applying a deliberate framework to your measurements and fixture selections, you can eliminate spatial crowding entirely.
Before You Start: What Spatial Metrics Must You Verify?
Before unboxing any fixtures or altering your electrical boxes, you need a precise blueprint of your room's physical layout. Guesswork during this stage is the leading cause of return shipping fees and off-center installations. Grab a standard tape measure and note the following six critical data points:
- Ceiling Height: Measure from the floor to the absolute highest point of your ceiling. Standard ceilings sit around 240 cm, but higher sloped or vaulted architecture changes your cable length needs.
- Table Dimensions: Document both the length and width of your dining table. If you use a round or oval table, record the total diameter at the widest cross-section.
- Usage Scenario: Determine if this table serves strictly for evening dining, double duties as a home workspace, or functions primarily as a decorative spatial transition.
- Fixture Dimensions: Check the technical specifications of your intended light. For instance, notice whether the shape leans wide and low or tall and narrow, as this alters how it occupies the vertical plane.
- Aesthetic & Color Palette: Observe the existing color palette of your dining area. Darker, opaque furniture requires lighter, light-filtering accent pieces to prevent sensory overload.
- Structural Support & Wiring: Verify the position of your existing ceiling junction box. Ensure it is structurally centered over where your table actually sits, not just where the center of the room happens to be.
Step 1: Confirm Your Core Lighting Architecture
Every functional room relies on layered lighting. You must determine if your pendant will be the sole source of illumination or if it will cooperate with recessed architectural downlights. For standard dining tables, you want a fixture that casts a gentle downward pool of light onto the tabletop while scattering diffuse illumination sideways into the room.
A setup requiring two standard E27 bulb sockets capped at a maximum of 40W per bulb provides the optimal volume of light. This prevents the harsh, clinical atmosphere often generated by high-wattage integrated LEDs, giving you an intimate, glare-free dining experience. If your room already features perimeter accent lighting, like modern wall sconces, your central pendant can lean toward a more decorative, atmospheric output. For a comprehensive look at balancing secondary wall lighting with main central fixtures, see our guide on Indoor Lighting Magic: Planning a Three-Tier Living Area Lighting Layout Around a Flower pendant light.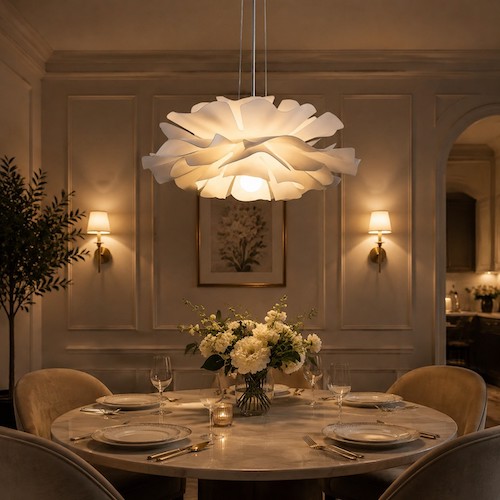
Step 2: Select the Exact Fixture Diameter Based on Table Scale
To prevent a pendant light from feeling like it is hovering too close to your head, the fixture's diameter must never match or exceed the width of your dining table. The golden rule of horizontal scale states that your light fixture should be at least 30 cm narrower than the total width of the table. Alternatively, for long rectangular tables, look for a fixture with a diameter that represents roughly one-half to two-thirds of the table’s total length.
To make this choice seamless, compare your table measurements directly against standard architectural lighting profiles:
- Round Bistro Table (Dia 70–80 cm): Recommended Dia 40 cm × H 25 cm. Result: Compact footprint; maintains conversational open space.
- Standard 4-Seat Table (Width 80–90 cm): Recommended Dia 50 cm × H 25 cm. Result: Perfectly balanced; aligns with the inner boundary of place settings.
- Medium 6-Seat Table (Length 140–160 cm): Recommended Dia 60 cm × H 28 cm. Result: Strong focal point without dominating the upper third of the room.
- Large 8-Seat Table (Length 180–200 cm): Recommended Dia 70 cm × H 26 cm. Result: Distributes light evenly across expanded seating zones.
- Grand Banquet Table (Length 220+ cm): Recommended Dia 80 cm × H 30 cm. Result: Dramatic scale; provides full coverage across expansive surface areas.
If you'd like to explore more methods for calculating the ideal proportions for side tables, please check out our main layout framework resource, "Dining Room Floral Chandelier Size Selection Basics: How to Choose the Perfect Size Based on Your Table Length?"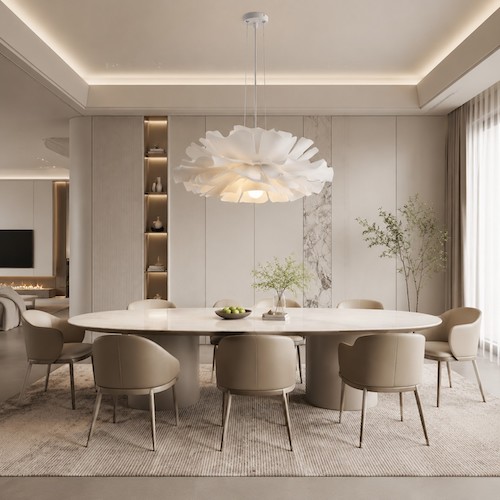
Step 3: Evaluate Material Density and Color Psychology
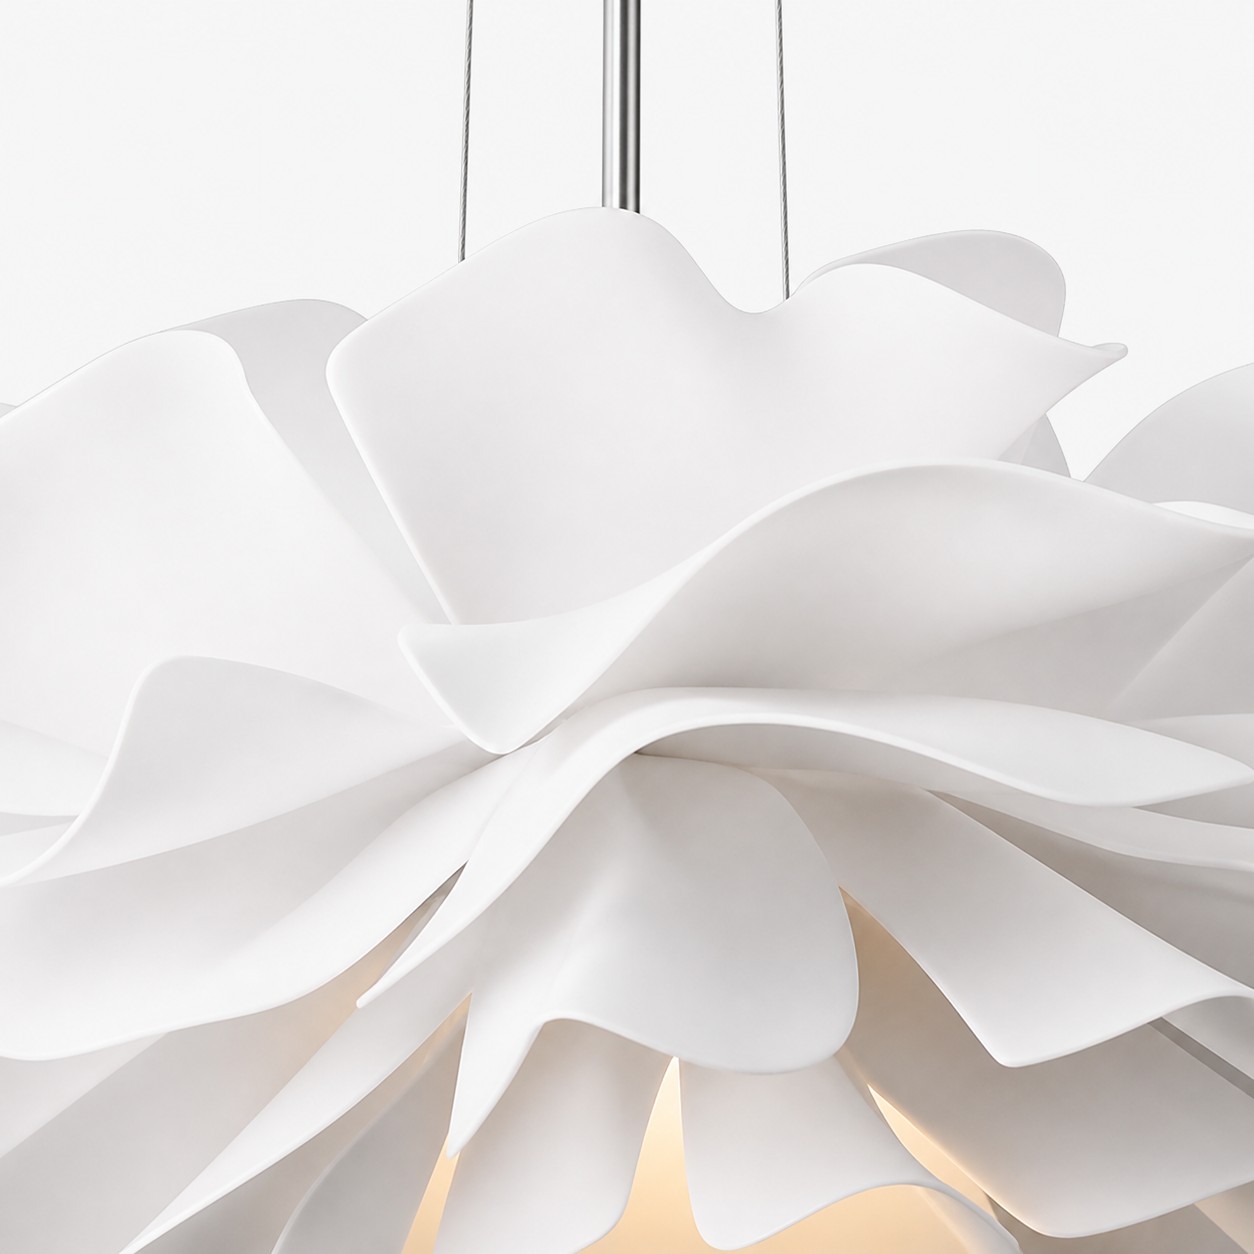
Visual clutter is not merely caused by an object's physical dimensions; it is deeply influenced by how much light passes through it. A 60 cm solid iron or dark concrete dome blocks your view entirely, creating a heavy "anchoring" effect that shrinks small dining rooms. Conversely, utilizing a semi-translucent material like acrylic changes the spatial dynamics completely.
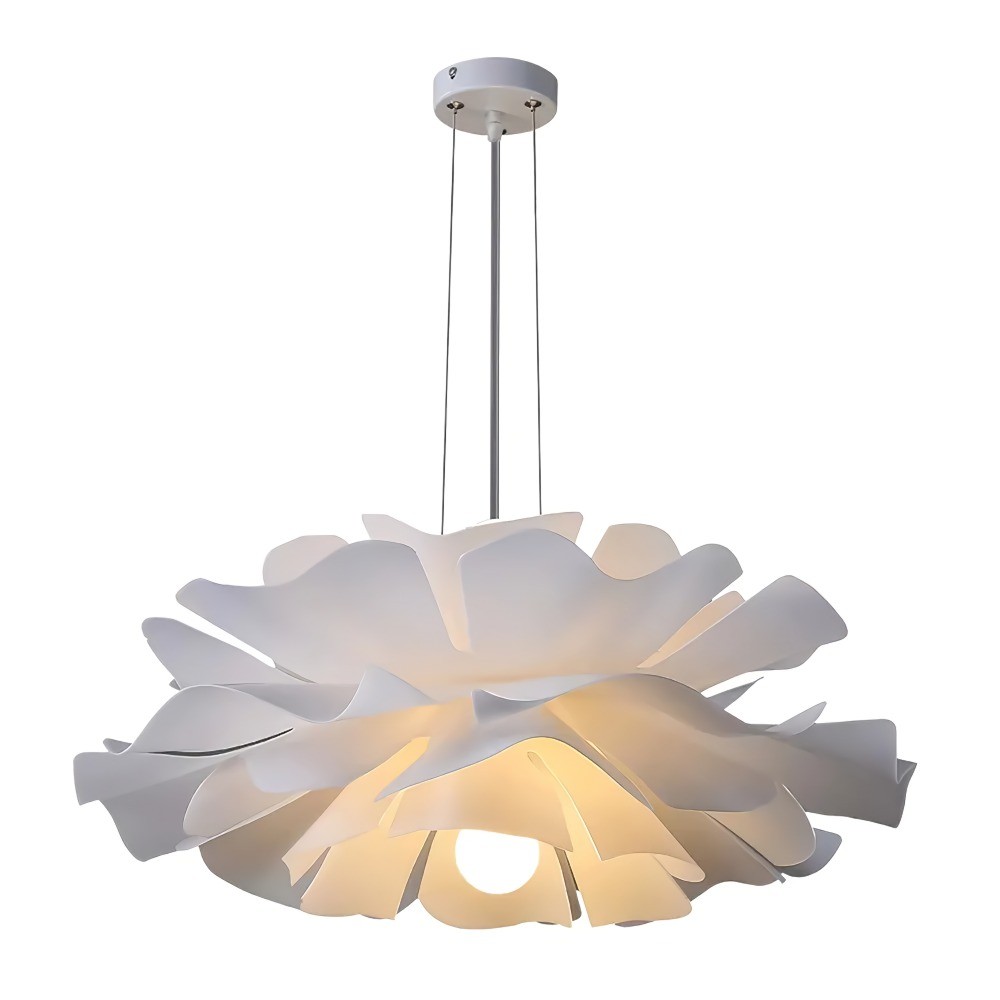
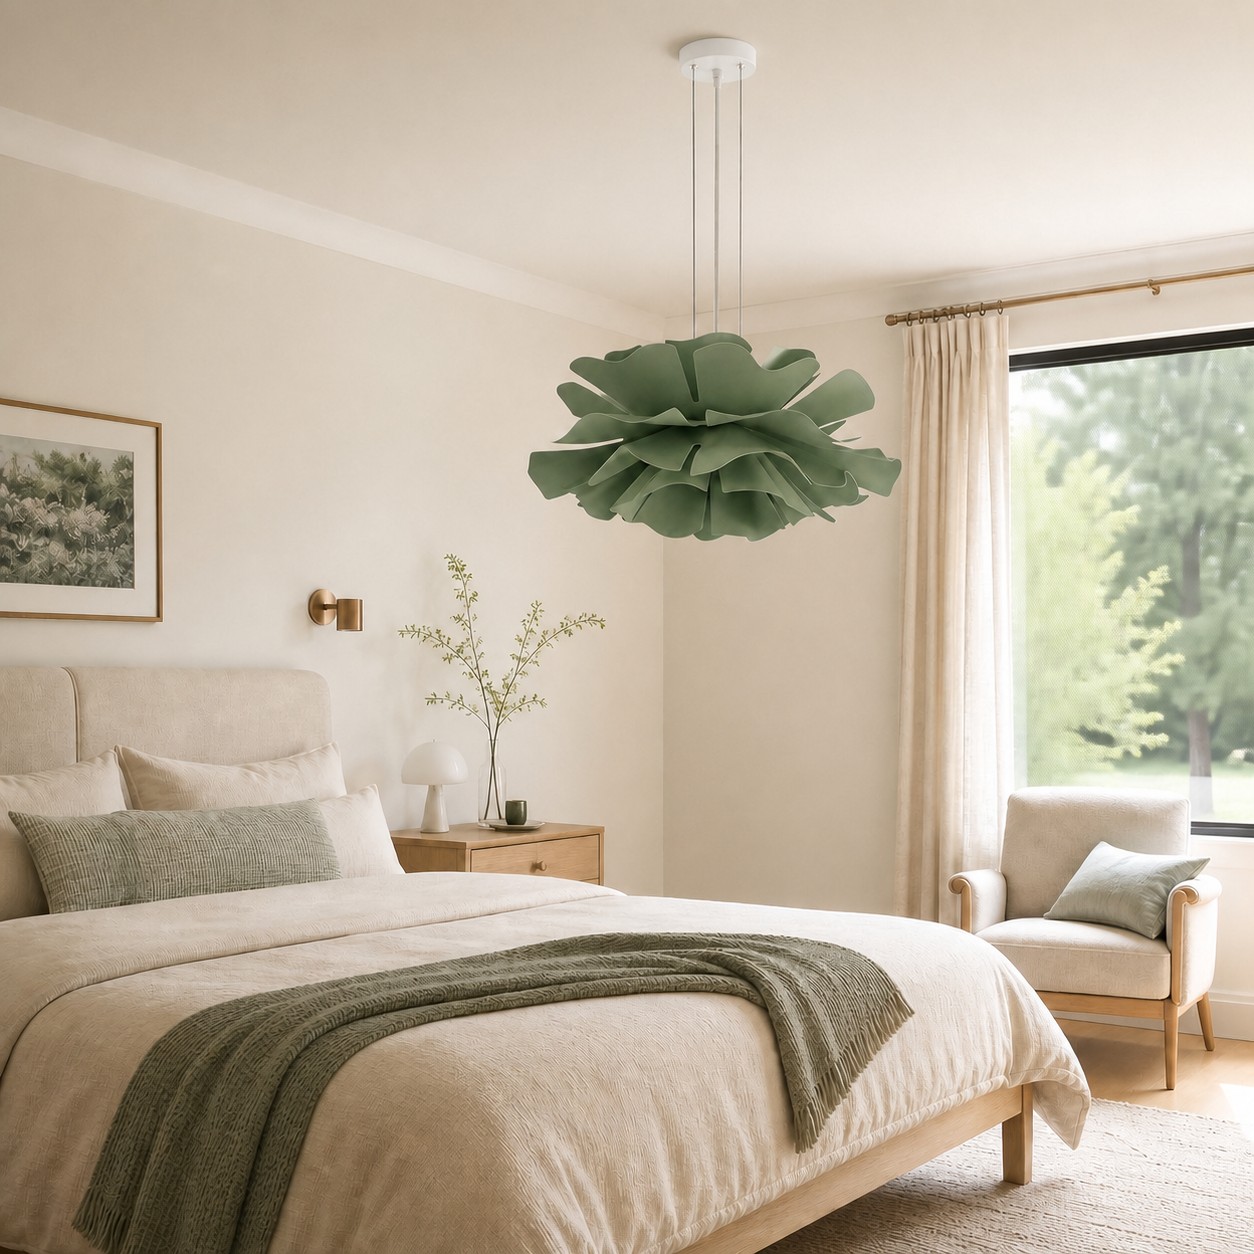
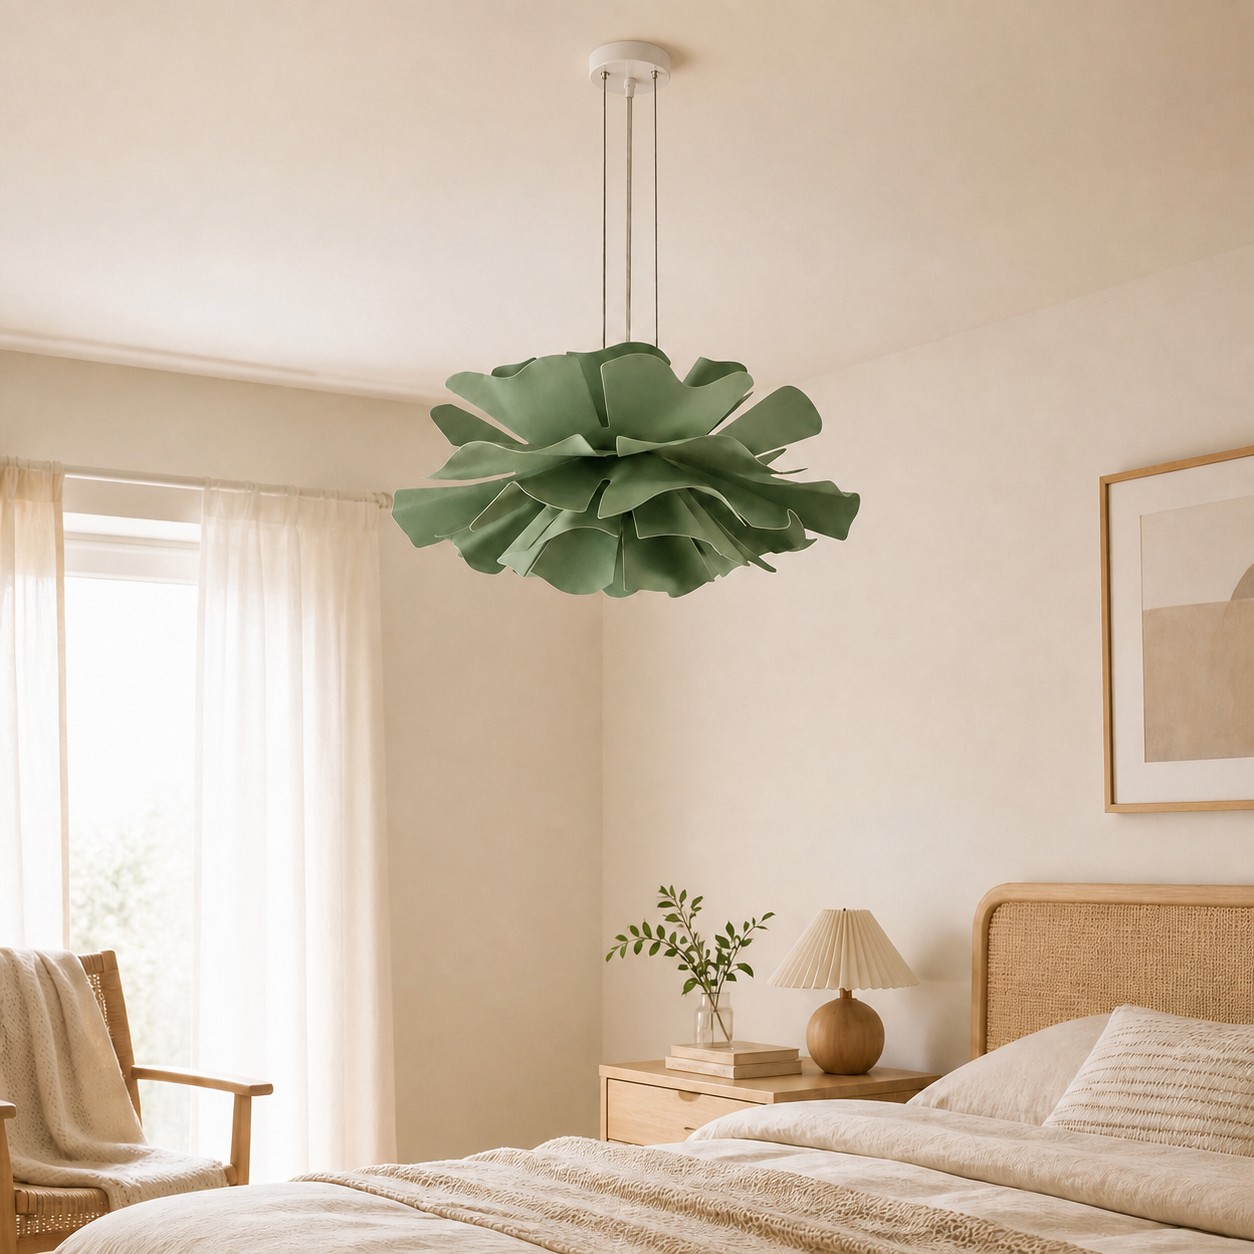
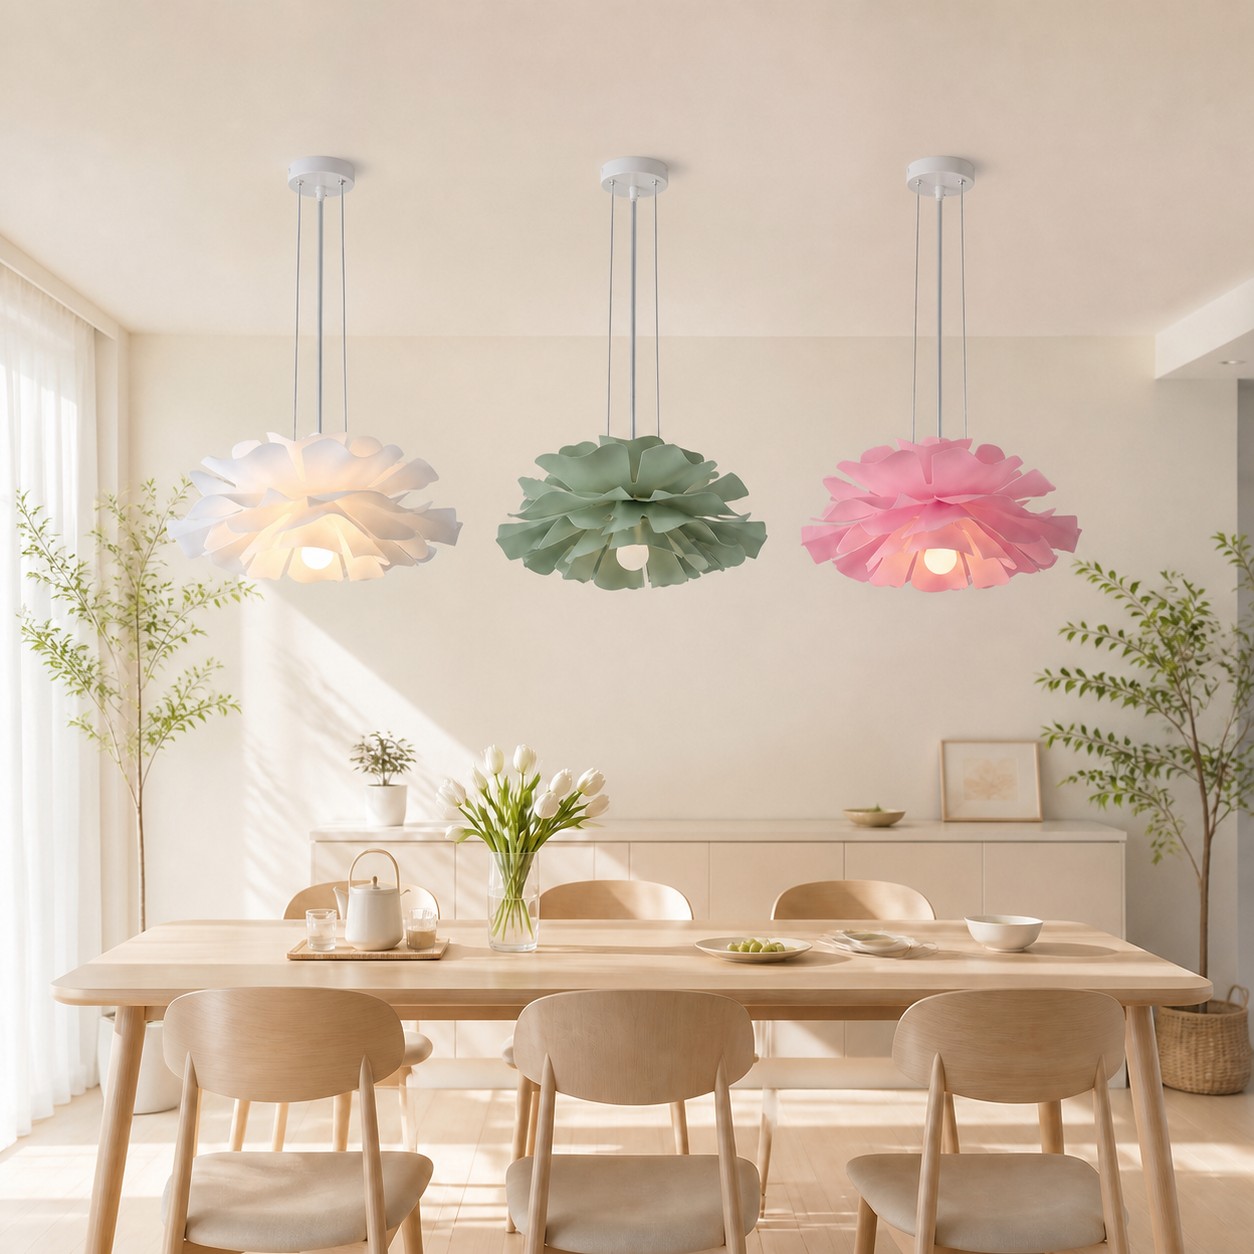
Acrylic lamp bodies filter and soften light, allowing your eyes to perceive the boundaries of the room behind the fixture. Choosing an organic silhouette—such as a tiered flower petal configuration—breaks up harsh geometric lines common in modern apartments. When choosing colors, select White for minimalist, cloud-like transparency; soft Pink to infuse a welcoming, warm skin-toned glow into evening gatherings; or muted Green to draw an organic connection to indoor botanicals and biophilic interior trends.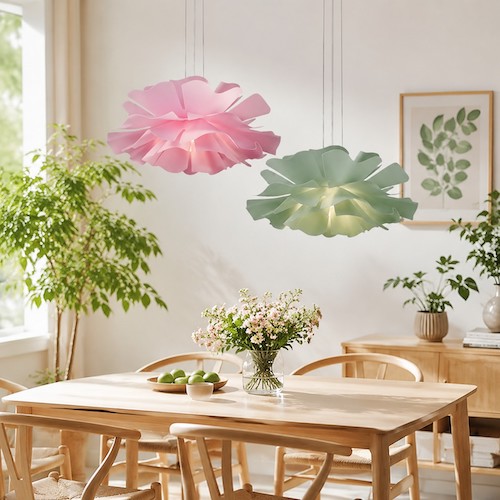
Step 4: Verify Structural Weight Capacities and Switch Systems
Before final assembly, check your ceiling's physical capabilities. Heavy crystal or iron chandeliers require reinforced support braces behind the drywall. However, selecting an agile acrylic design that weighs only 3 kg keeps your installation light and simple, meaning it can safely hang from standard residential ceiling electrical boxes without secondary timber framing.
Next, evaluate your control mechanism. If your electrical line utilizes a classic mechanical push-button switch, ensure your fixture is designed for standard, non-dimmable operational circuitry. Forcing a dimmable driver onto an incompatible push-button network often creates an annoying high-frequency electrical buzz or rhythmic light flickering. Always align your bulb type precisely with the switch setup hidden inside your walls.
Step 5: Calibrate Final Drop Height and Sidestep Common Mistakes
With your hardware secure, execute the final vertical trim. Clamp the suspension cable so the bottom edge rests within that sweet spot of 75 to 90 cm above the table. If your household features taller family members, aim for the higher end of the spectrum (85 to 90 cm) to ensure unobstructed sightlines when standing up or sitting down.
Take a step back to confirm that you have avoided the most frequent installation traps. Ensure you haven't hung the light so high that it merges into the ceiling like a flush-mount fixture, which destroys its architectural purpose. Likewise, confirm it isn't hung so low that it creates an intense light hotspot directly on the center of your table while leaving the outer seats in total shadow.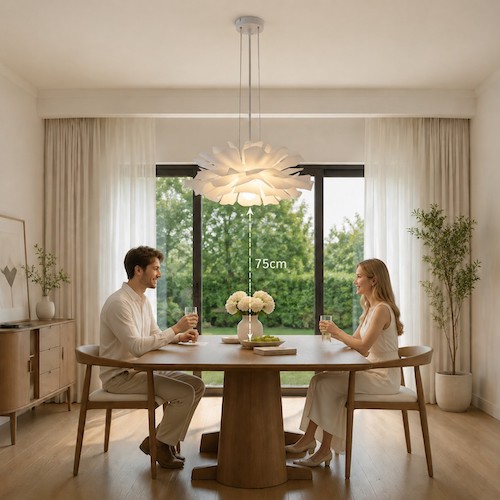
Final Pre-Purchase Checklist
Before completing your order, run through this concise mechanical checklist to guarantee an error-free installation:
- ☑️ Measurement Match: Is the diameter of your chosen fixture at least 30 cm smaller than your table's narrowest edge?
- ☑️ Clearance Comfort: Will the lowest leaf or edge of the light stay at least 75 cm away from your tabletop?
- ☑️ Ceiling Clearance: For ceilings higher than 2.4 m, do you have enough extra cord length to lower the lamp safely?
- ☑️ Electrical Synergy: Is your wall switch compatible with a simple push-button system that does not require specialized dimming hardware?
- ☑️ Structural Load: Can your ceiling box easily hold a 3 kg fixture without requiring extra structural joists?
Curated Designs for an Airy Dining Space
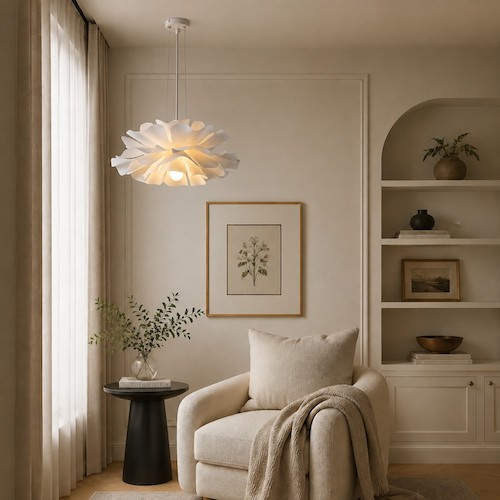
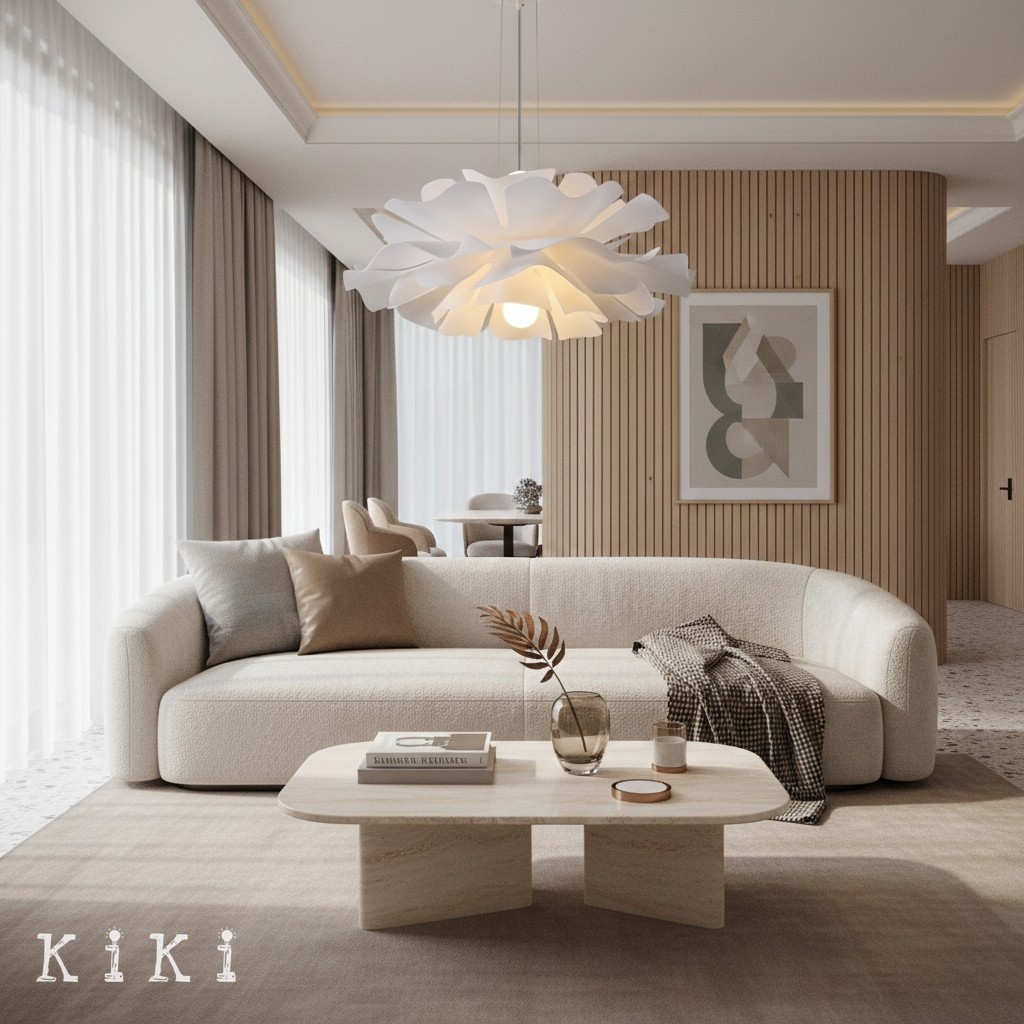
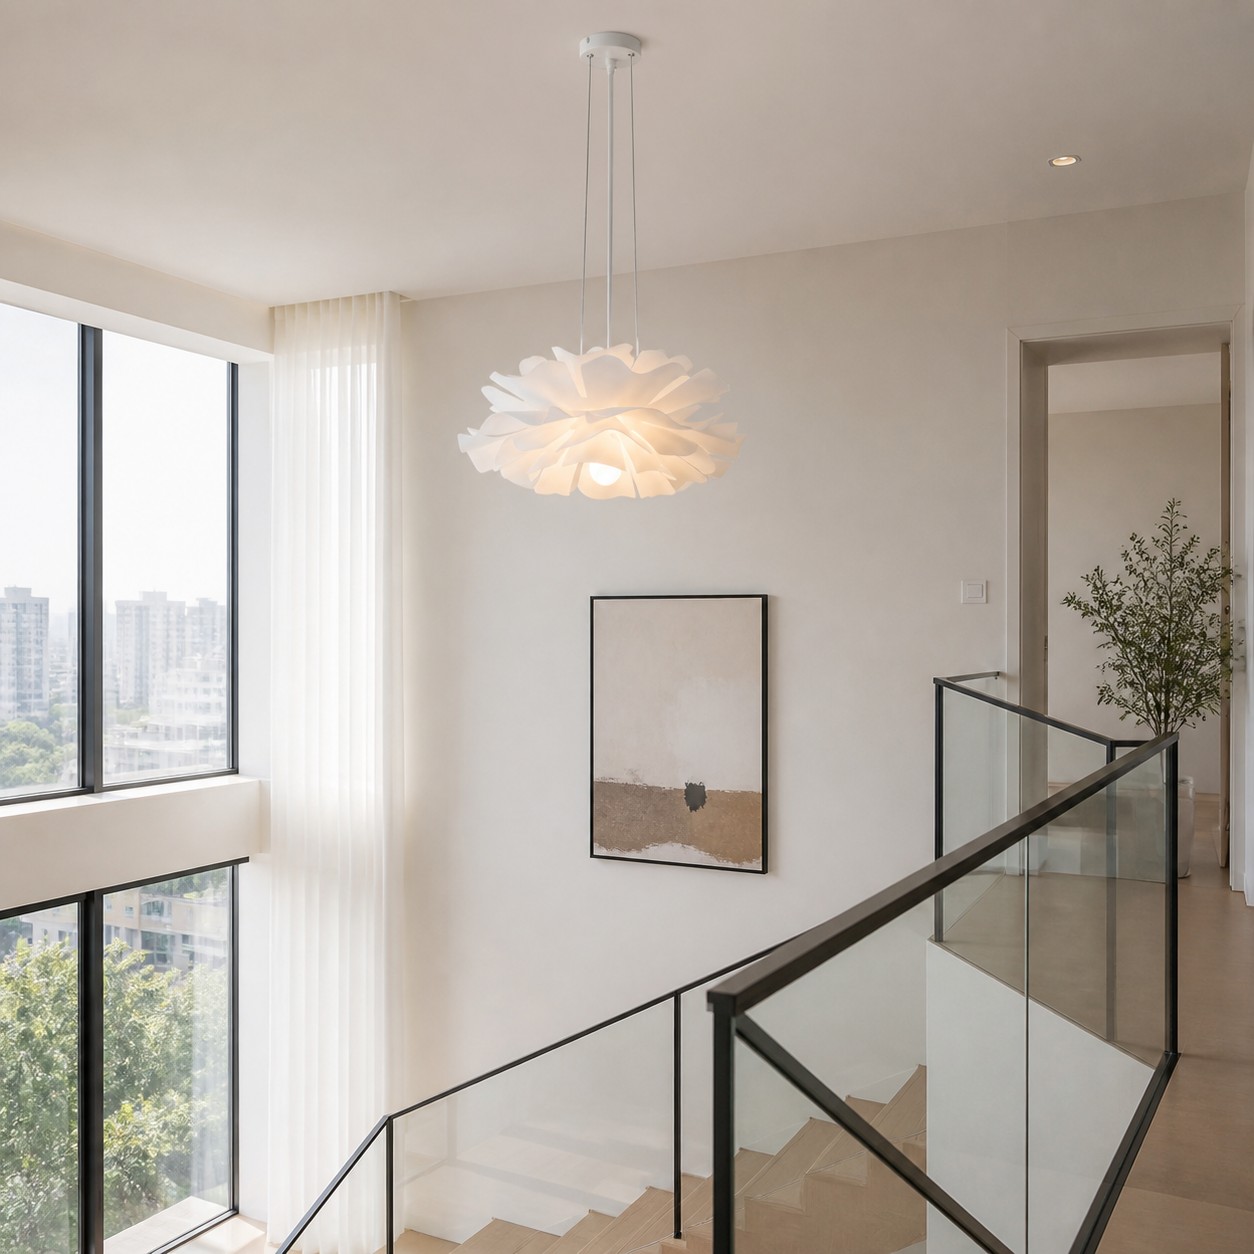
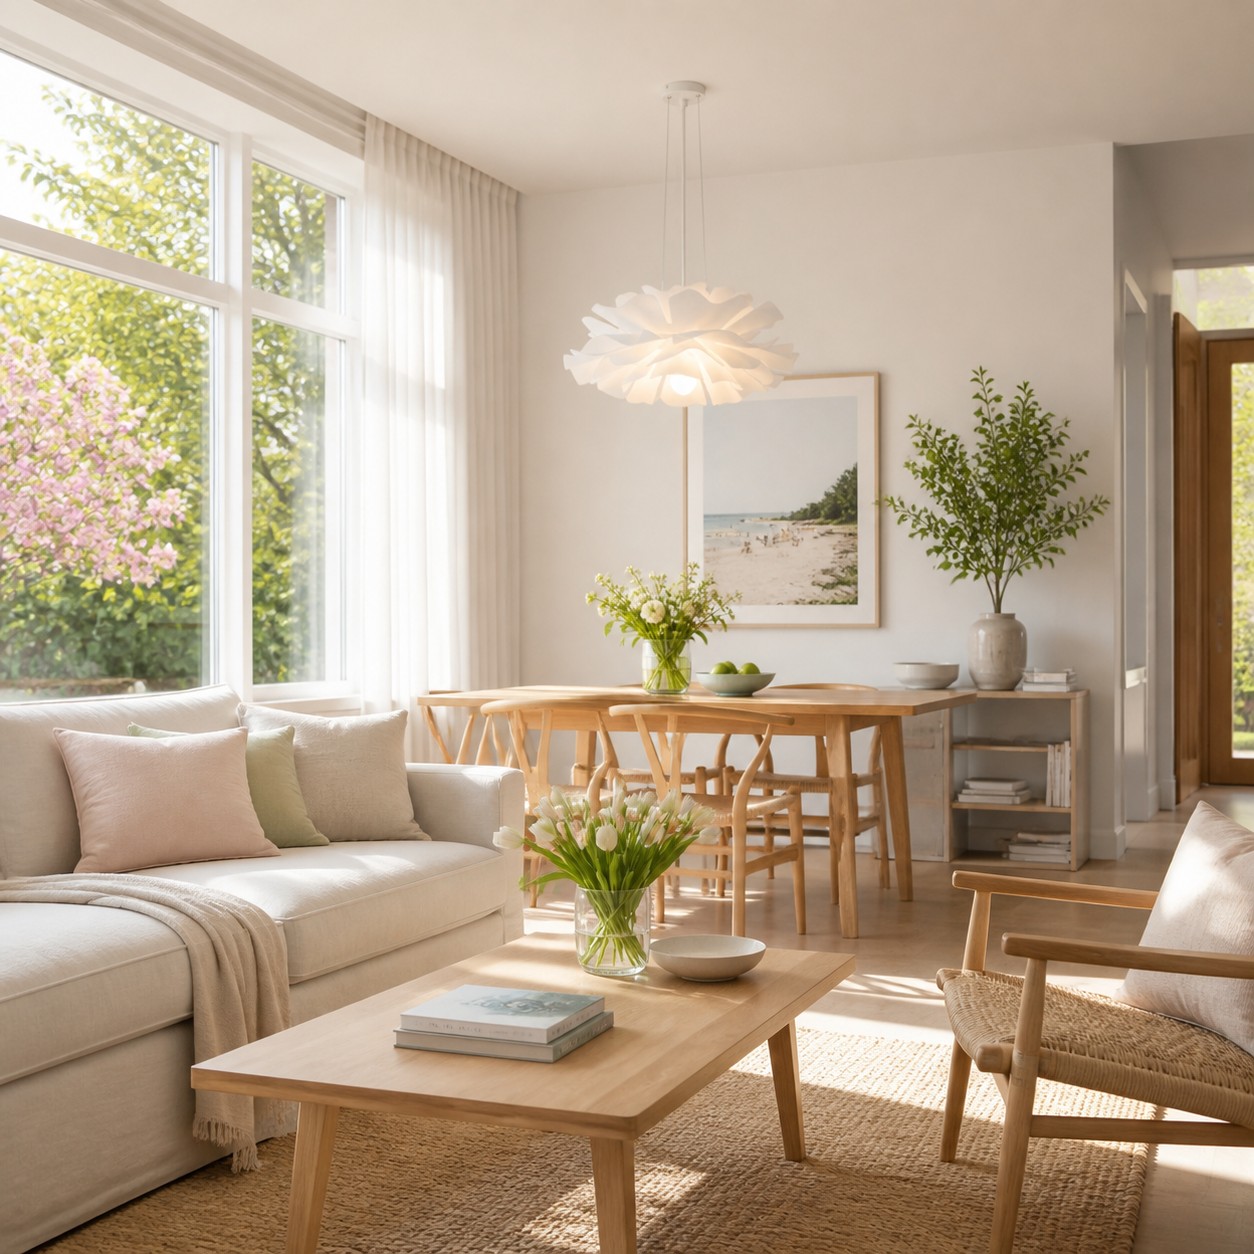
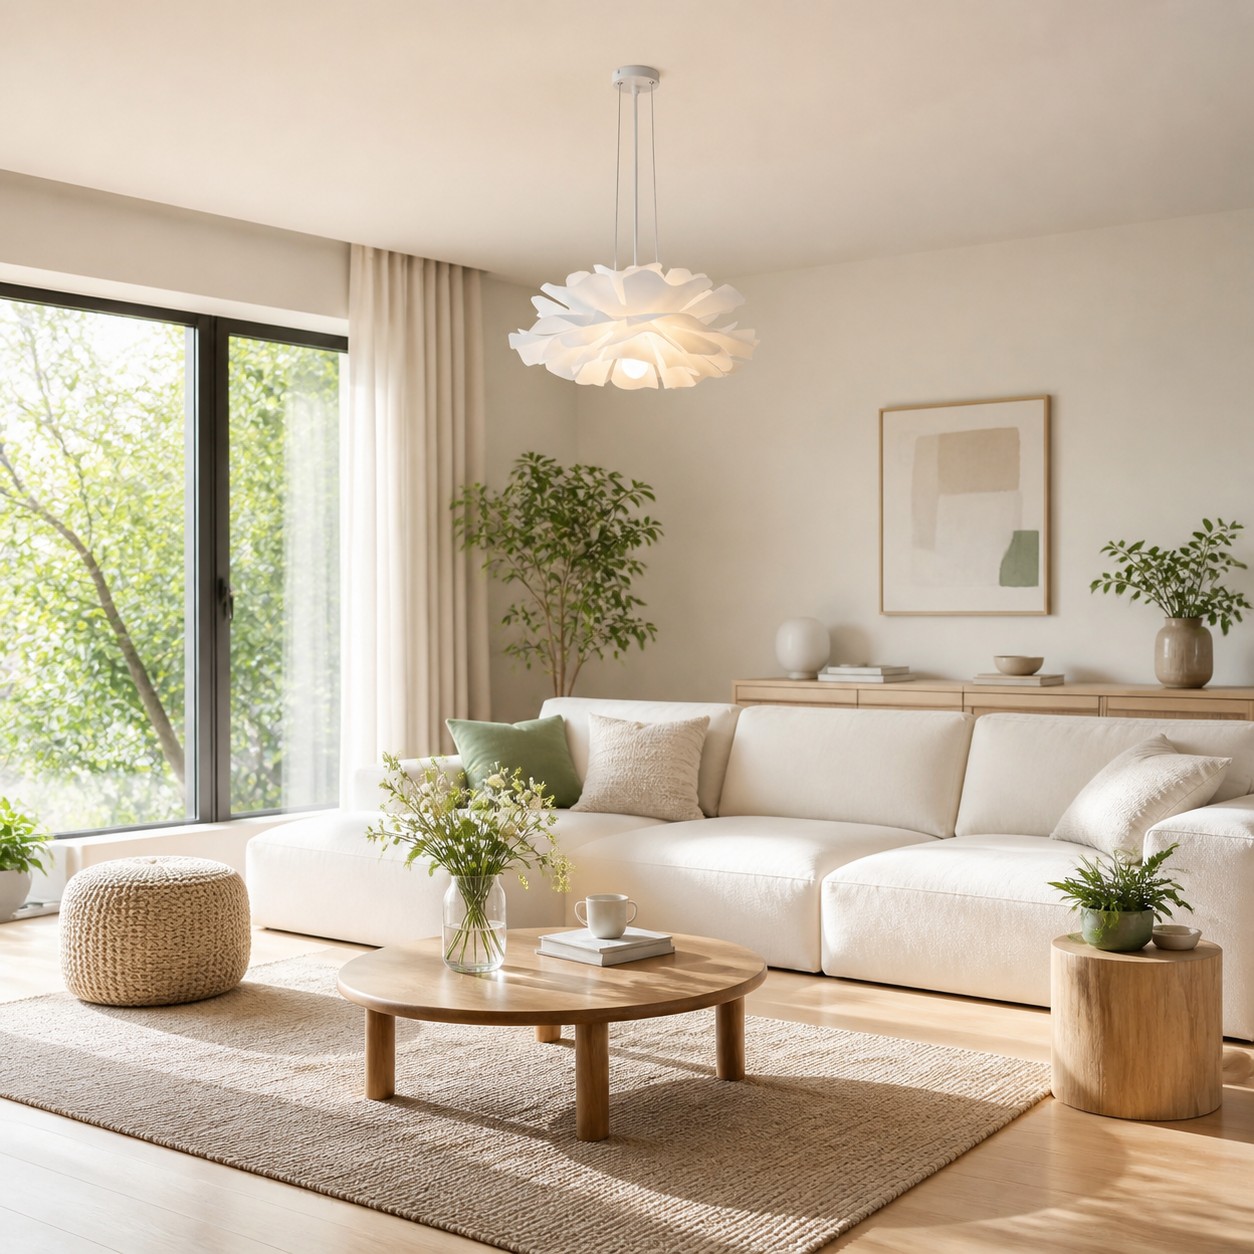
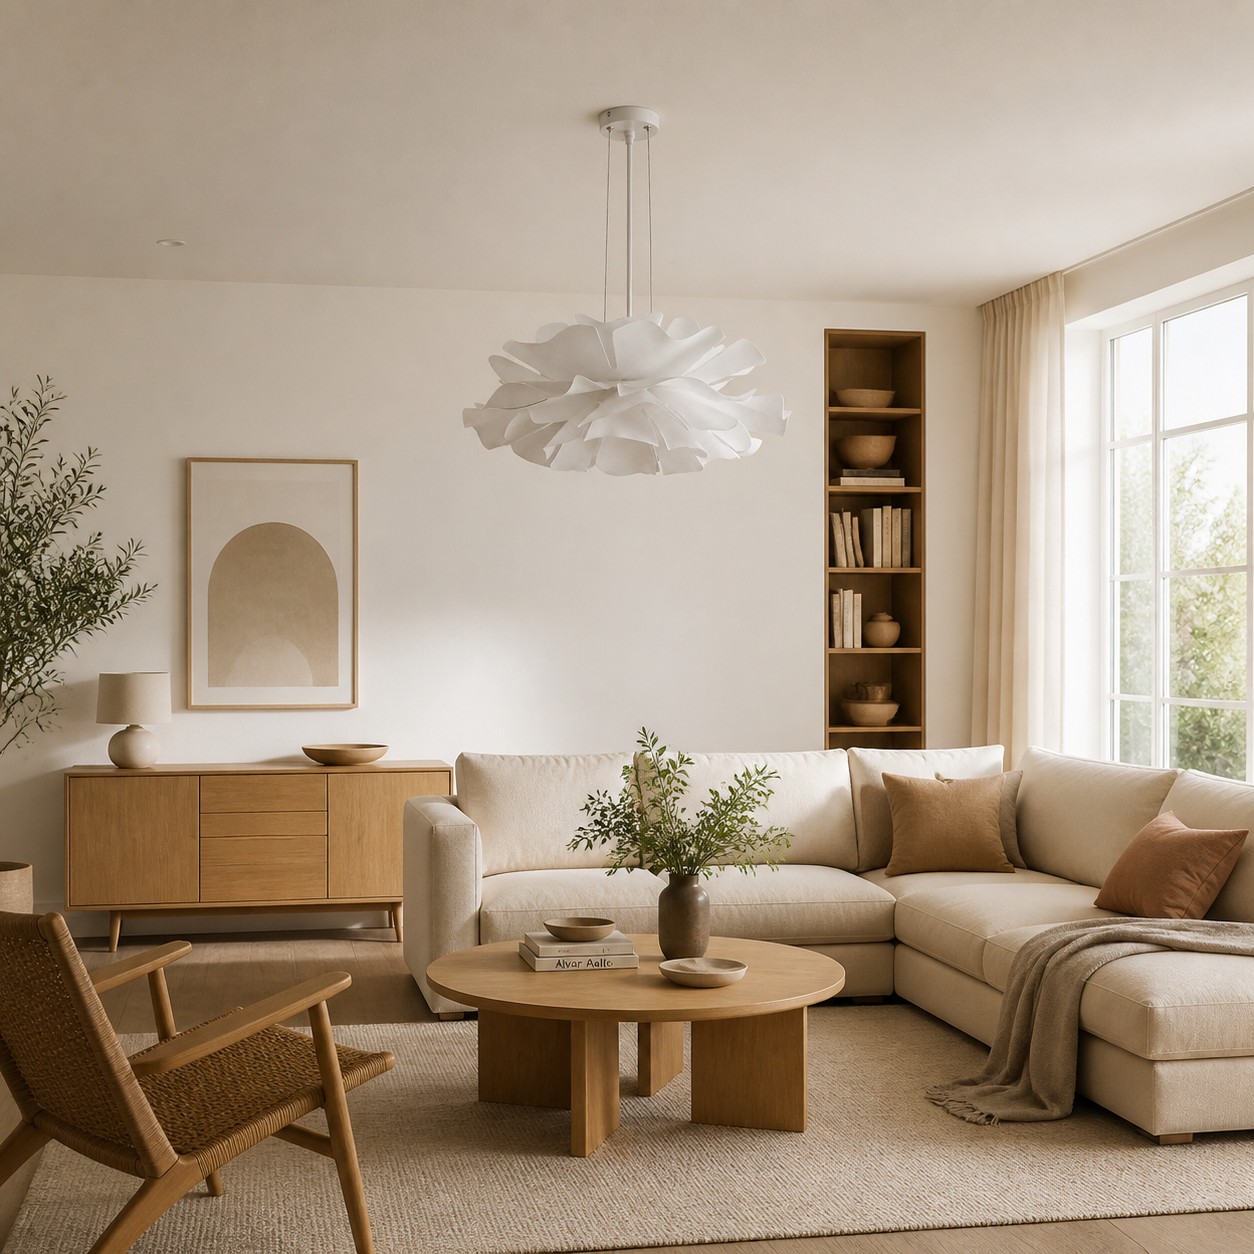
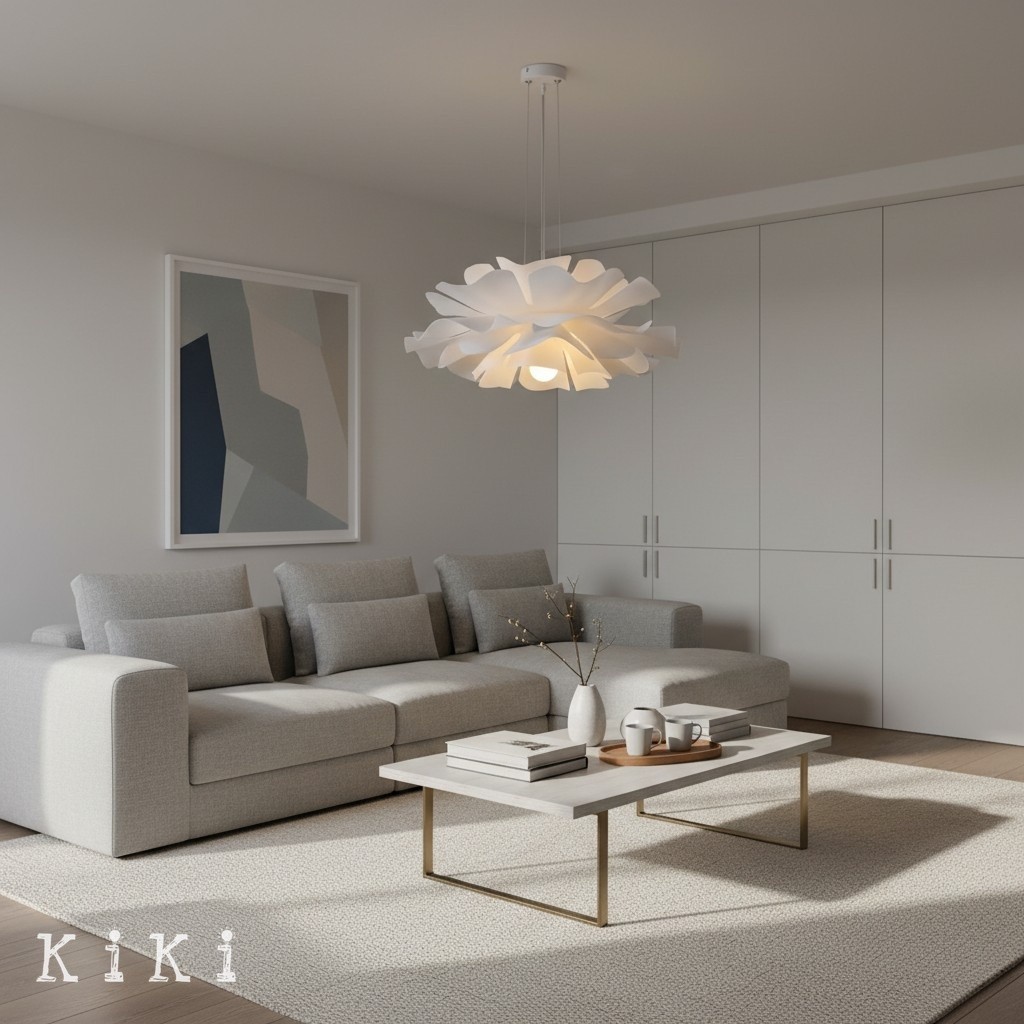
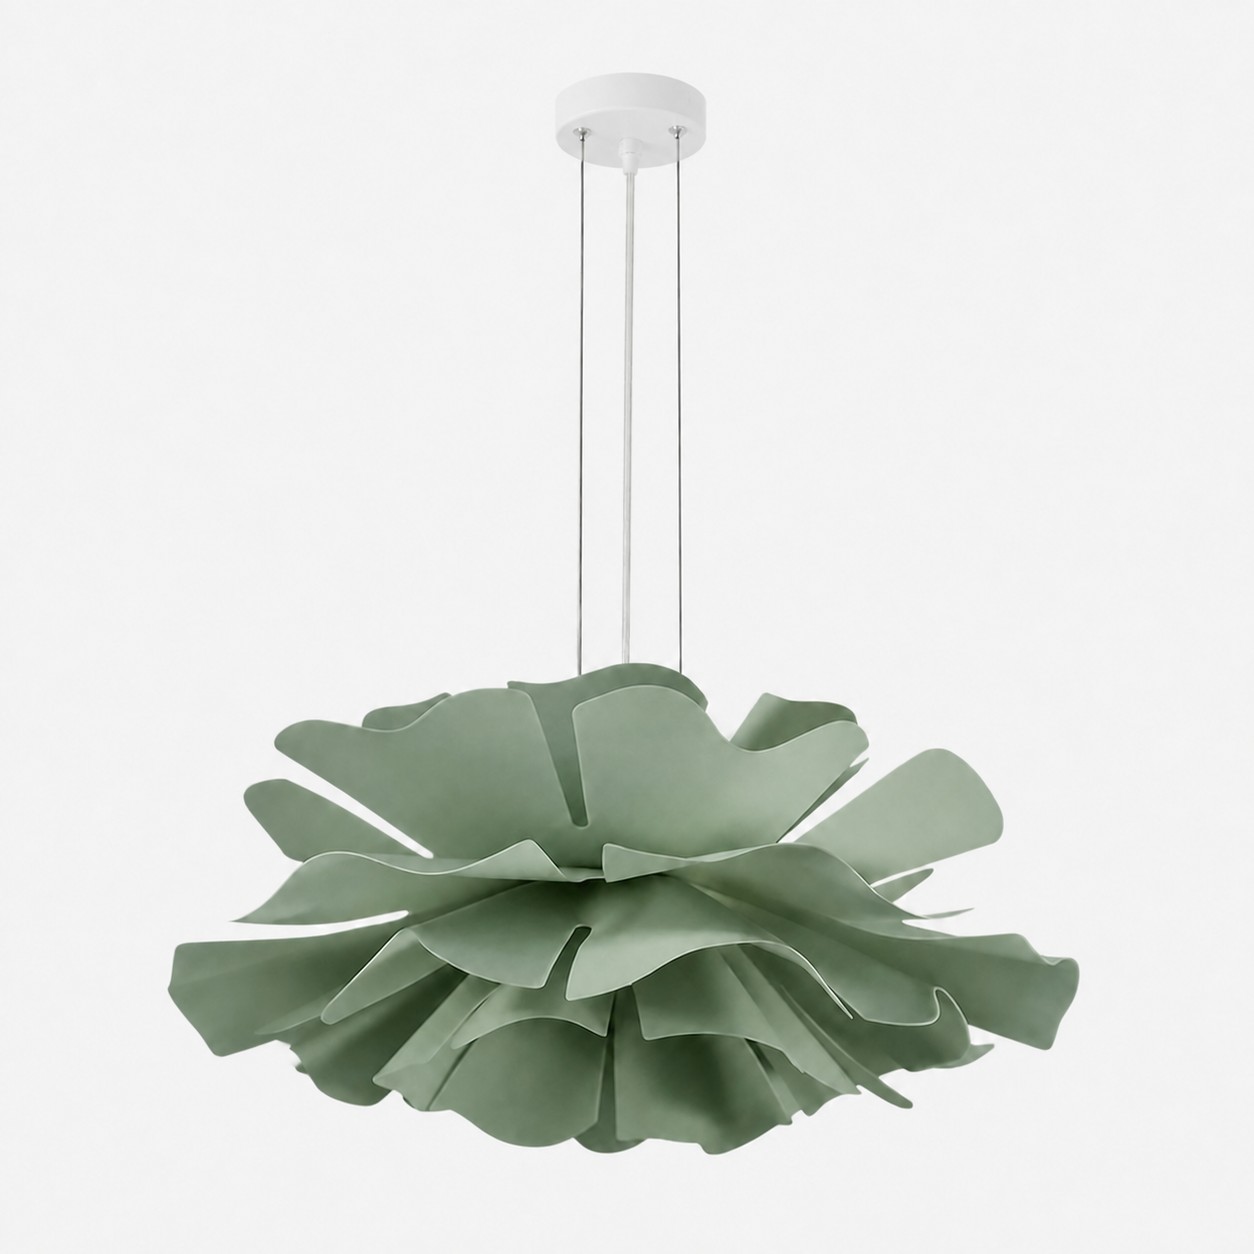
If you are hunting for a centerpiece that embodies these principles of low visual weight, organic design, and tailored sizing, look no further than the Elegant Flower pendant light - Modern Lighting for Dining Room and Living Area.
Thanks to its premium acrylic lamp body construction, the Elegant Flower pendant light elegantly disperses illumination from its twin E27 light sources without creating oppressive overhead shadows. With sizes ranging from a modest 40 cm diameter up to an expansive 80 cm option, it allows you to match your table proportions precisely using the sizing metrics detailed above.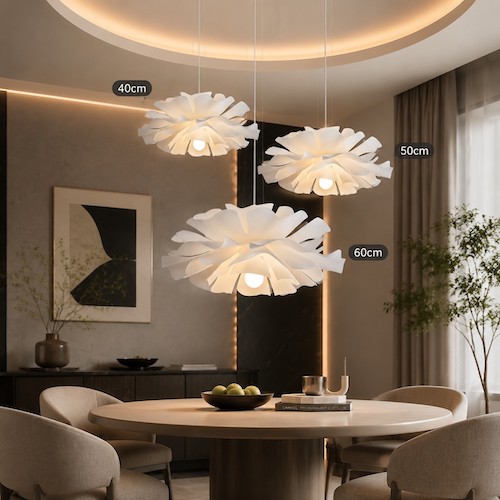
FAQ: Resolving Complex Dining Room Layouts
Q: What if my dining table sits under a sloped or vaulted ceiling?
A: You can absolutely still hang a central light. You will need to install a specialized sloped-ceiling swivel adapter onto your ceiling box so the hanging cord drops perfectly vertical. Never let the fixture hang crookedly parallel to a sloped ceiling line, as this disrupts the horizontal balance of the room.
Q: How do I clean grease and dust off an acrylic flower-petal body?
A: Avoid using harsh chemical glass cleaners or alcohol-based sprays, which can cause fine micro-cracks or clouding on premium acrylic over time. Instead, shut off the power, wait for the bulbs to cool, and wipe the petals down using a clean, dry microfiber cloth. For persistent cooking residue, use a slightly damp cloth with a drop of mild dish soap, then dry immediately. To learn more about looking after acrylic lighting materials, see our comprehensive guide on How to Clean and Maintain Modern acrylic Light Fixtures.
Q: Can I hang this light in a high-traffic living room corner instead of over a table?
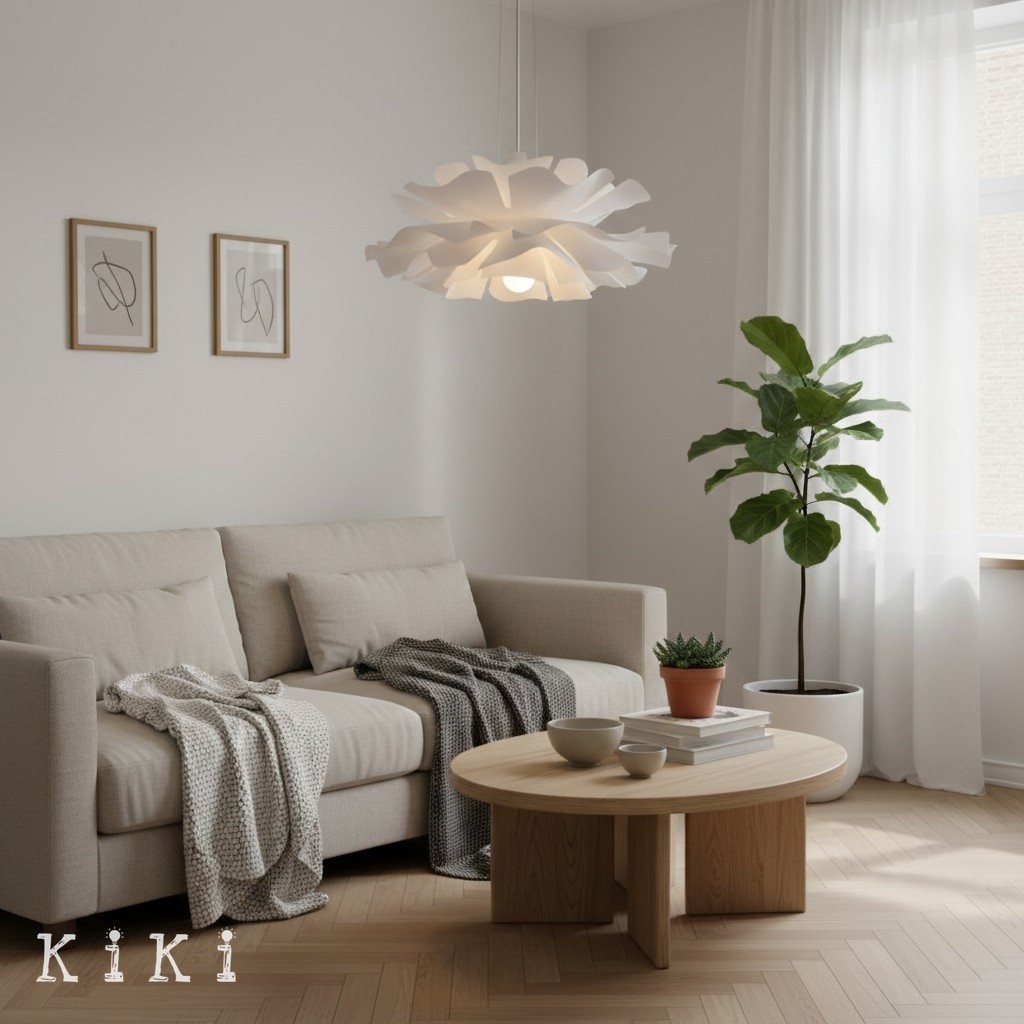
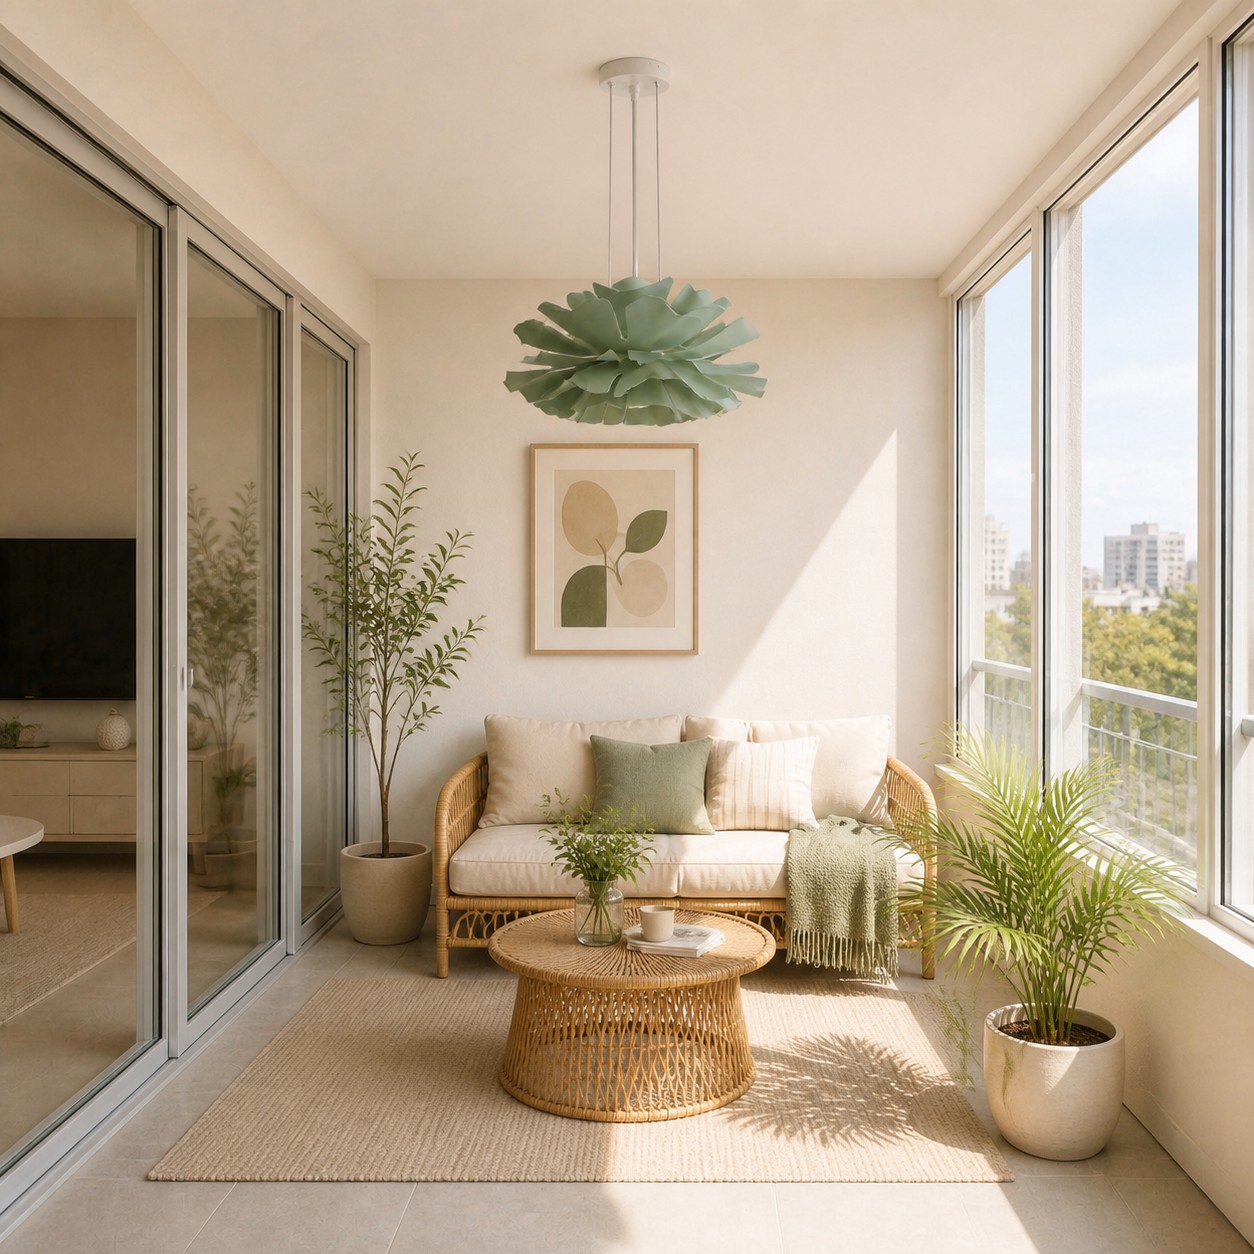
A: Yes, but you must adjust your height rules. When a pendant light is hung over open floor space where people walk, the bottom of the light must sit at least 210 cm above the floor. This provides ample head clearance for walking underneath safely. For this setup, smaller options like the Dia 40 cm or 50 cm sizes work beautifully as accent lights next to a reading chair or media console.